Kitchen Renovation Checklist: Plan, Design, Quote, Install Without the Stress
A kitchen renovation runs smoothly when decisions are made in the right order. This checklist is built for Australian homes and renovation realities, helping you lock in layout and storage first, then finishes, then trades and timing. Renovation guides consistently emphasise structured planning and staged decision-making to avoid delays and rework.
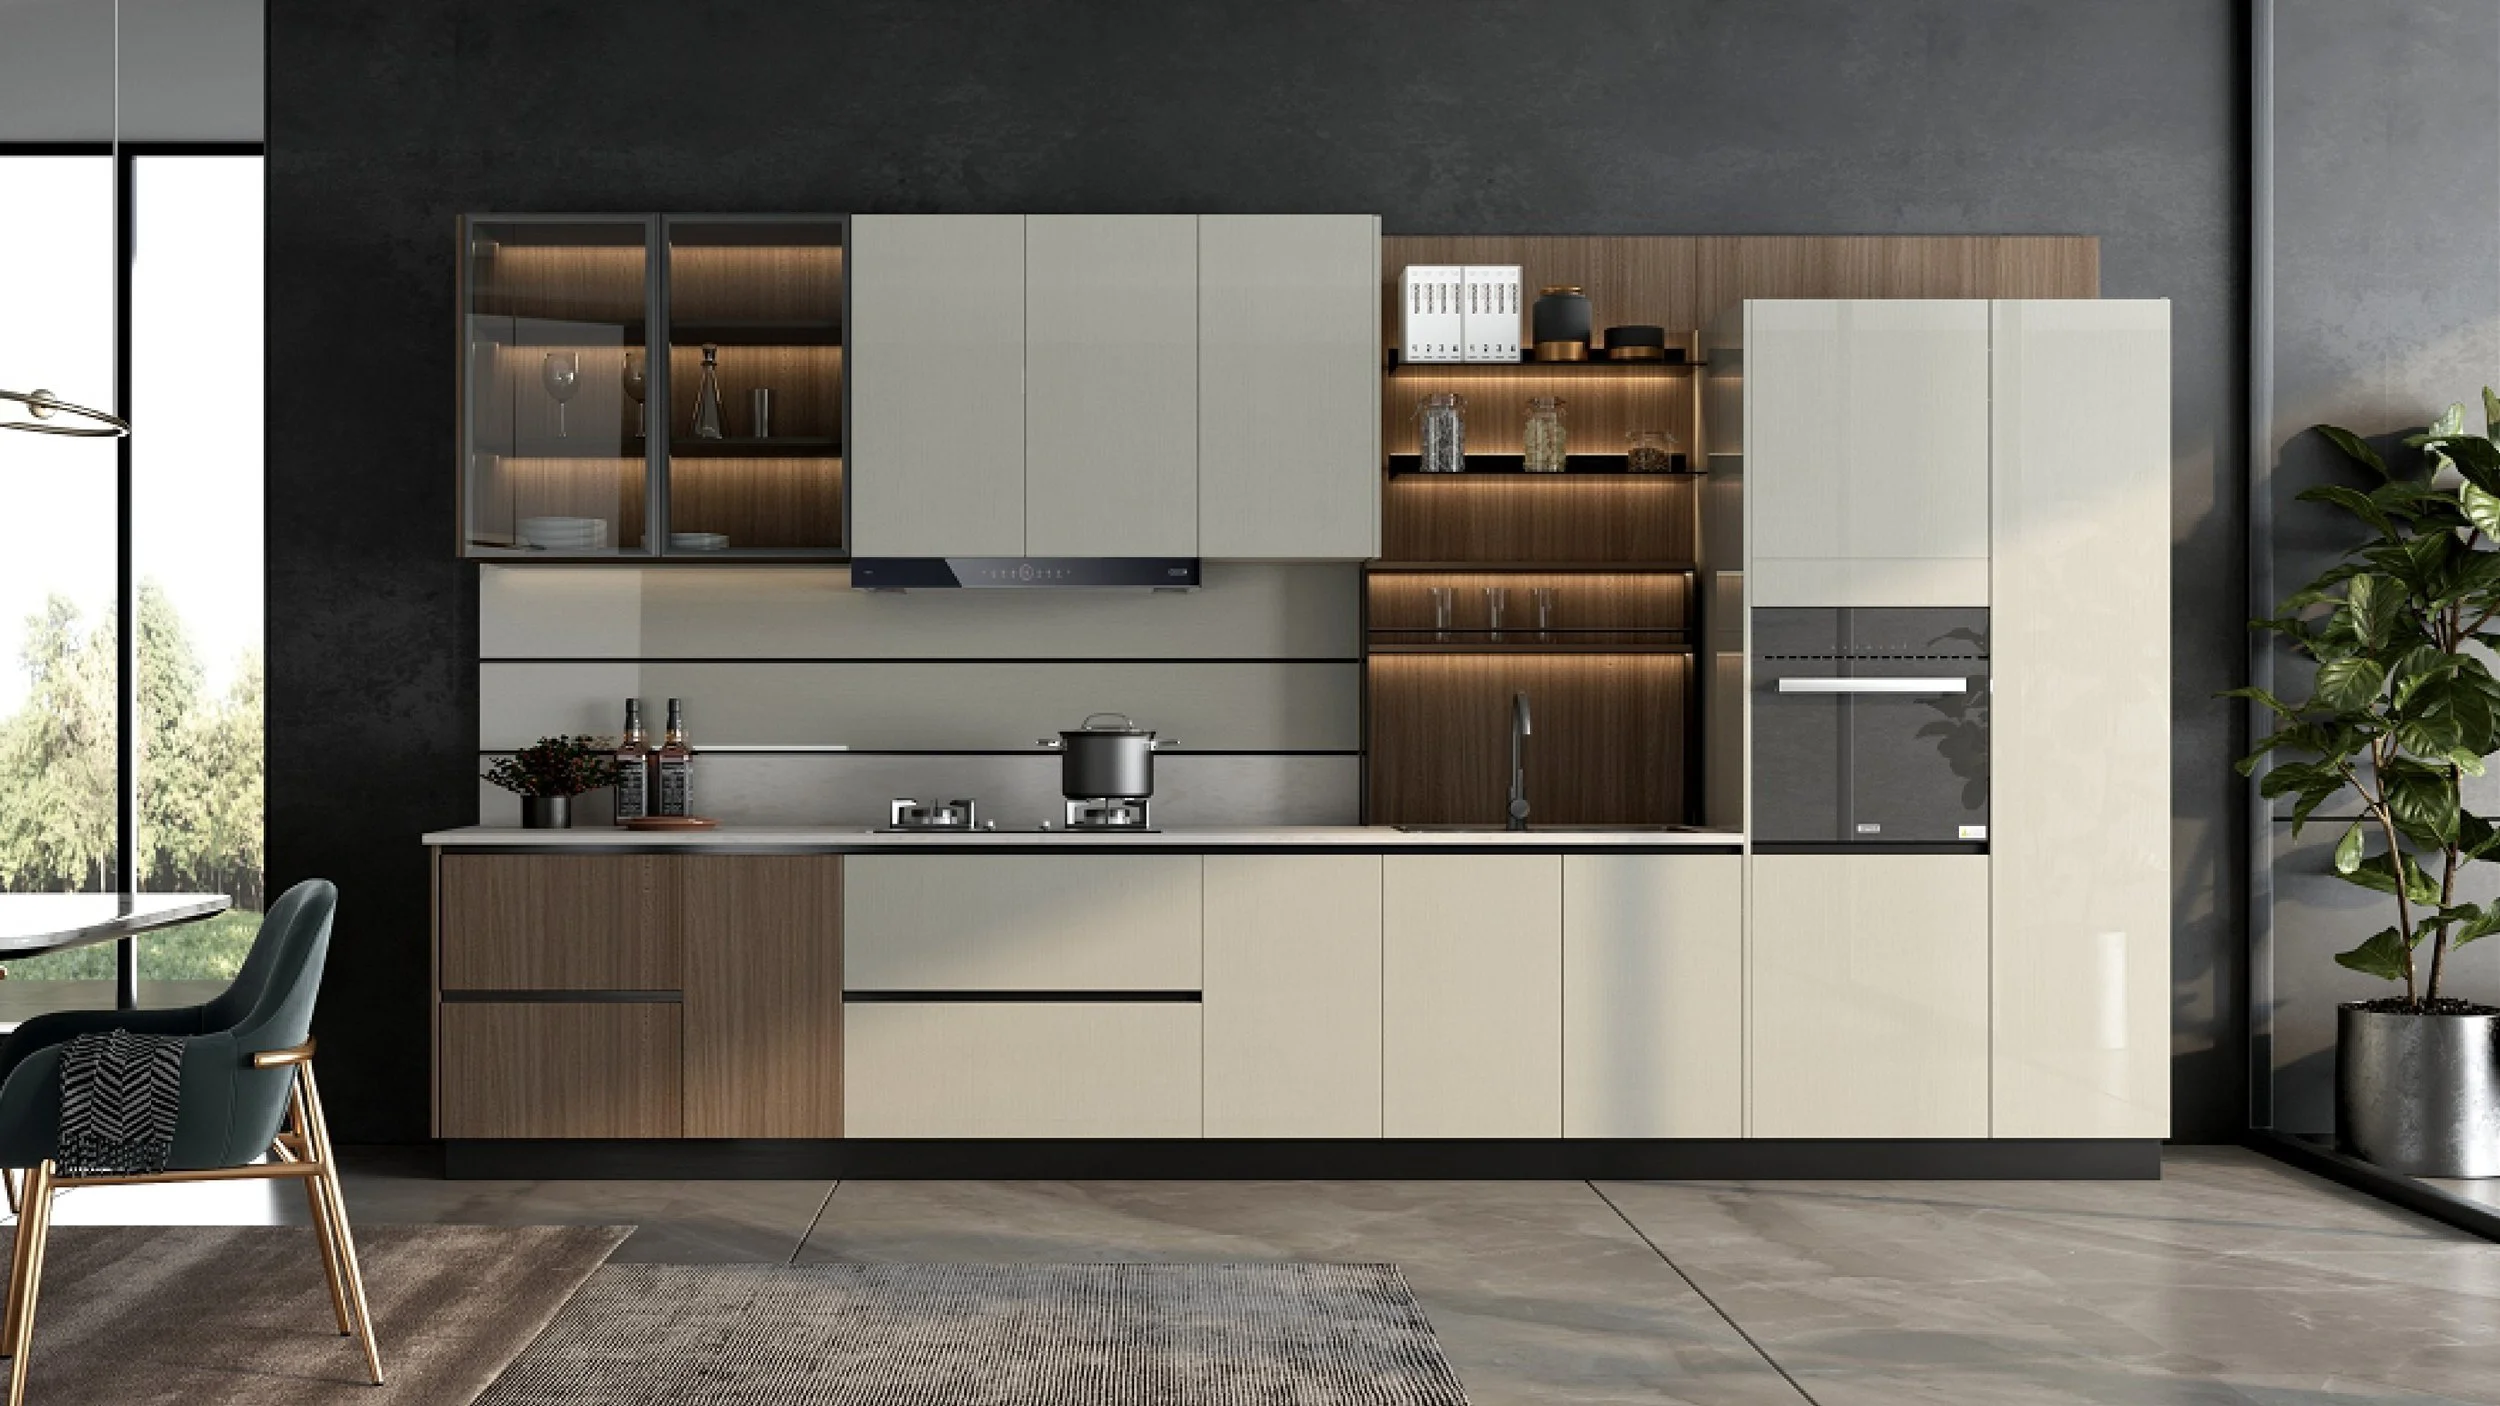
Eco Squared designs, supplies and installs European-style kitchens across the Sutherland Shire & surrounds, including Caringbah, Miranda, Cronulla, Kirrawee, Gymea and Sylvania Waters, with a clear, step-by-step process that keeps everything aligned from design through installation.

Before you start
Measure your space (walls, ceiling height, window positions)
Photograph everything (plumbing points, power points, current storage)
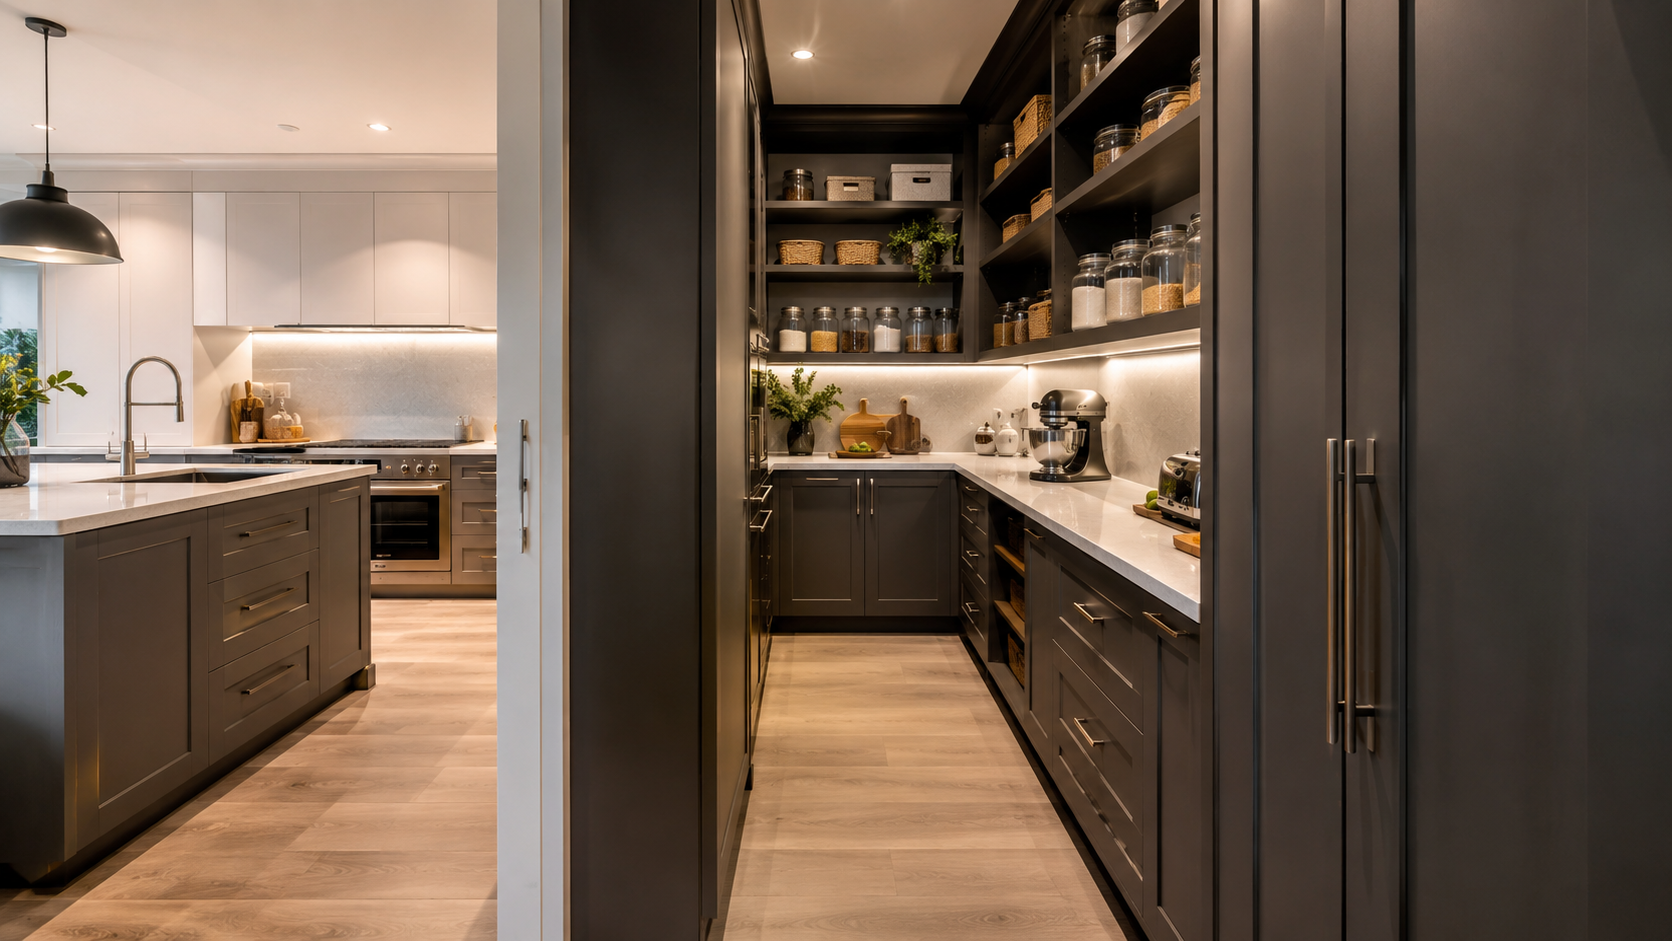
List your non-negotiables (more drawers, better workflow, island seating, scullery/butler’s pantry)
Set your “must stay” items (appliances to reuse, flooring, layout constraints)
Planning checklist
Define goals and scope
What’s changing: layout, appliances, windows, walls, lighting?
What’s staying: services, floors, ceiling, structural walls?
Kitchen renovation checklist guides commonly start with defining goals and setting a realistic scope before design begins.
Set a realistic budget
Include a contingency for surprises (older homes often reveal issues once the old kitchen is removed)
Decide early what you’ll invest in: cabinetry internals, benchtops, appliances, lighting
(General renovation guides highlight budgeting as a core early stage, before selections and build scheduling.)
Design checklist
Lock in the layout
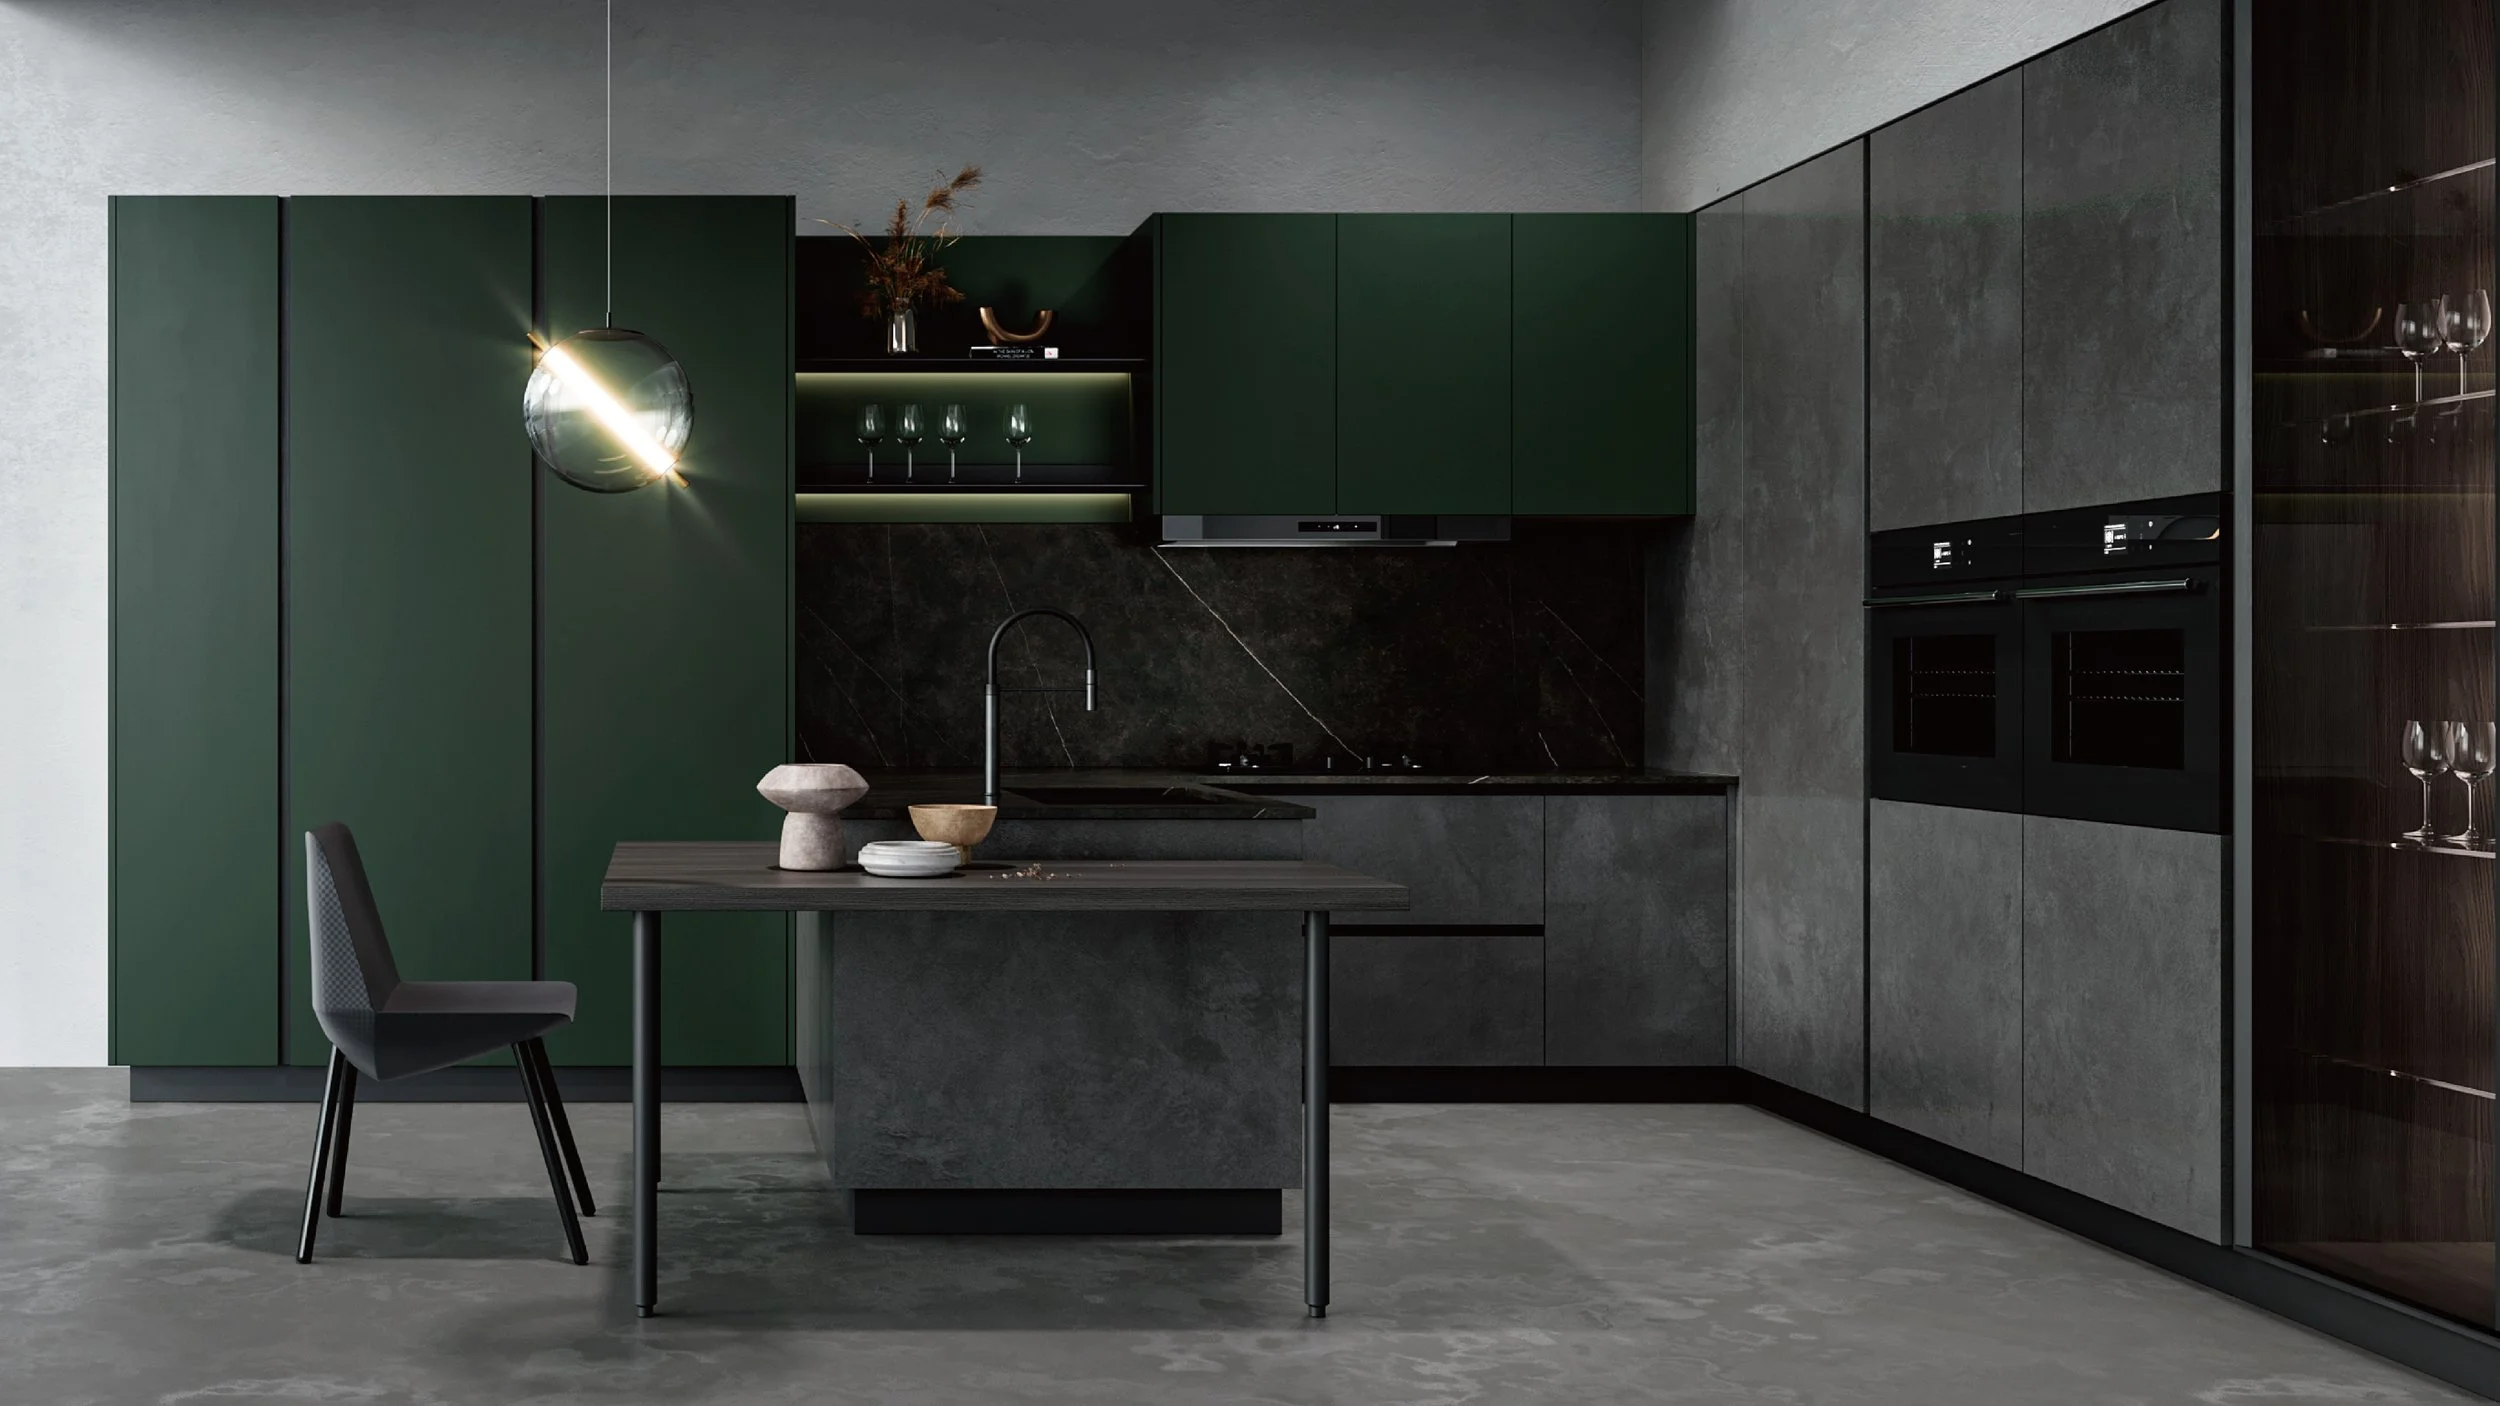
Choose the right layout for your home and how you live:
Galley for efficiency
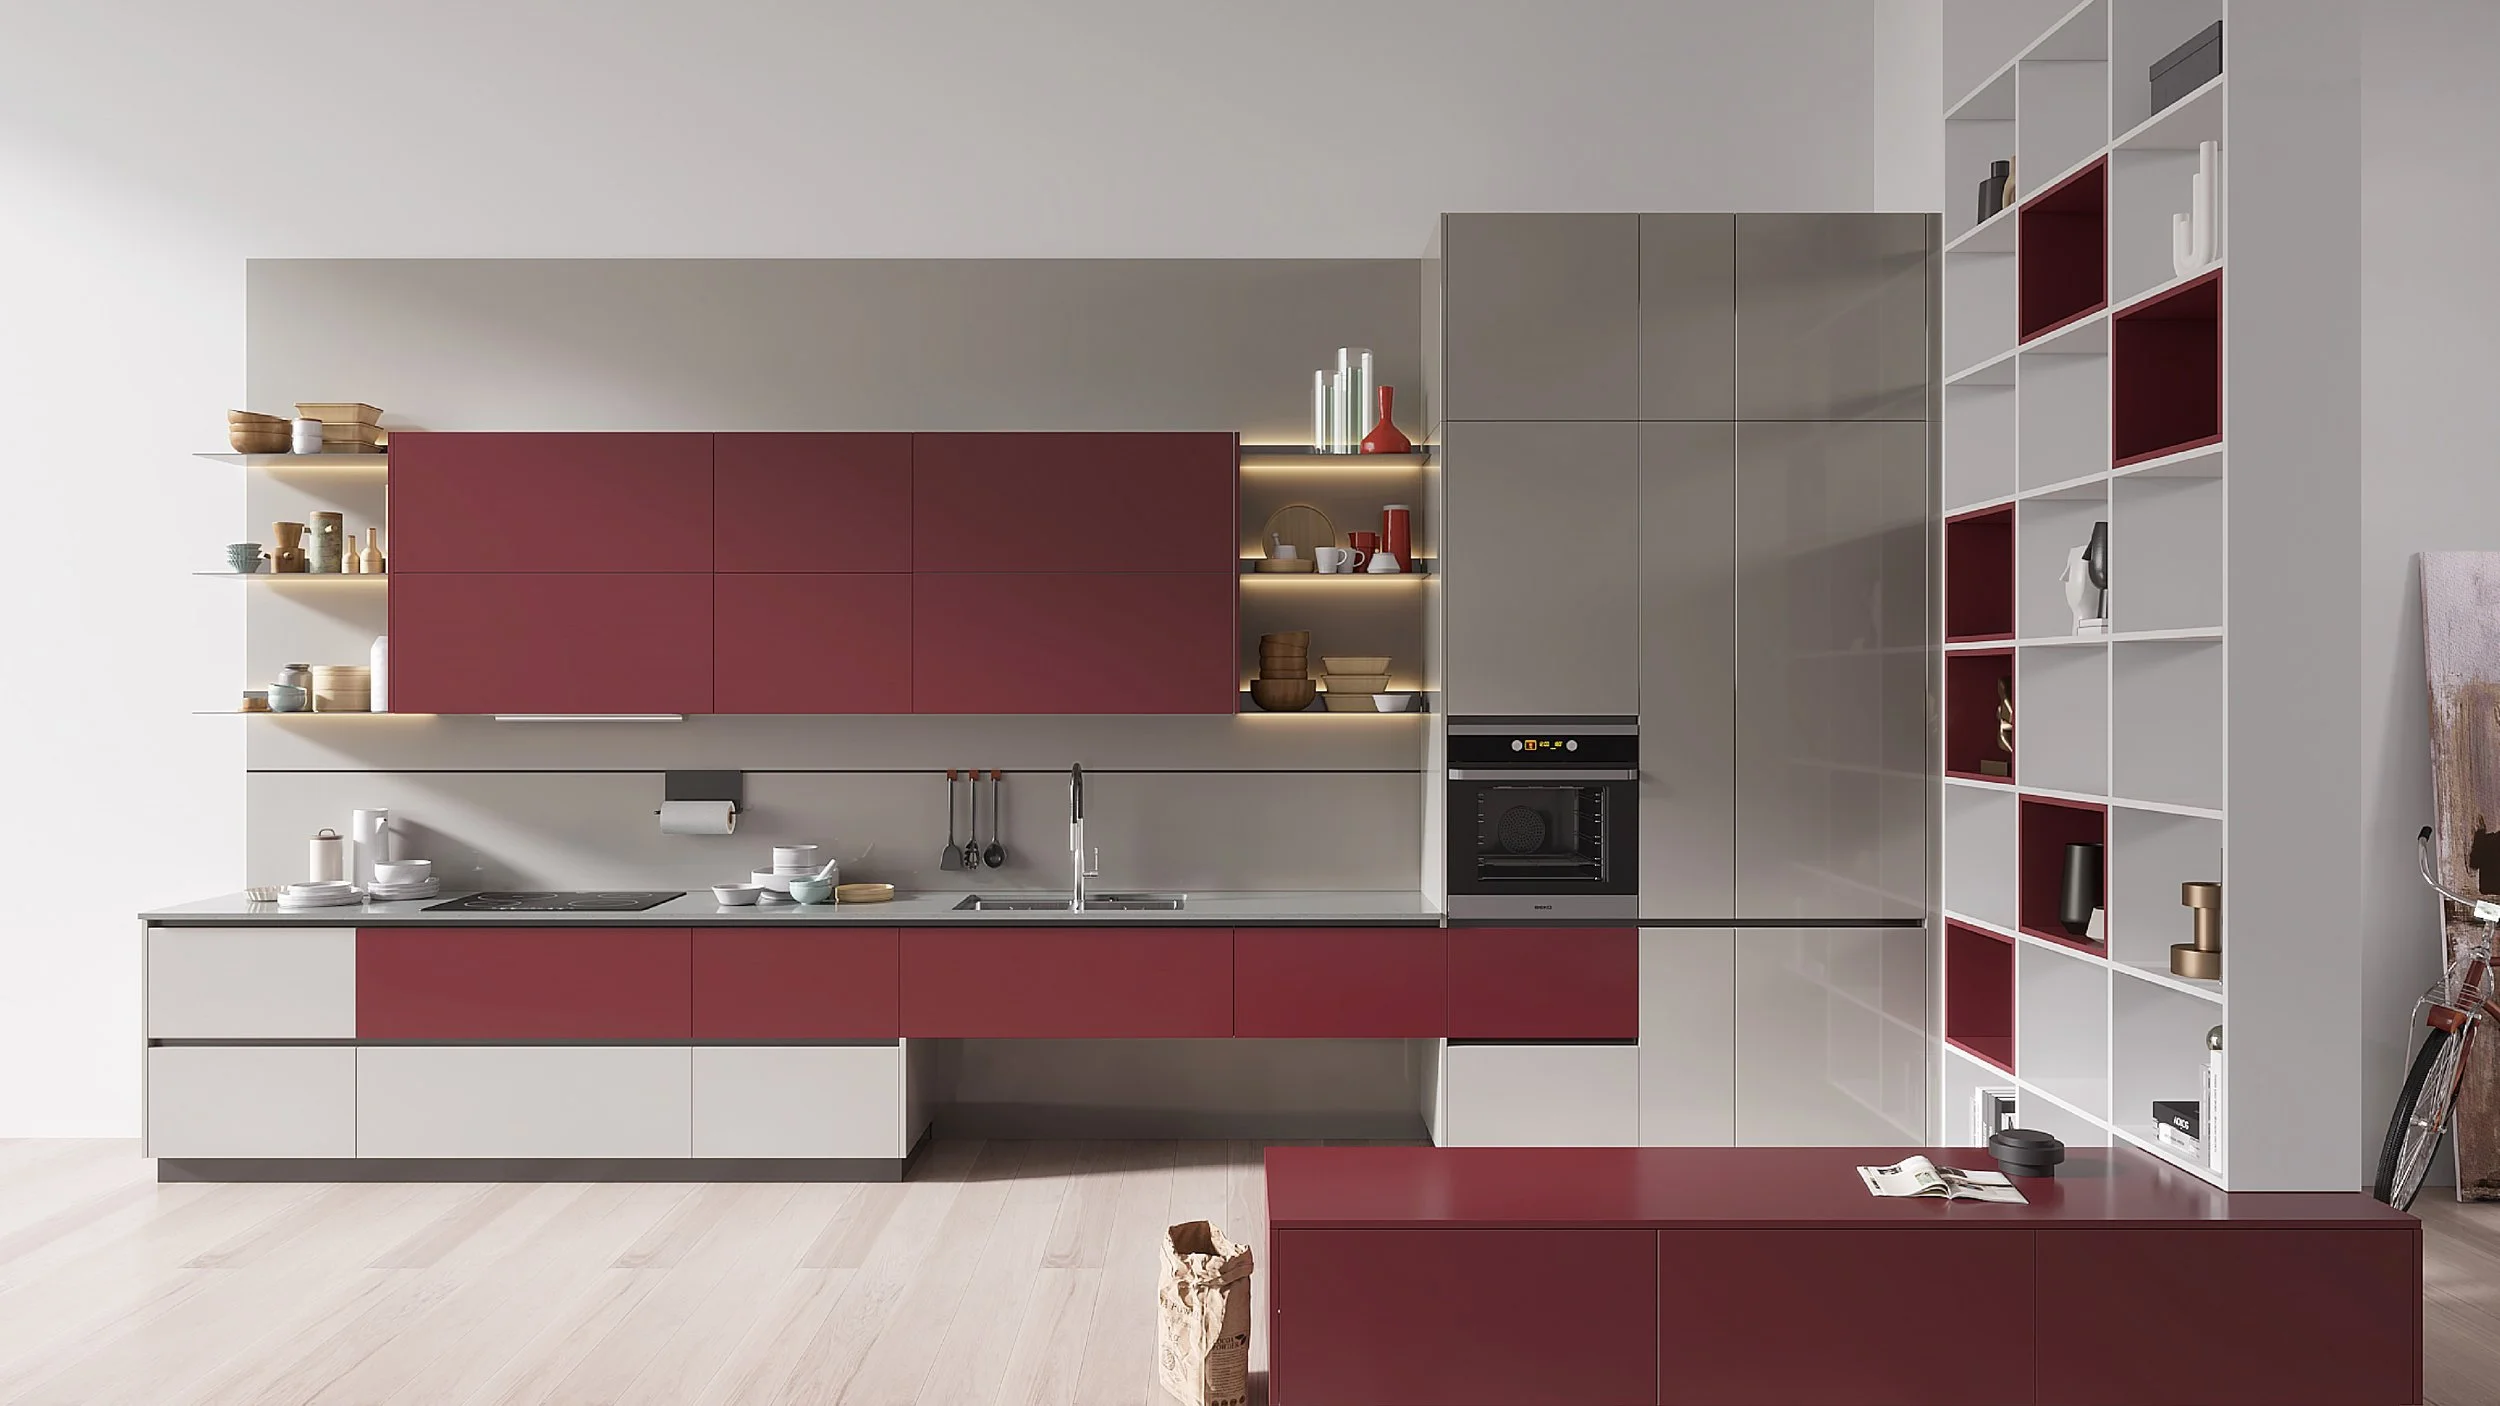
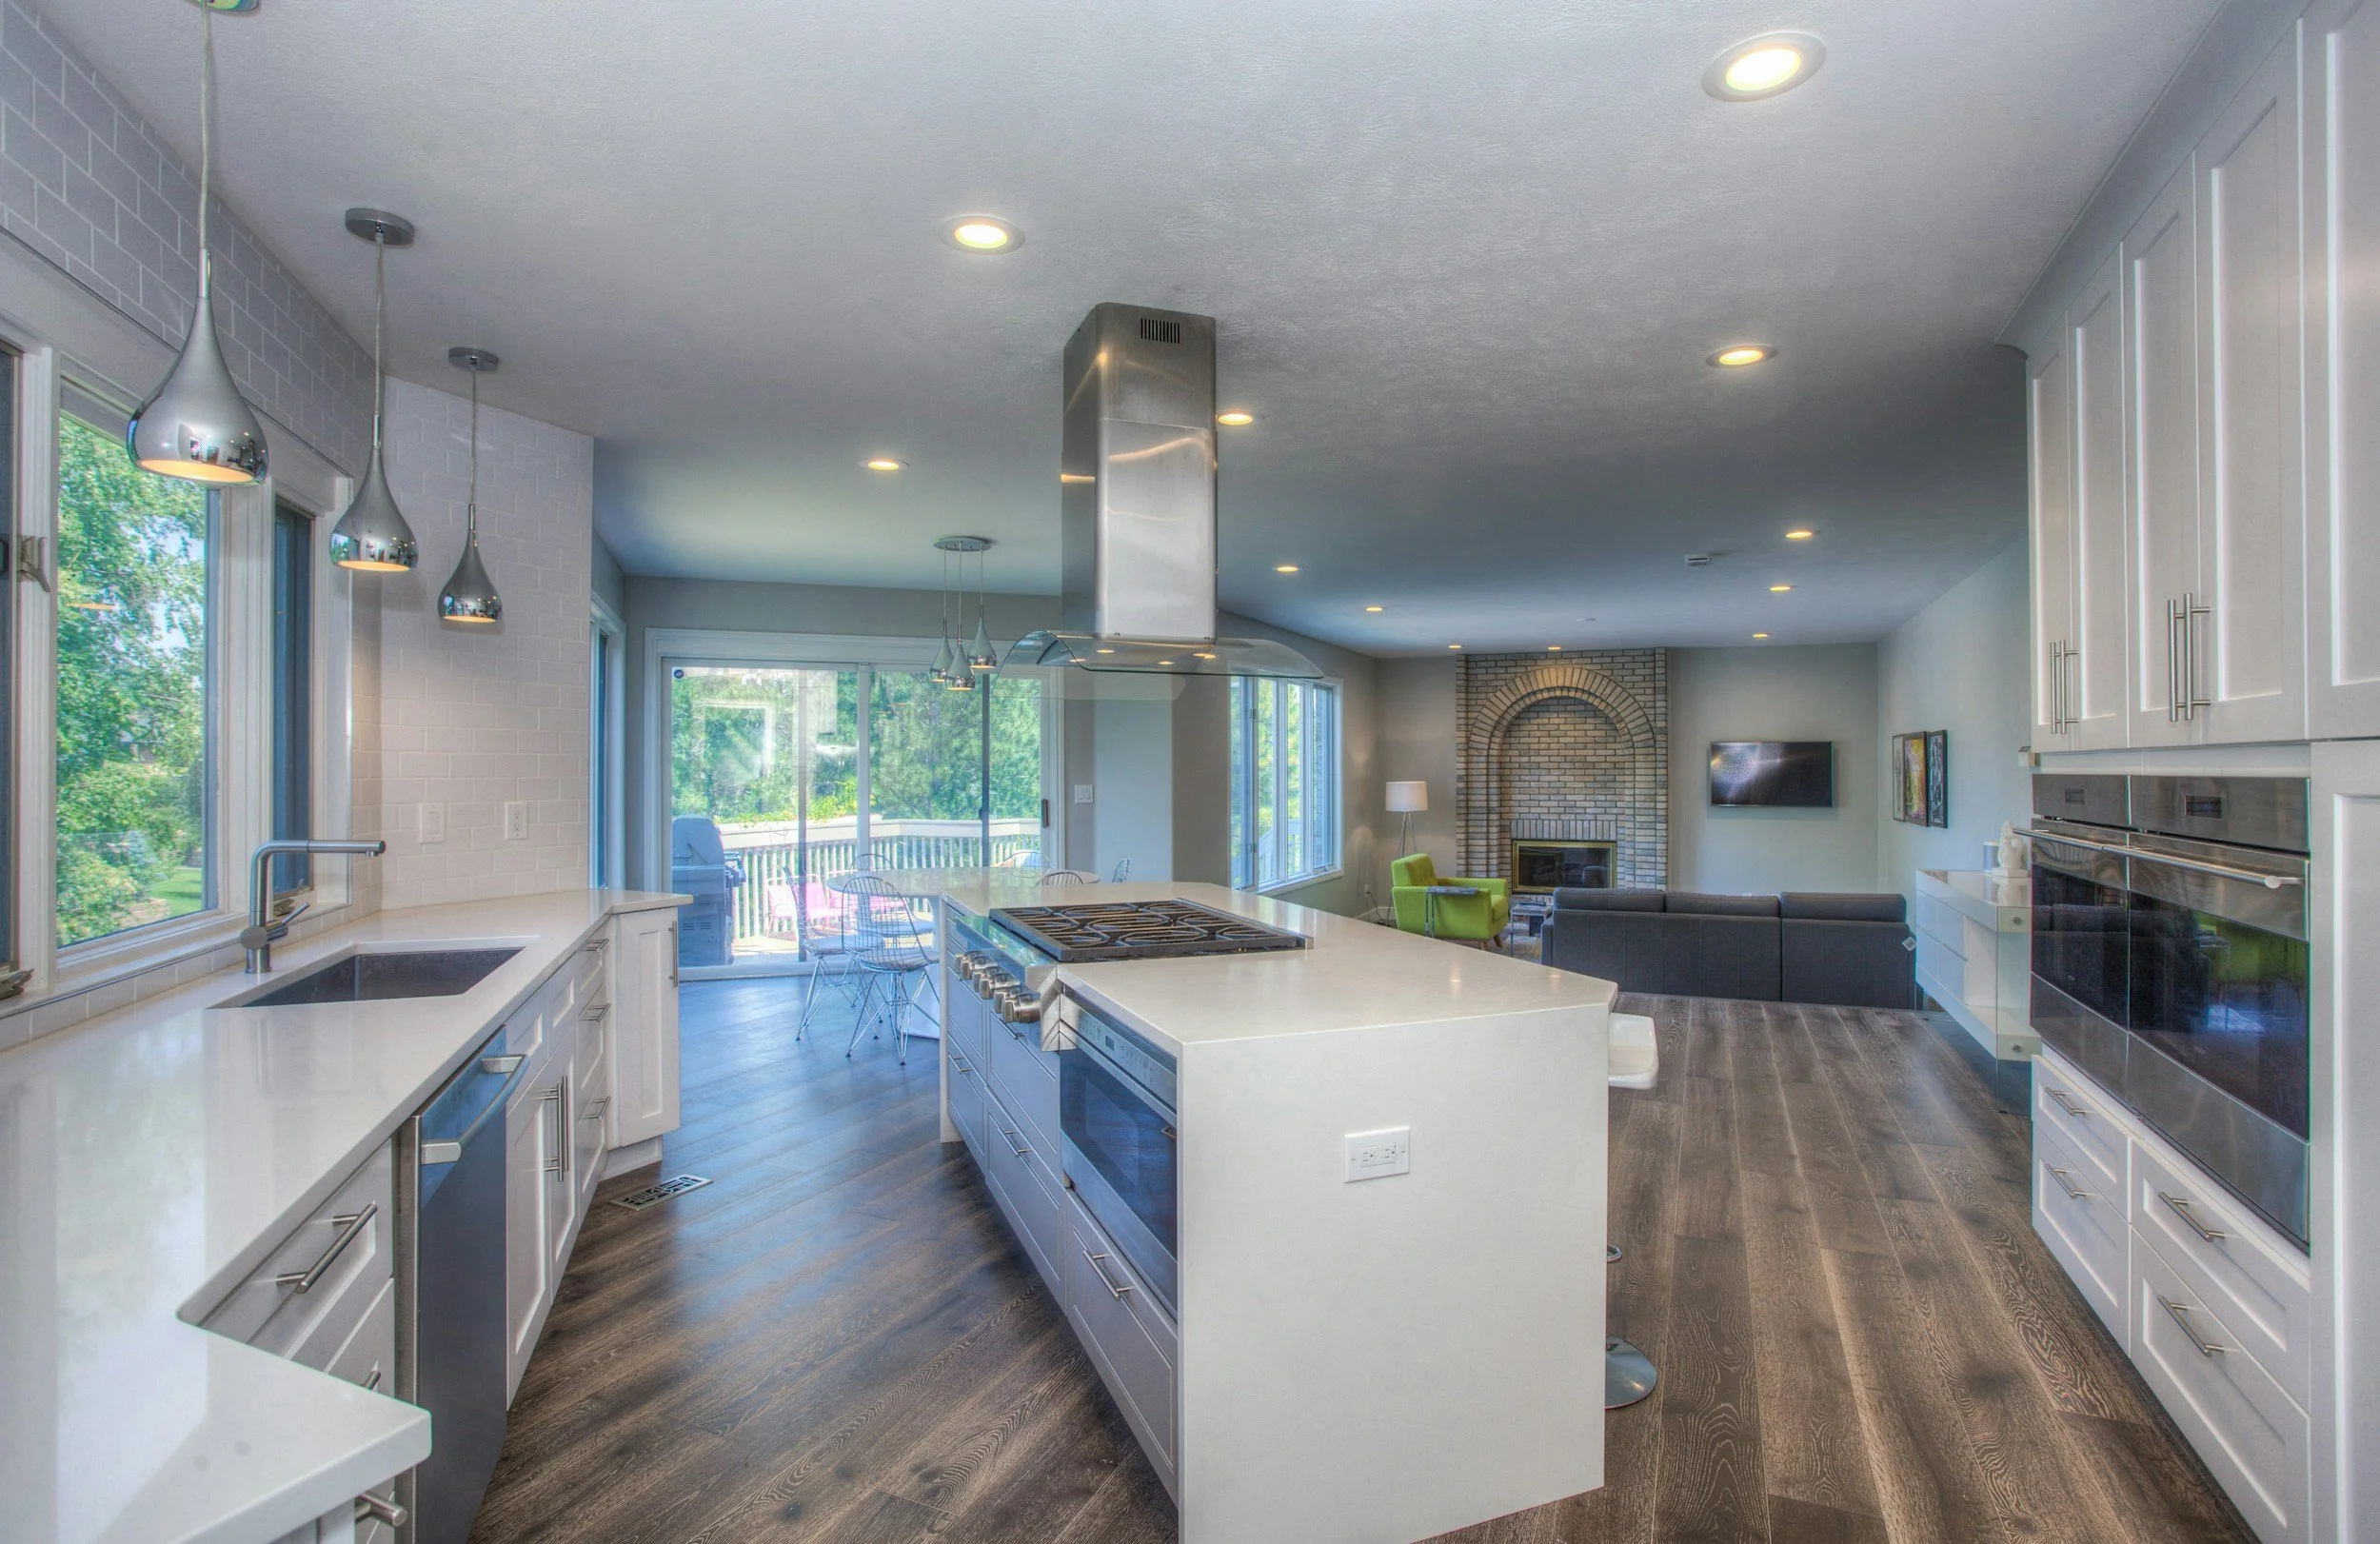
L-shape for open-plan flow
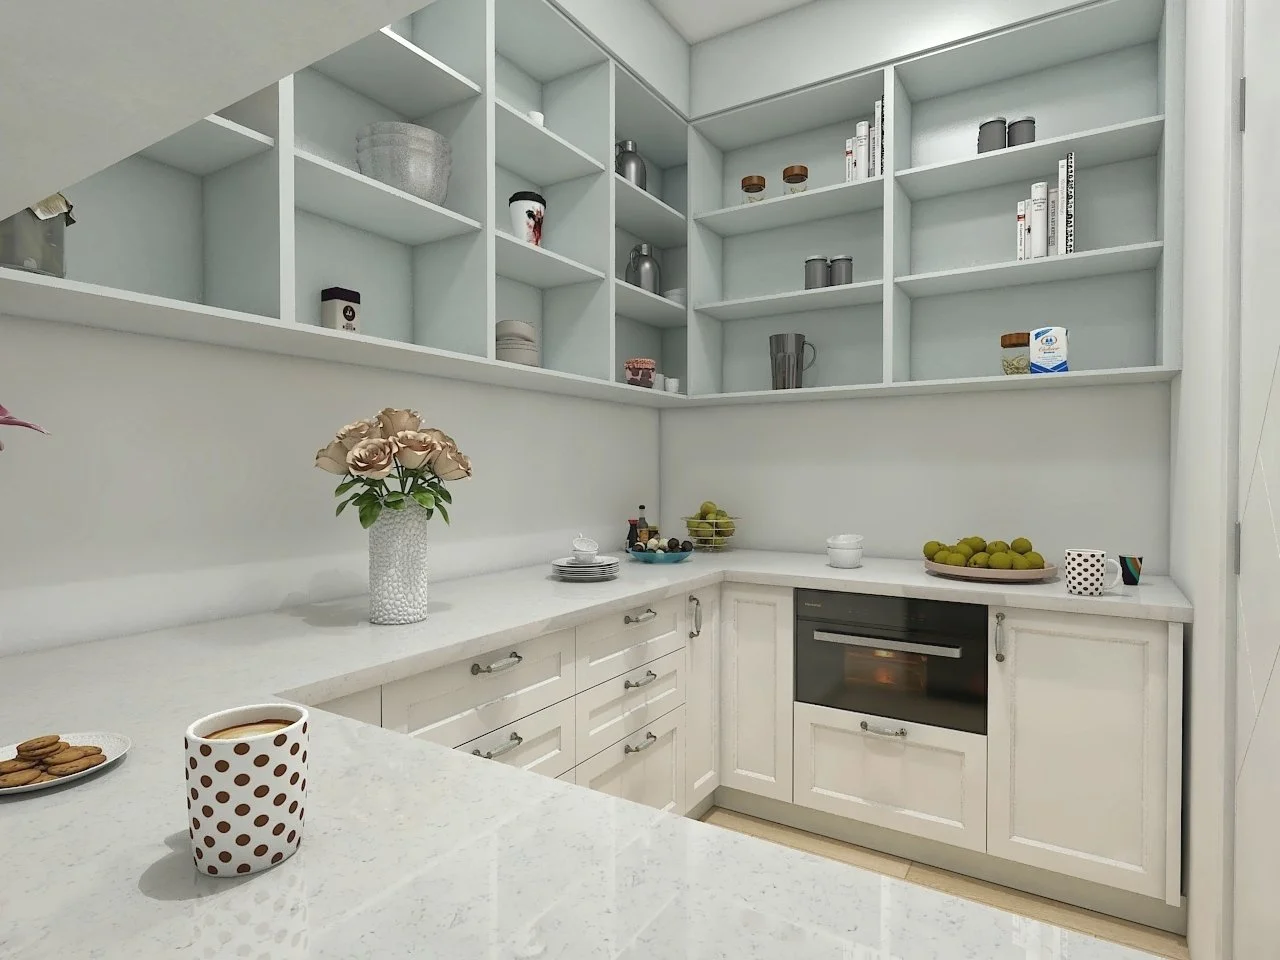
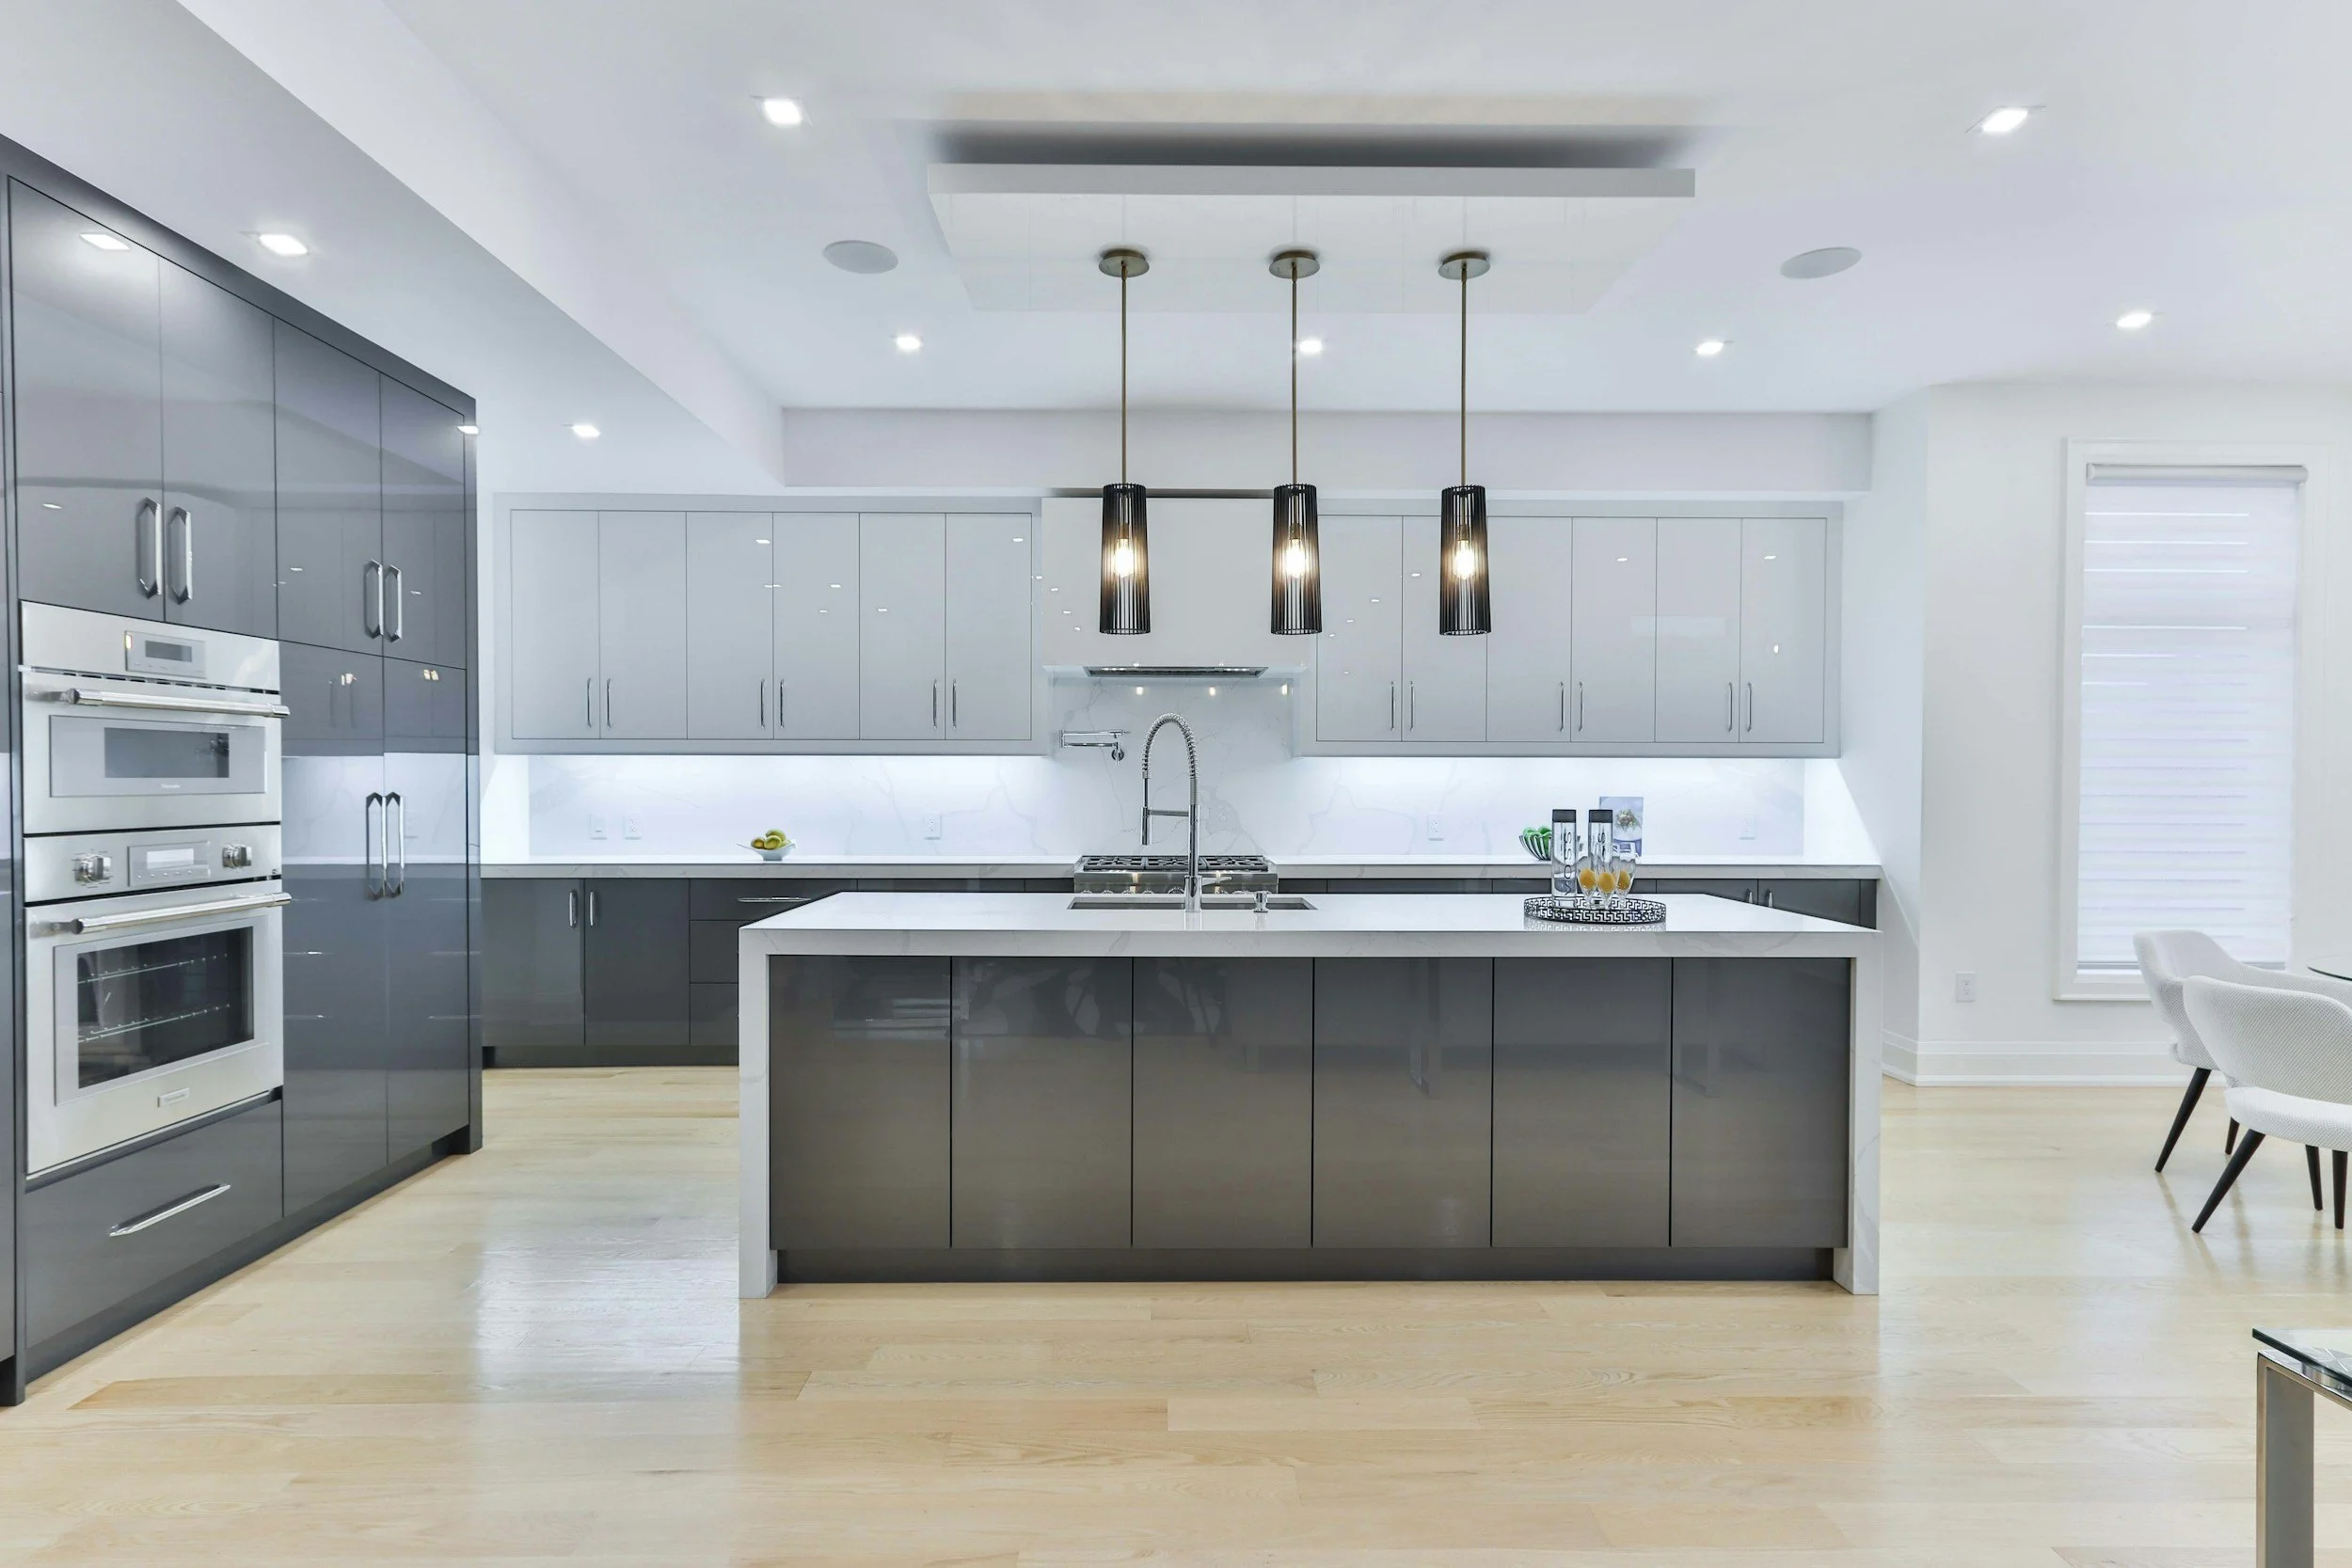
U-shape for maximum bench and storage
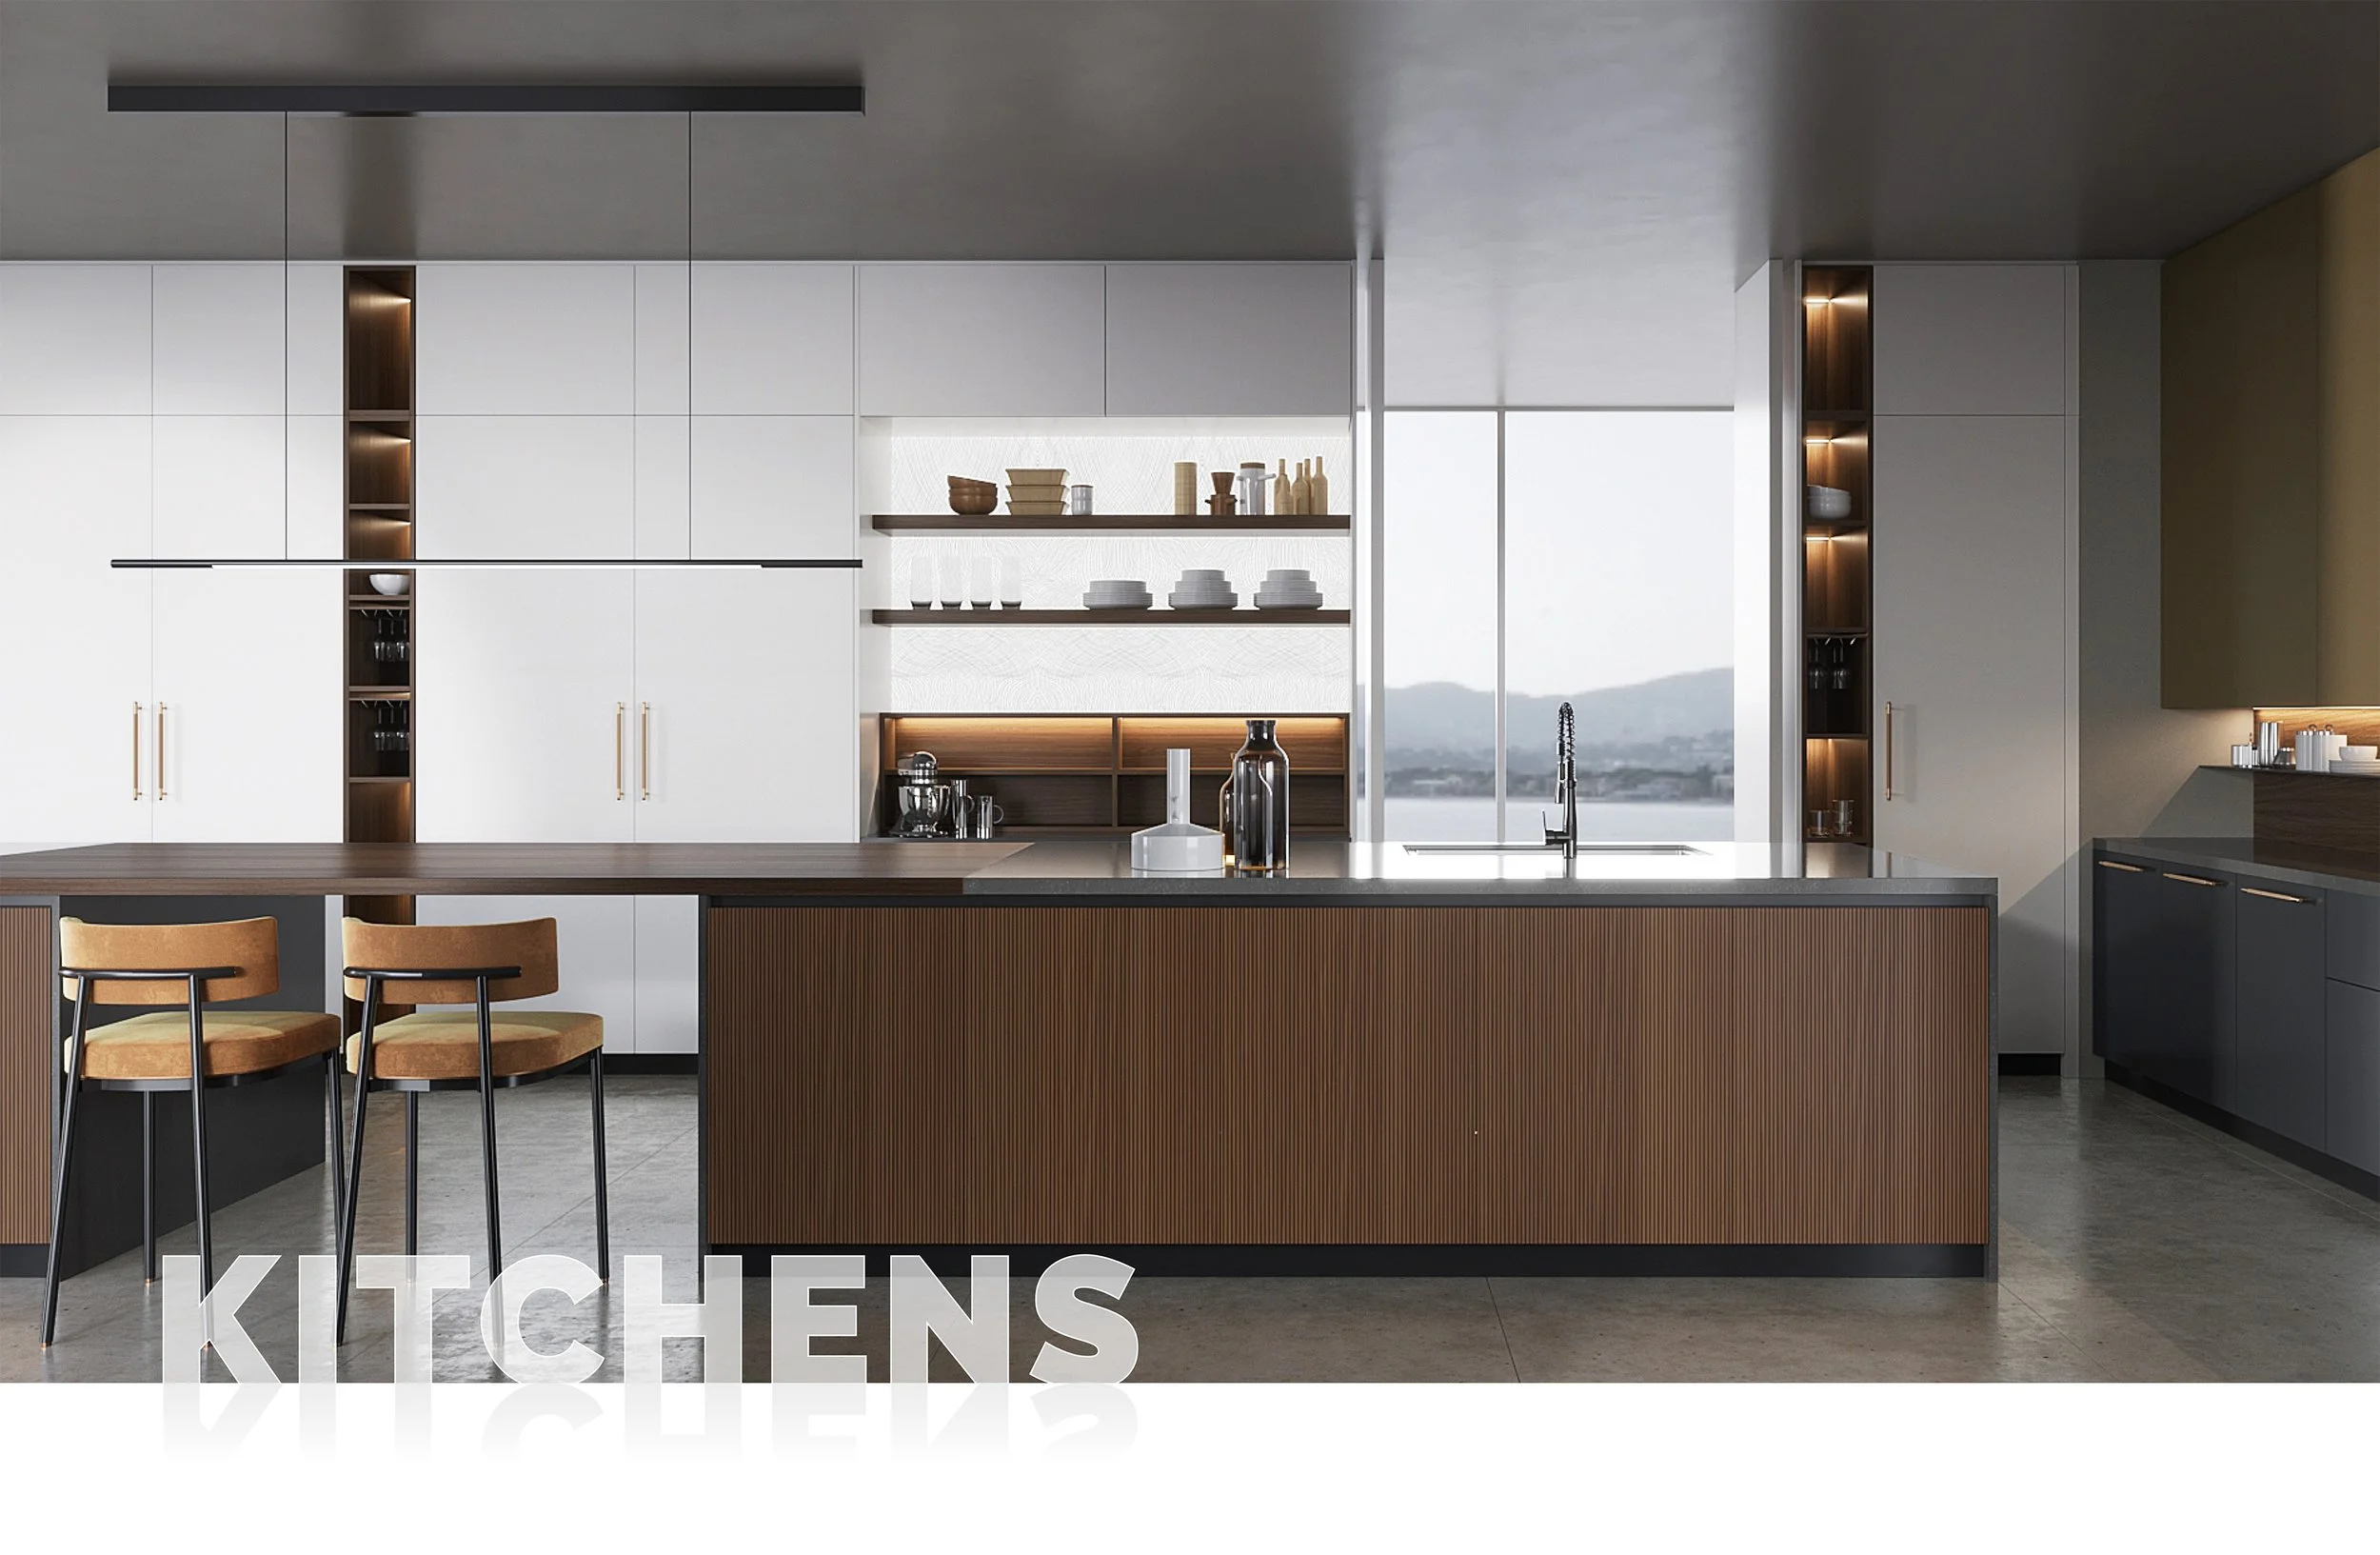
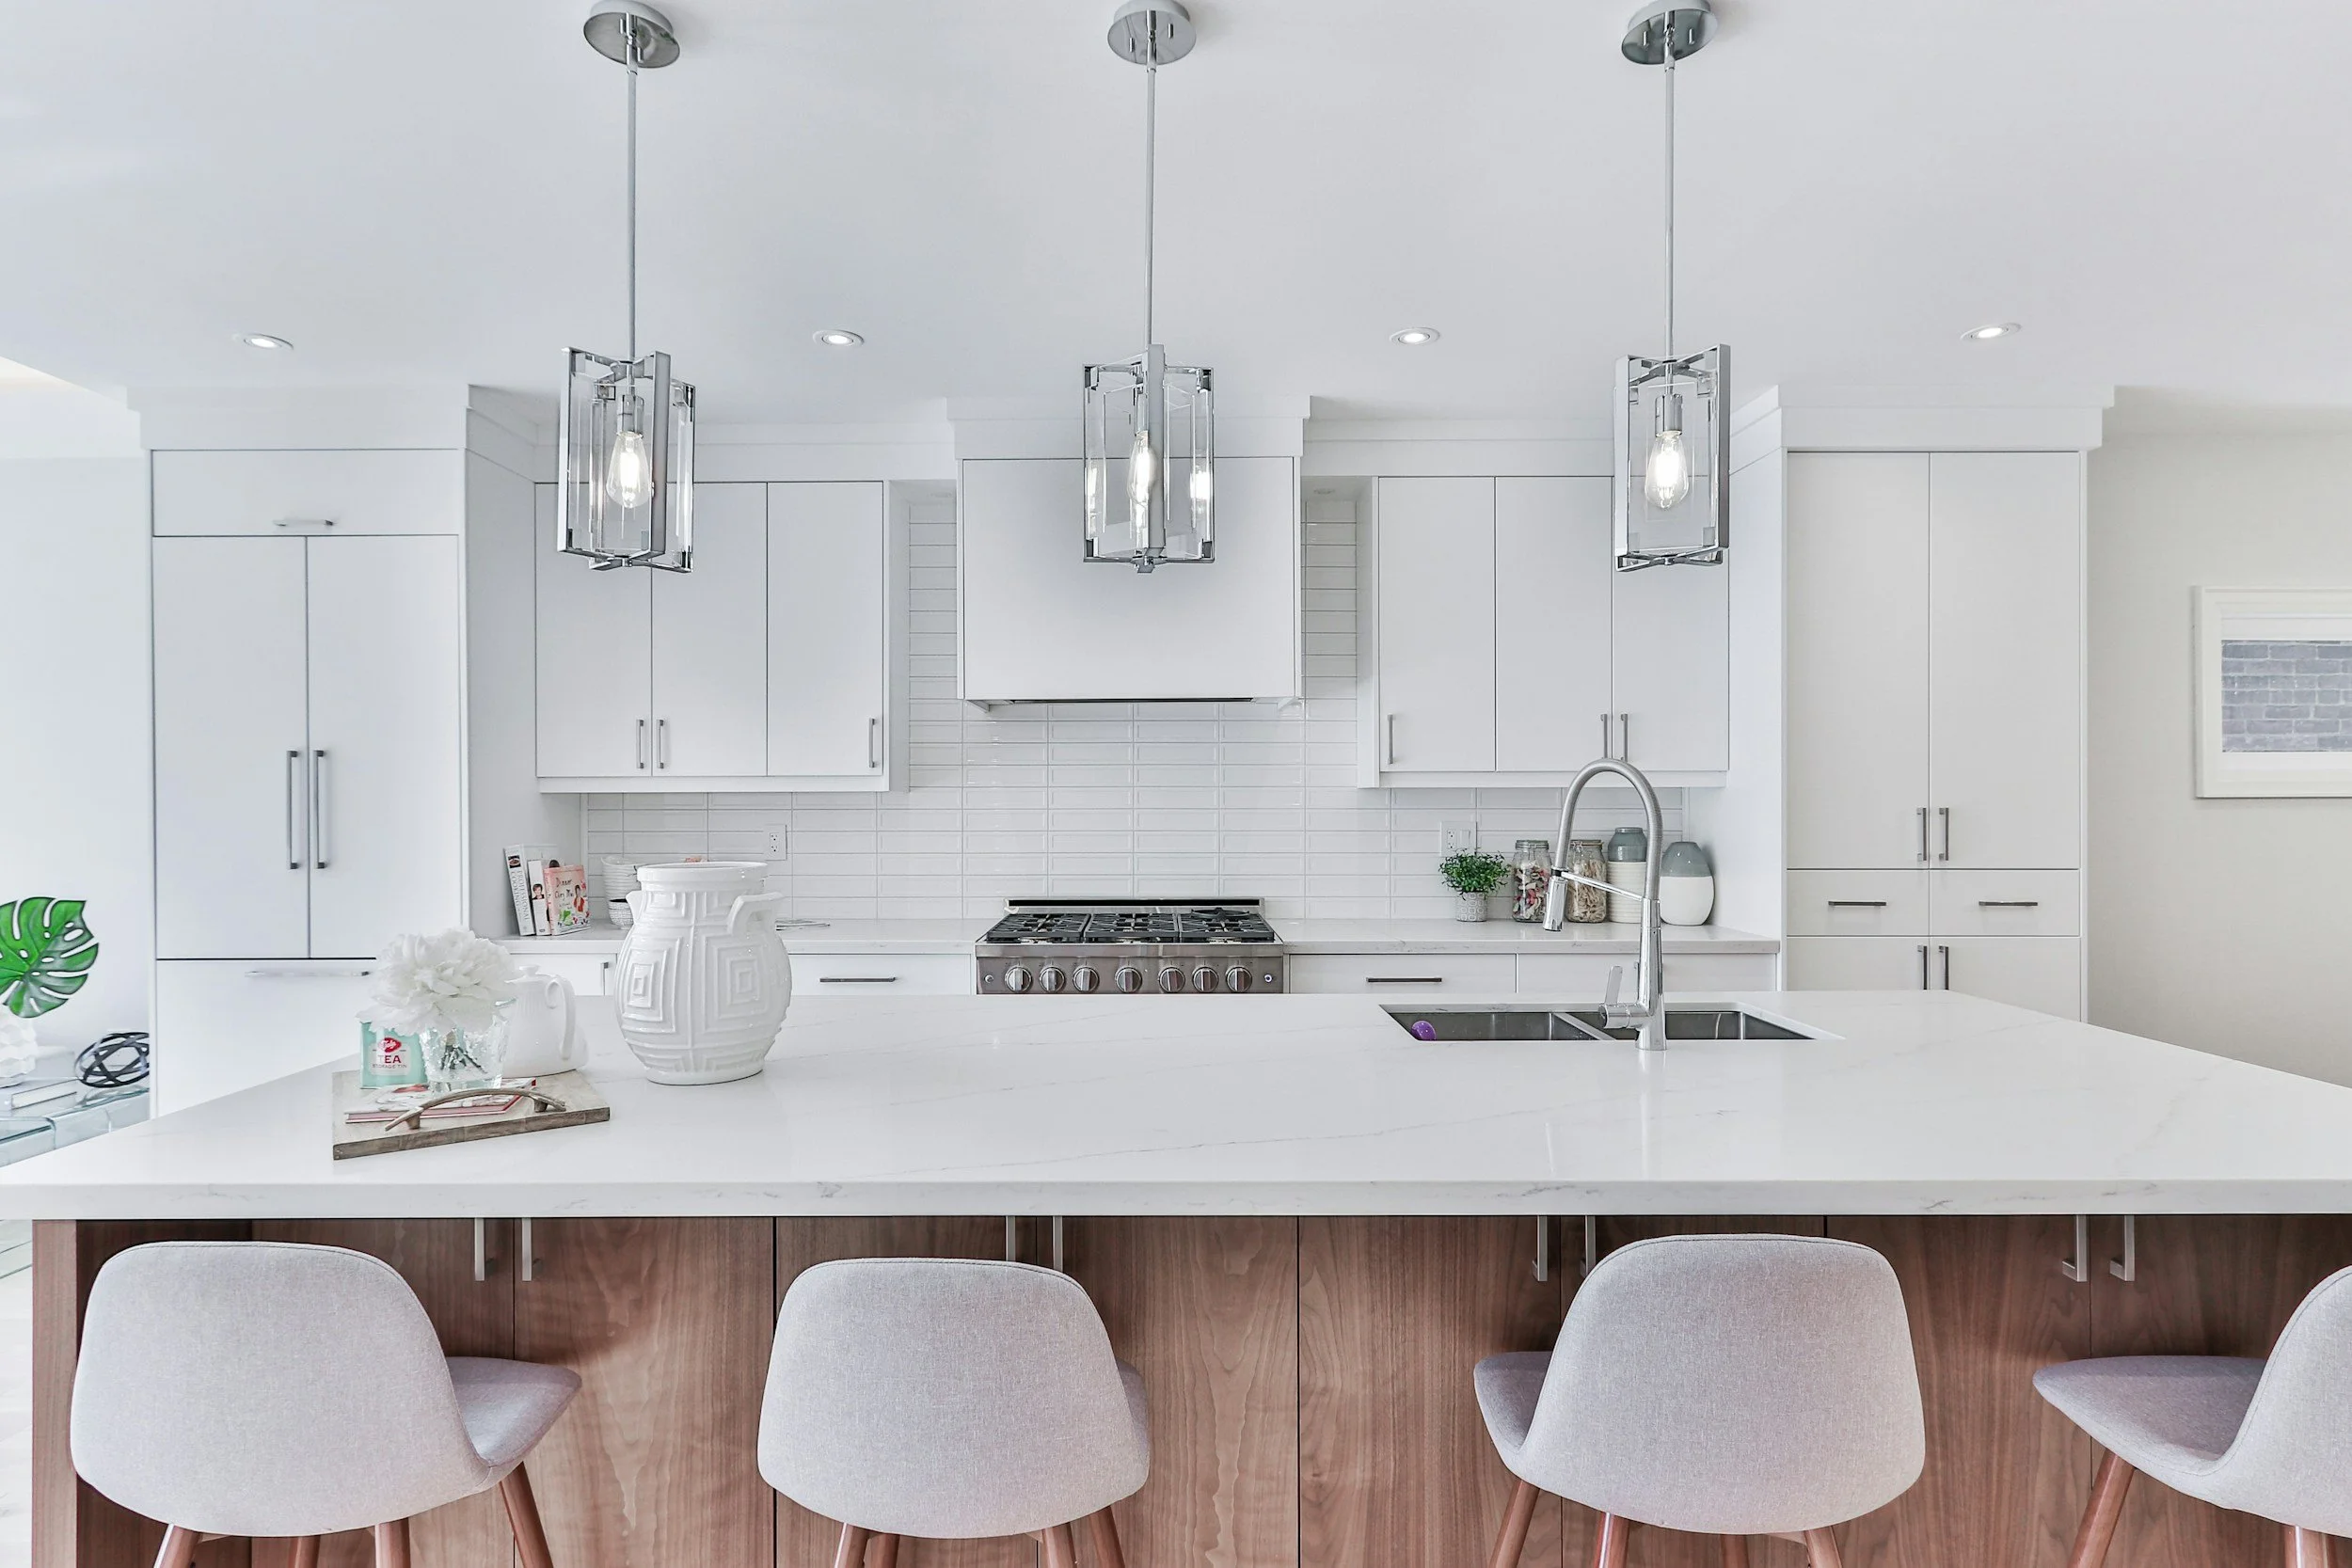
Island or peninsula for social seating and prep space
Avoid common layout pitfalls like tight circulation and poorly planned workflows by validating walkways and appliance clearances early.
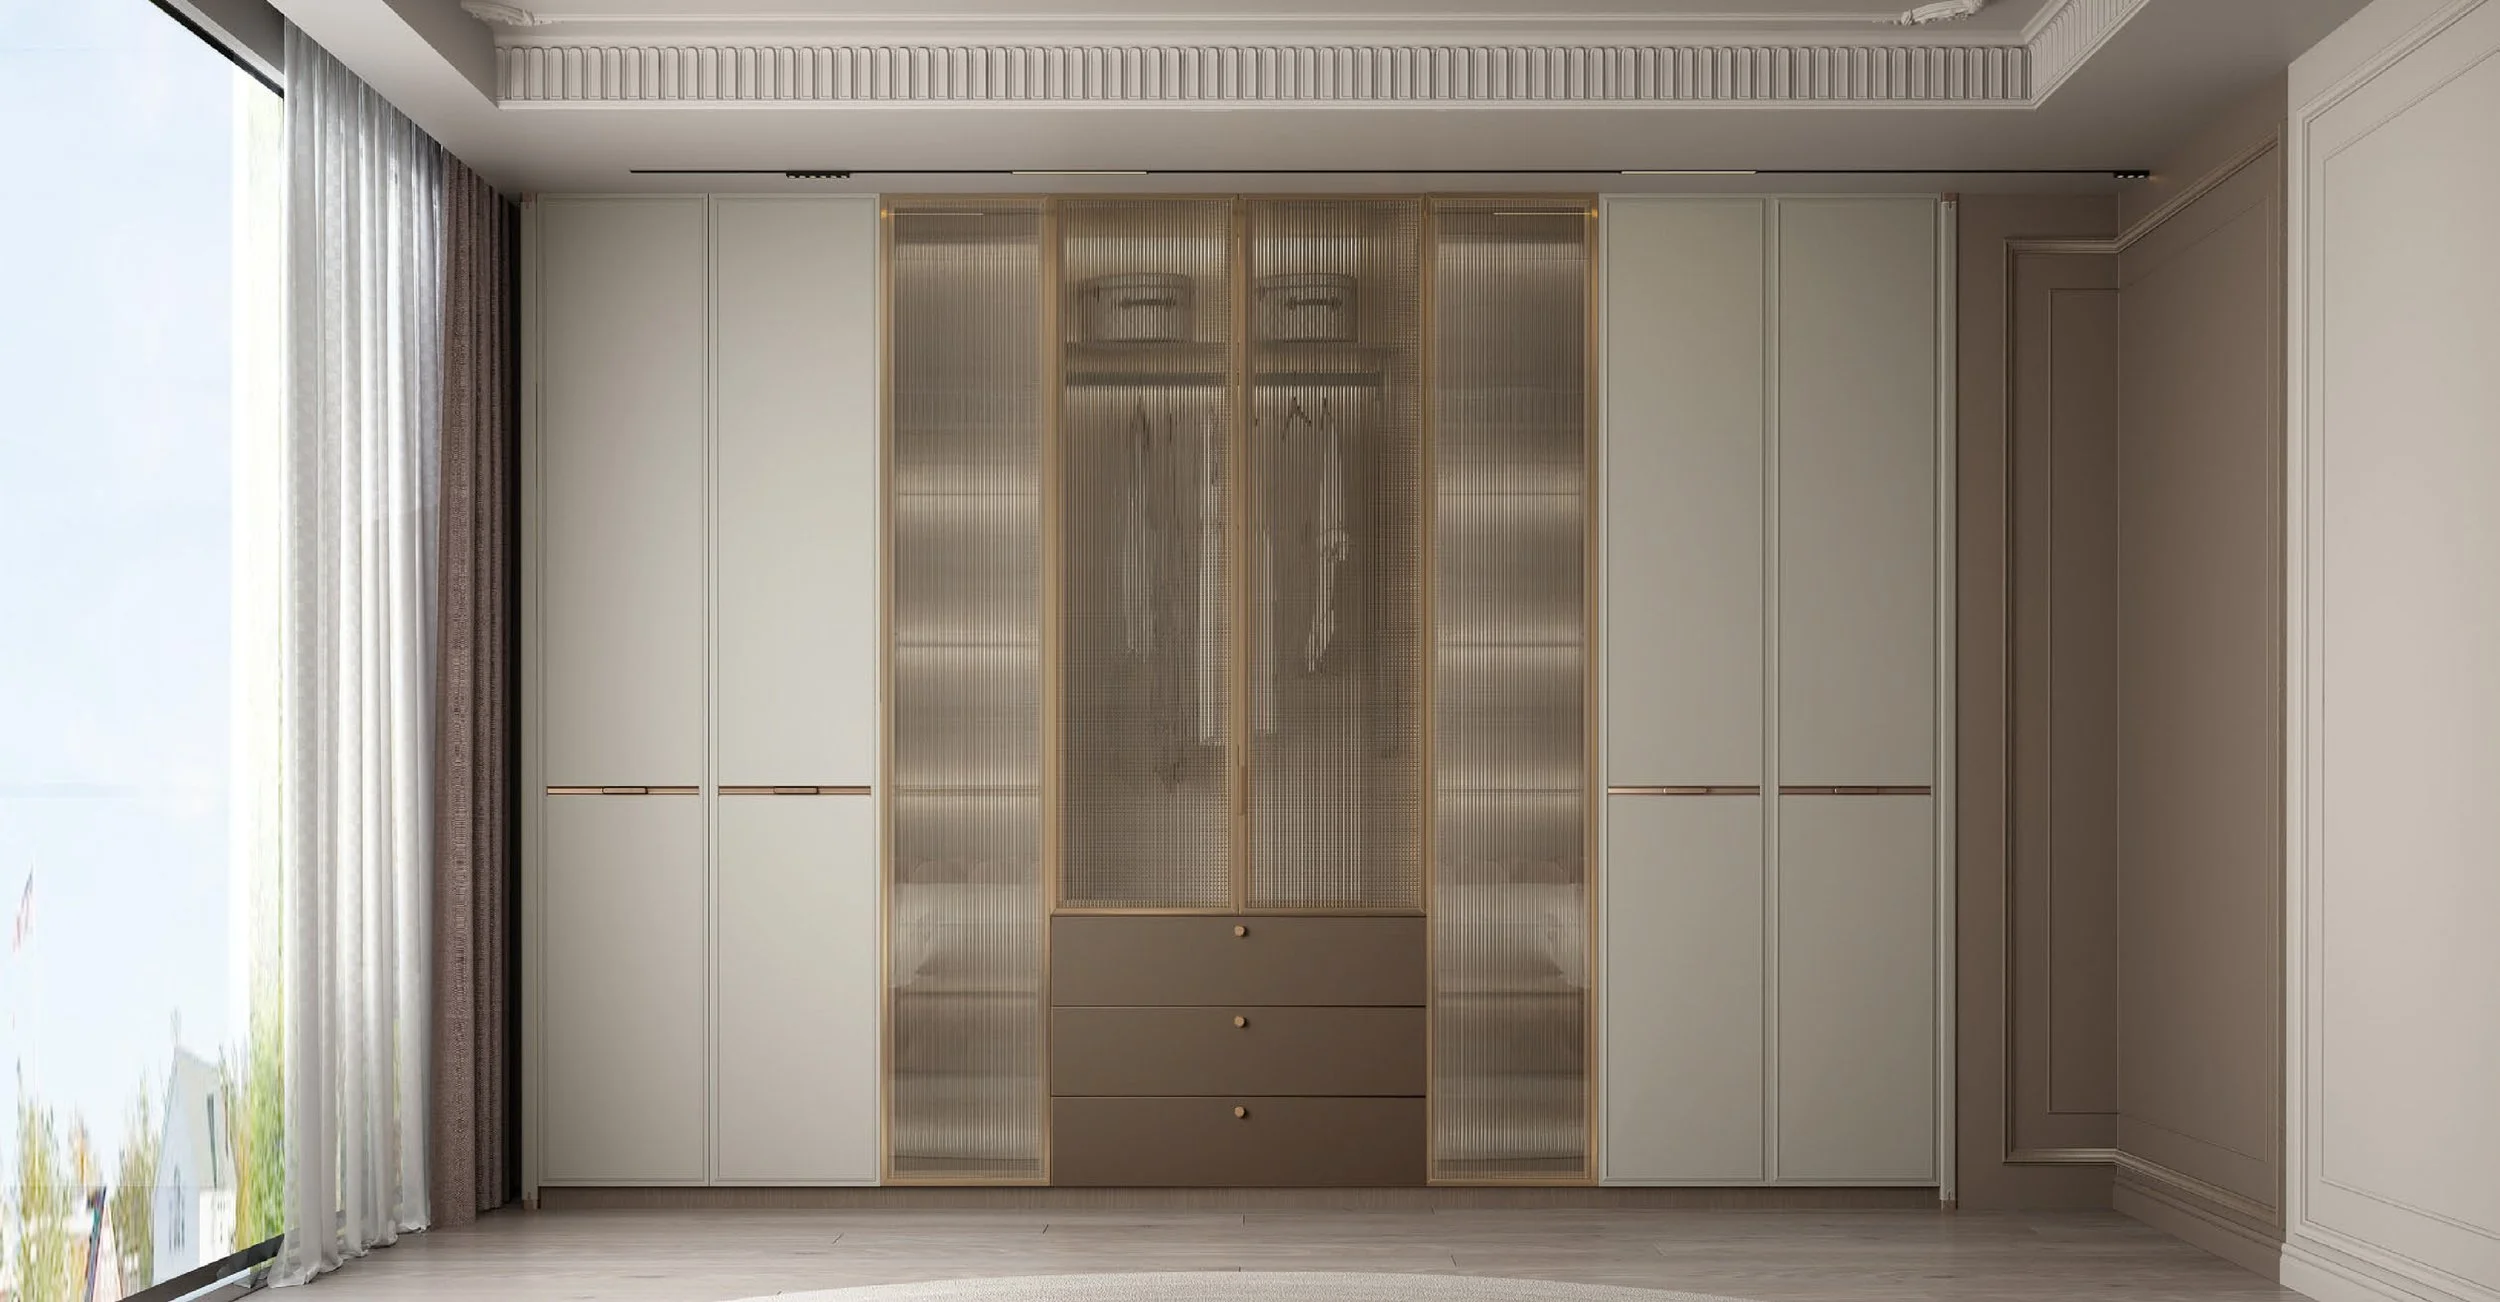
Plan storage before finishes
Prioritise the storage that keeps kitchens calm:
Deep drawers (pots, pans, plates)
Pull-out pantry zones for staples
Appliance garage to hide benchtop clutter
Corner storage solutions that actually get used
Integrated bins near the sink for fast clean-up
Confirm appliances early
This one saves time and money:
Measure every appliance (including door swing and ventilation requirements)
Confirm power, plumbing, and rangehood/extraction needs
Pre-measuring appliances and planning for where they “live” is a well-known point professionals flag as critical.
Selections checklist
Cabinetry and internals
Door style (shaker, slab, fluted details, glass accents)
Hardware (soft-close hinges, drawer runners)
Internal organisers (cutlery, spices, trays, recycling)
Benchtops and splashback
Choose for durability and maintenance (especially around the cooktop and sink)
Confirm thickness, edge profile, and waterfall ends (if any)
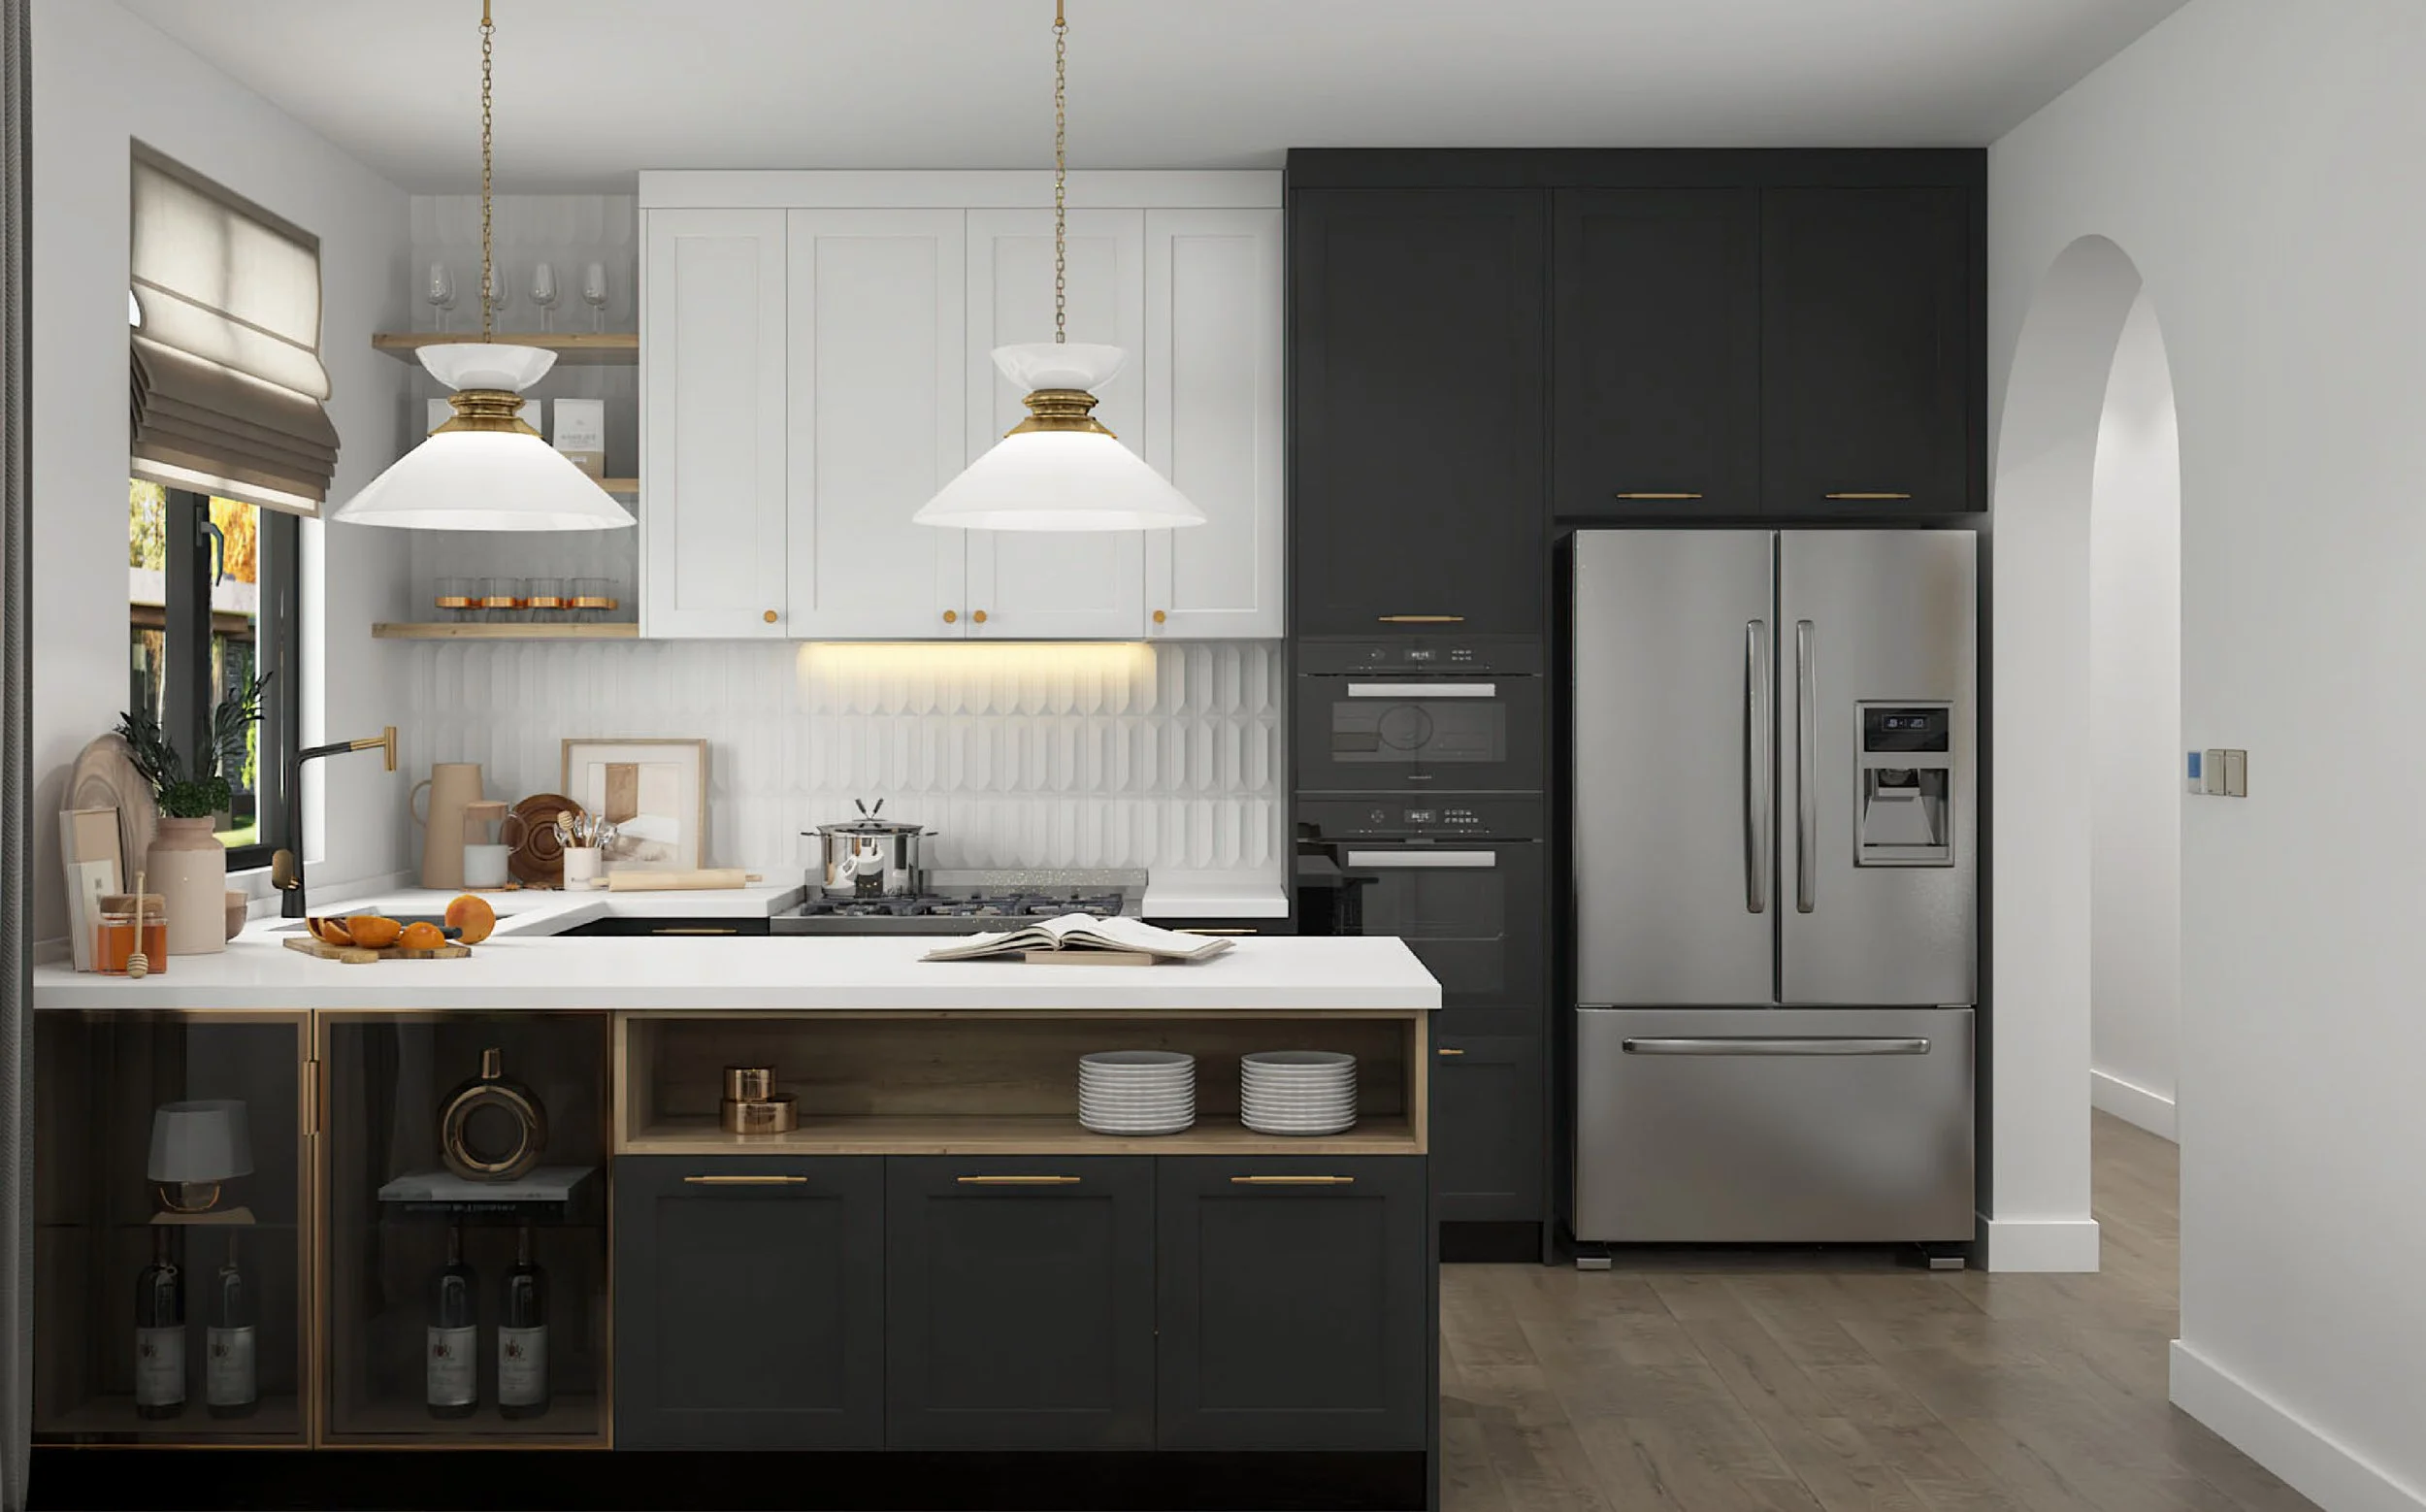
Lighting plan
A common regret is leaving lighting too late. Your plan should include:
Under-cabinet task lighting (non-negotiable for usability)
Ambient ceiling lighting (even fill across the room)
Feature lighting (pendants over island/peninsula)
Optional toe-kick lighting for a soft evening glow
Lighting placement and function are repeatedly flagged as areas people get wrong when prioritising looks over task performance.
Trades checklist
Builder/carpenter (if structural changes are needed)
Licensed electrician
Licensed plumber
Tiler and plasterer (if relevant)
Installer/cabinetry team
A consistent theme in renovation guidance is sequencing trades correctly and avoiding late plan changes that disrupt schedules and budgets.
Timeline checklist (realistic expectations)
Timelines vary by scope and trade availability, but common installation guides outline a practical order such as removal, repair/level walls, then install, then finishing.
A typical sequence looks like:
Remove old kitchen
Repair walls and prepare surfaces
Rough-in plumbing/electrical (as required)
Install cabinetry
Install benchtops
Splashback/tiling
Appliances, final electrical and plumbing
Final checks and handover
If you want a simple reference point for broader planning, some Australian kitchen retailers also publish timeline guidance for design, production and installation phases.
Final checks before handover
All doors and drawers aligned, soft-close working
Silicone and finishing completed cleanly
Appliances installed and tested
Extraction working properly
Lighting levels feel right (task areas are not shadowed)
Warranty and care info provided
Transform Your Space with Eco Squared
Embrace the elegance and functionality of European design with Eco Squared. Our Oppolia partnership provides access to premium materials and cutting-edge manufacturing, tailored for the way Sydney lives.
Get a Free SMART QUOTE
Film a quick 360° video and Text/WhatsApp 0466 119 712 (no home visit required).
Prefer email? info@eco2.com.au
FAQs
What should I do first in a kitchen renovation?
Start by defining your goals, setting a budget, and locking in the layout. Then design storage and appliance placement before choosing finishes.
How long does a kitchen renovation take in Australia?
It depends on scope, trades and lead times, but most projects follow a staged sequence: removal, preparation, installation, then finishing. Planning around trade order is commonly recommended to prevent delays.
When should I choose appliances for my new kitchen?
As early as possible. Appliance sizes, door swings and ventilation affect cabinetry design and circulation, and are frequently noted as a common planning mistake.
What’s the biggest mistake people make when renovating a kitchen?
Changing plans mid-project and under-planning layout, lighting and storage. Professionals often call out circulation, workflow and task lighting as avoidable pain points.
Is under-cabinet lighting necessary?
Yes. It provides shadow-free task lighting over benchtops and prevents relying on pendants that look nice but don’t light work surfaces properly.