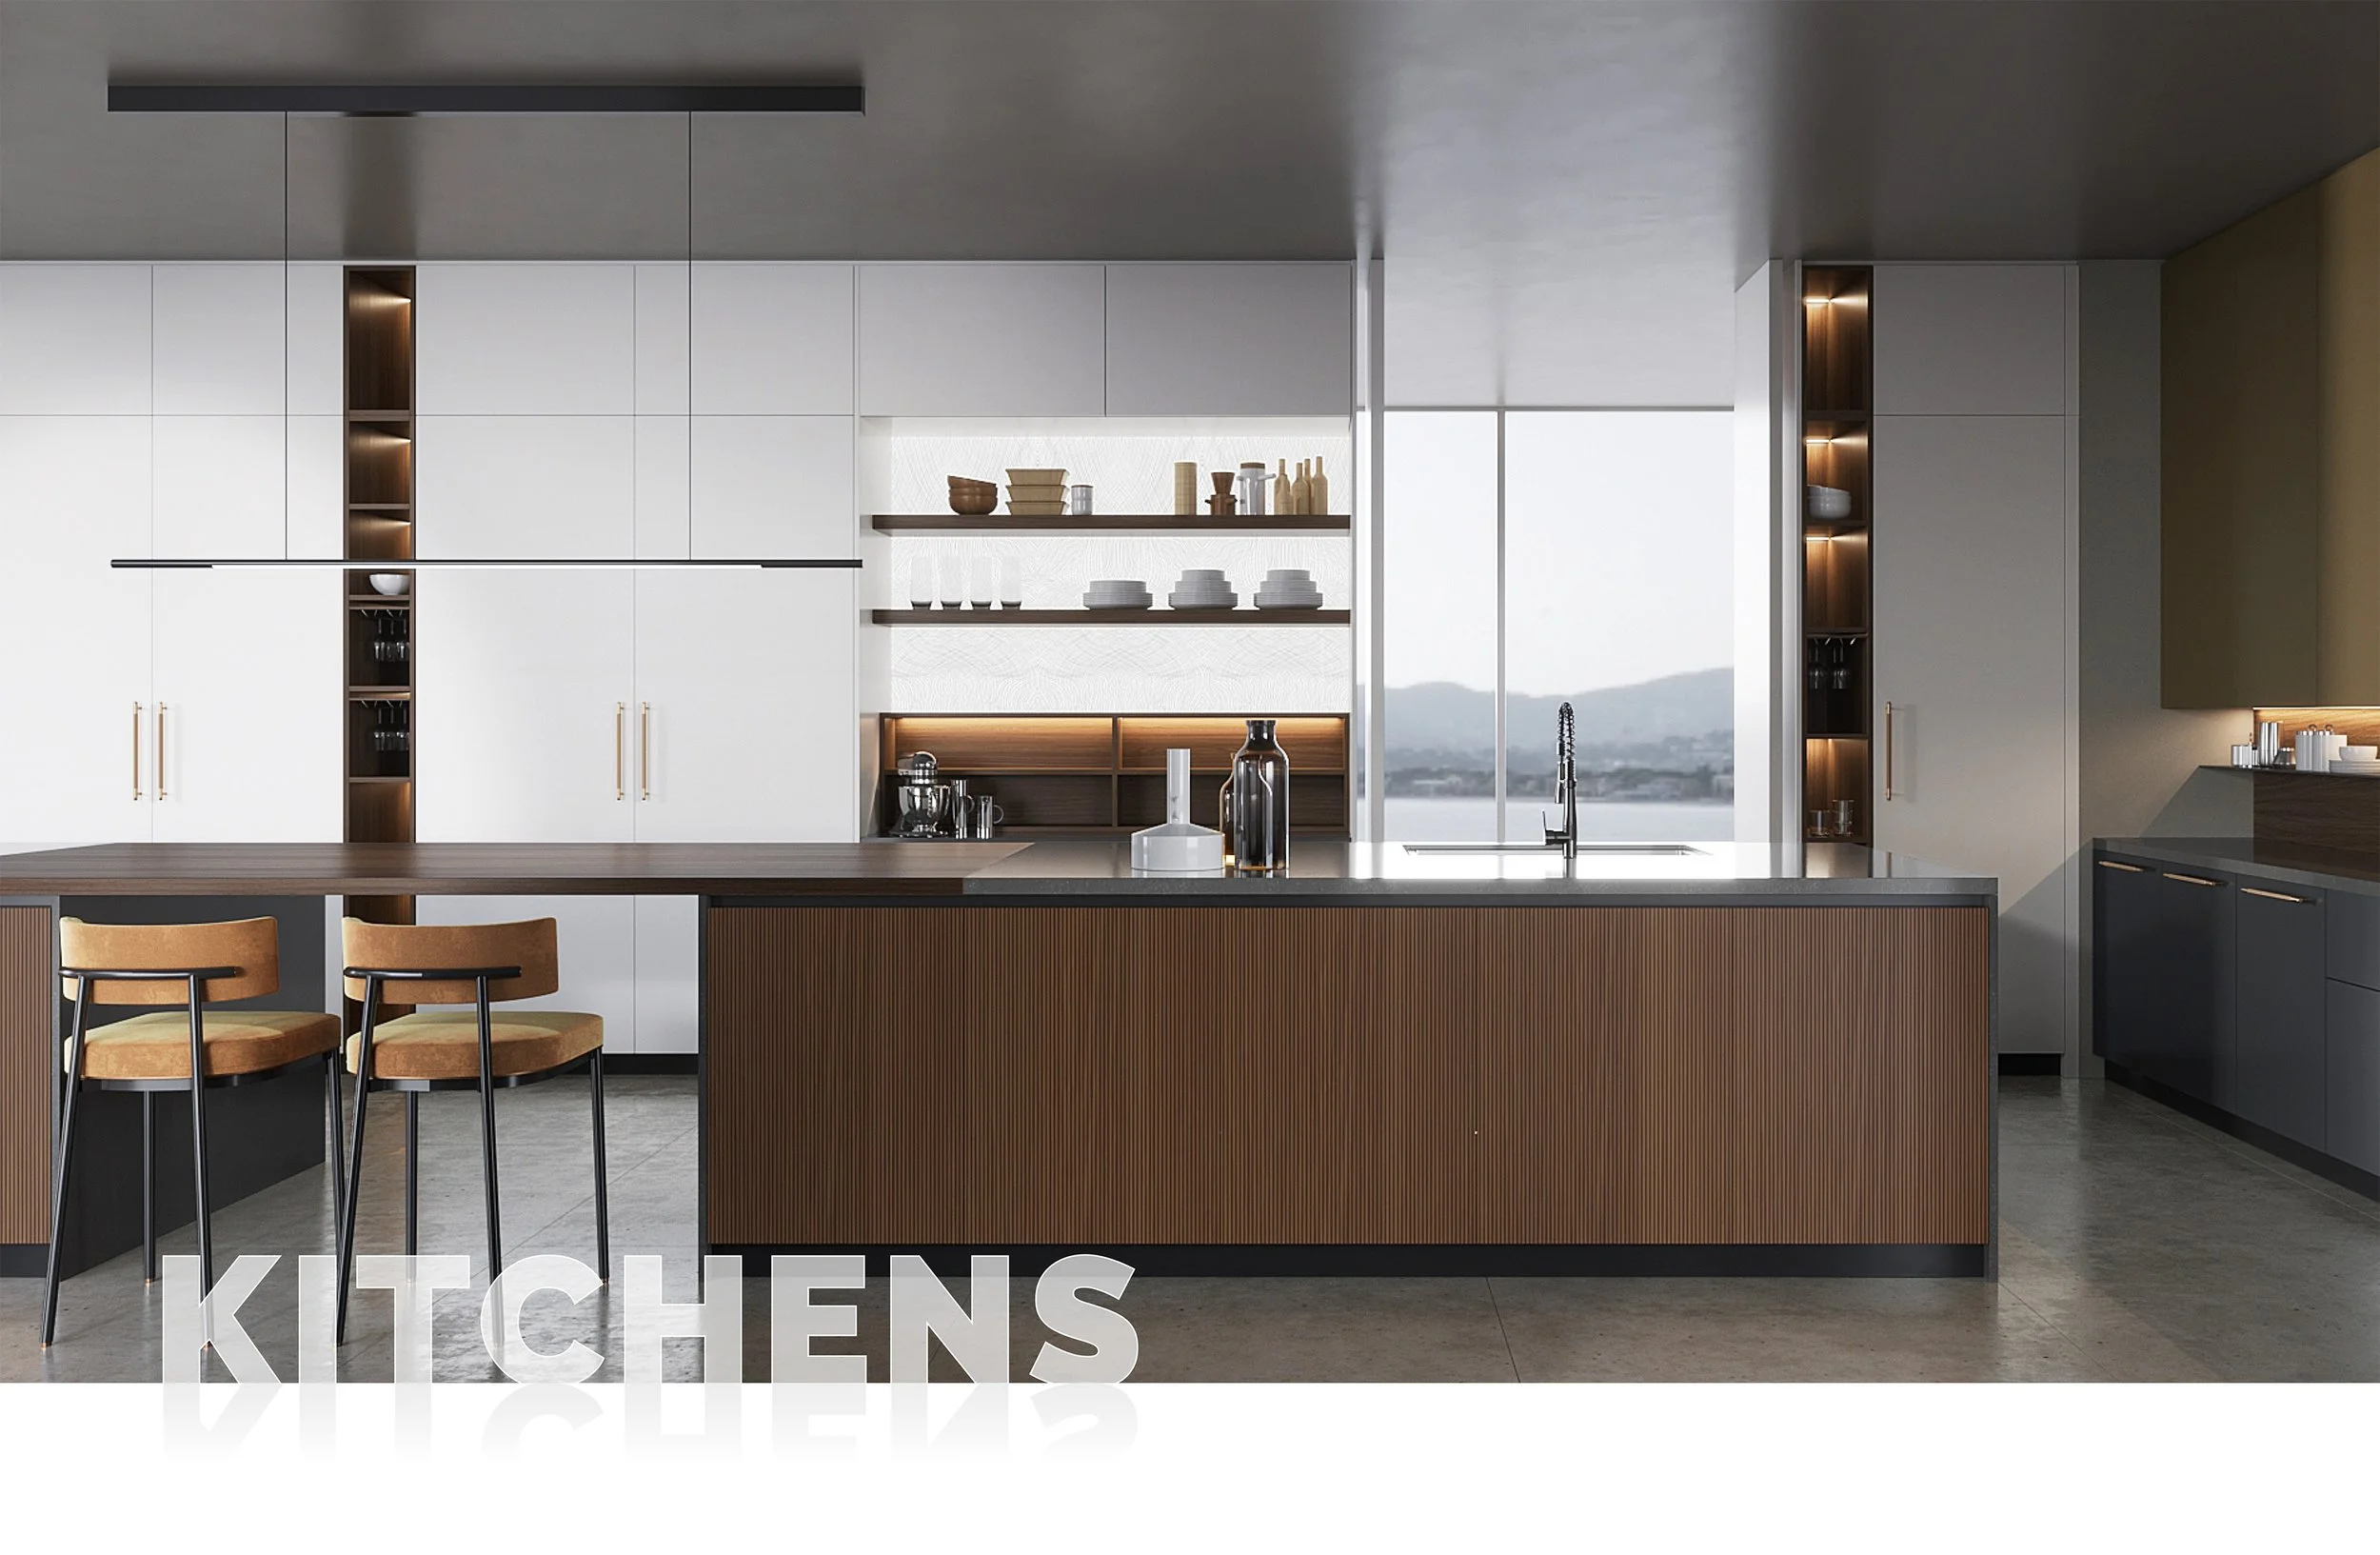
Kitchen Lighting Guide: Layered Lighting for Beautiful, Practical Kitchens
Great kitchen lighting does more than brighten a room; it shapes how you cook, dine and entertain. With the right layers (task, ambient and accent), plus smart placement and fittings, you’ll have a space that looks stunning and works flawlessly day and night. Eco Squared designs, supplies and installs European-style cabinetry across the Sutherland Shire, planning lighting alongside storage, appliances and finishes for a cohesive result.
1) The three layers of kitchen lighting (and why you need all three)
Task lighting: bright, shadow-free light for food prep and cooking.
Under-cabinet LED strips or spots aimed at benchtops
Focused light over sinks and cooktops
Aim for even coverage along the whole prep run
Ambient lighting: the overall “fill” that makes the room comfortable.
Ceiling lights (downlights or track) spaced for even illumination
Consider dimmers to soften the mood for evenings
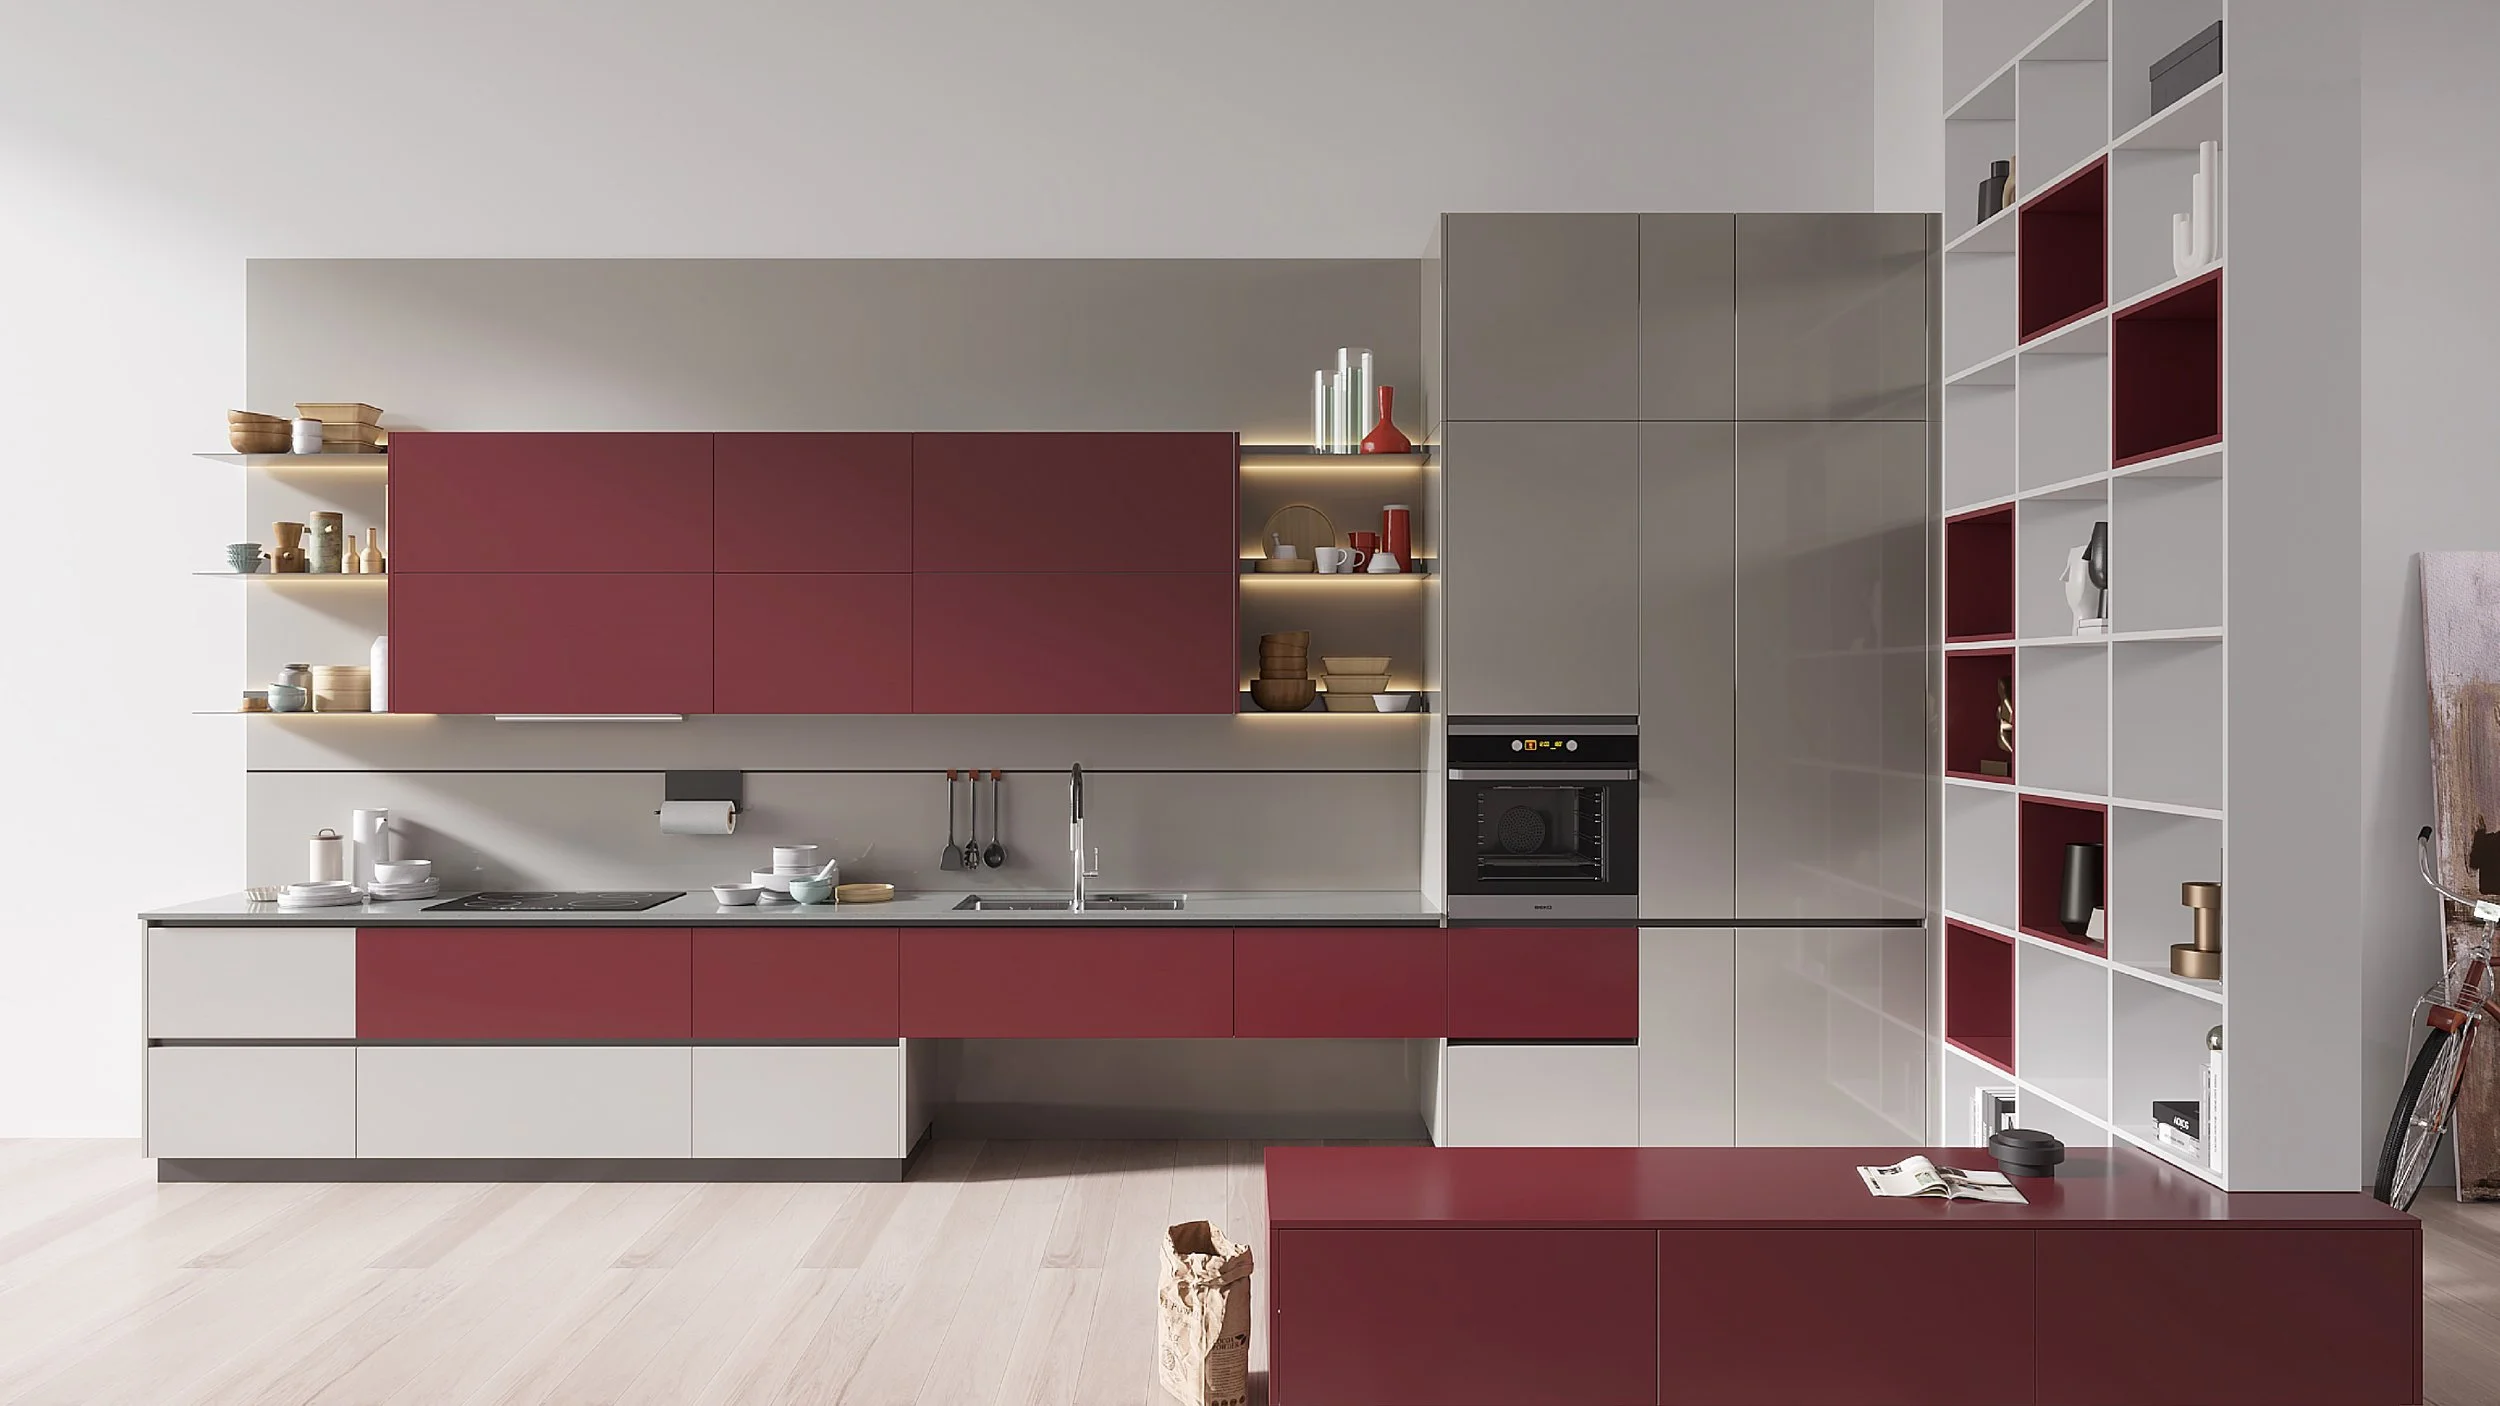
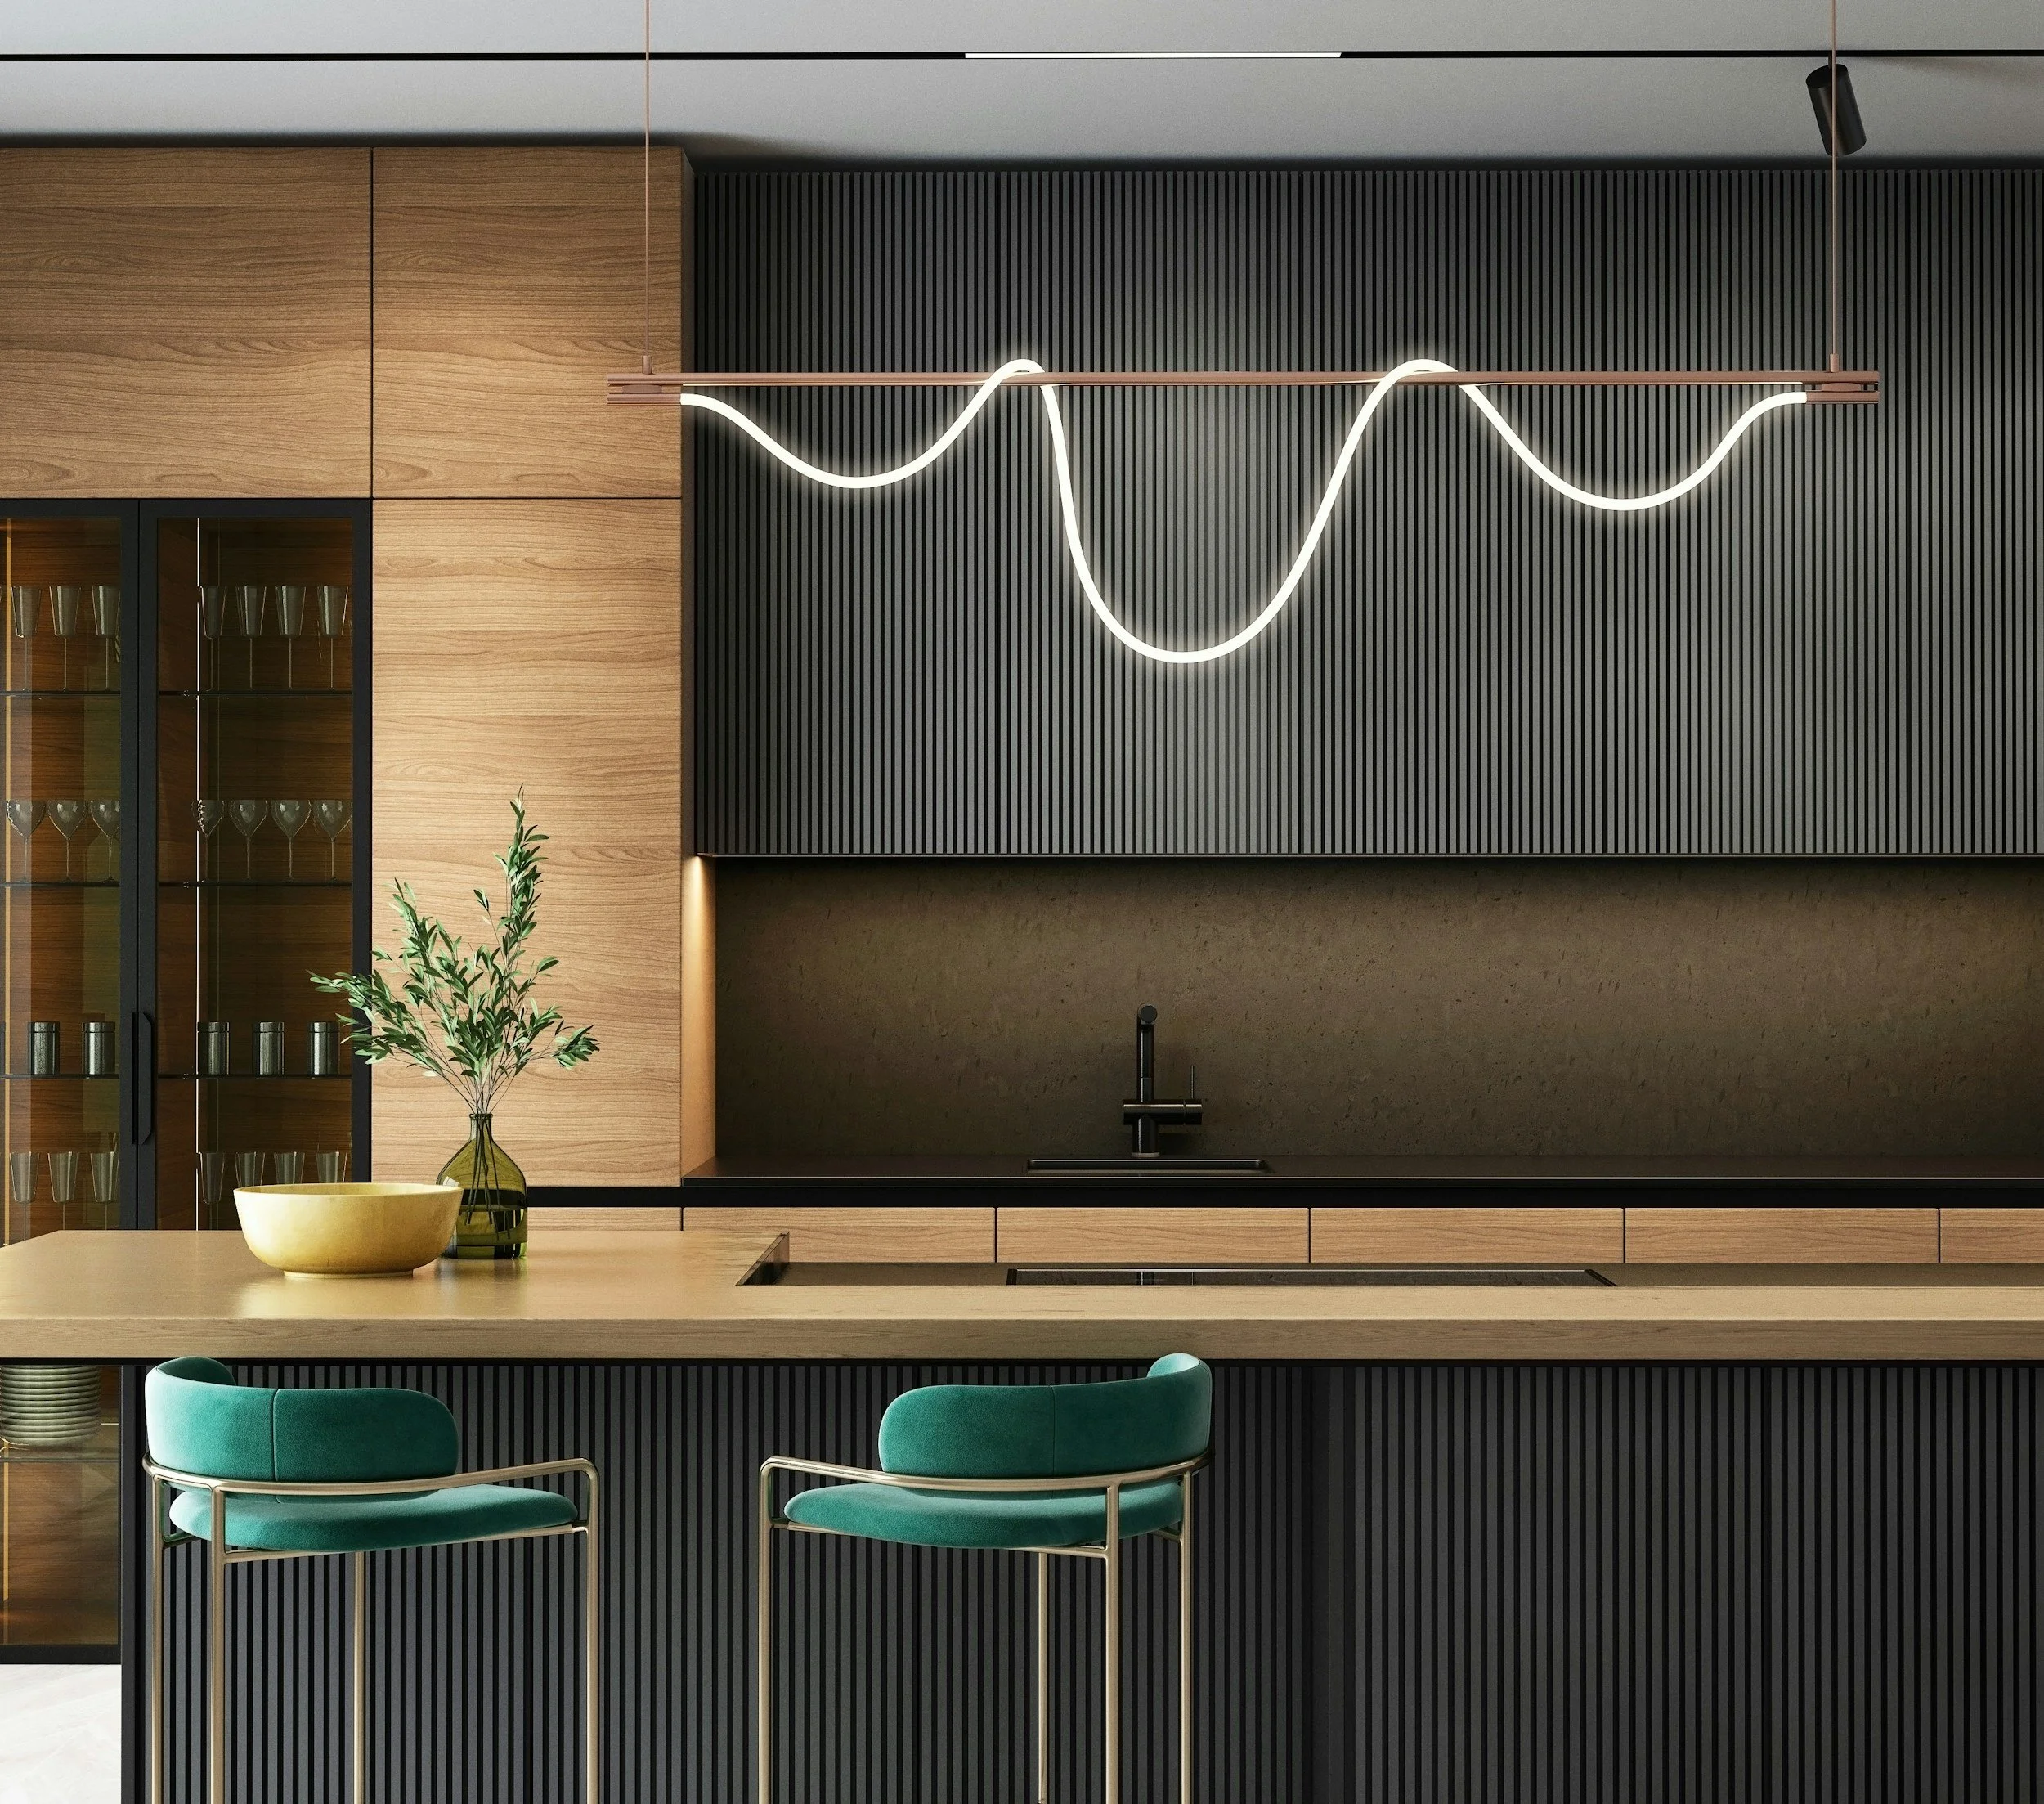
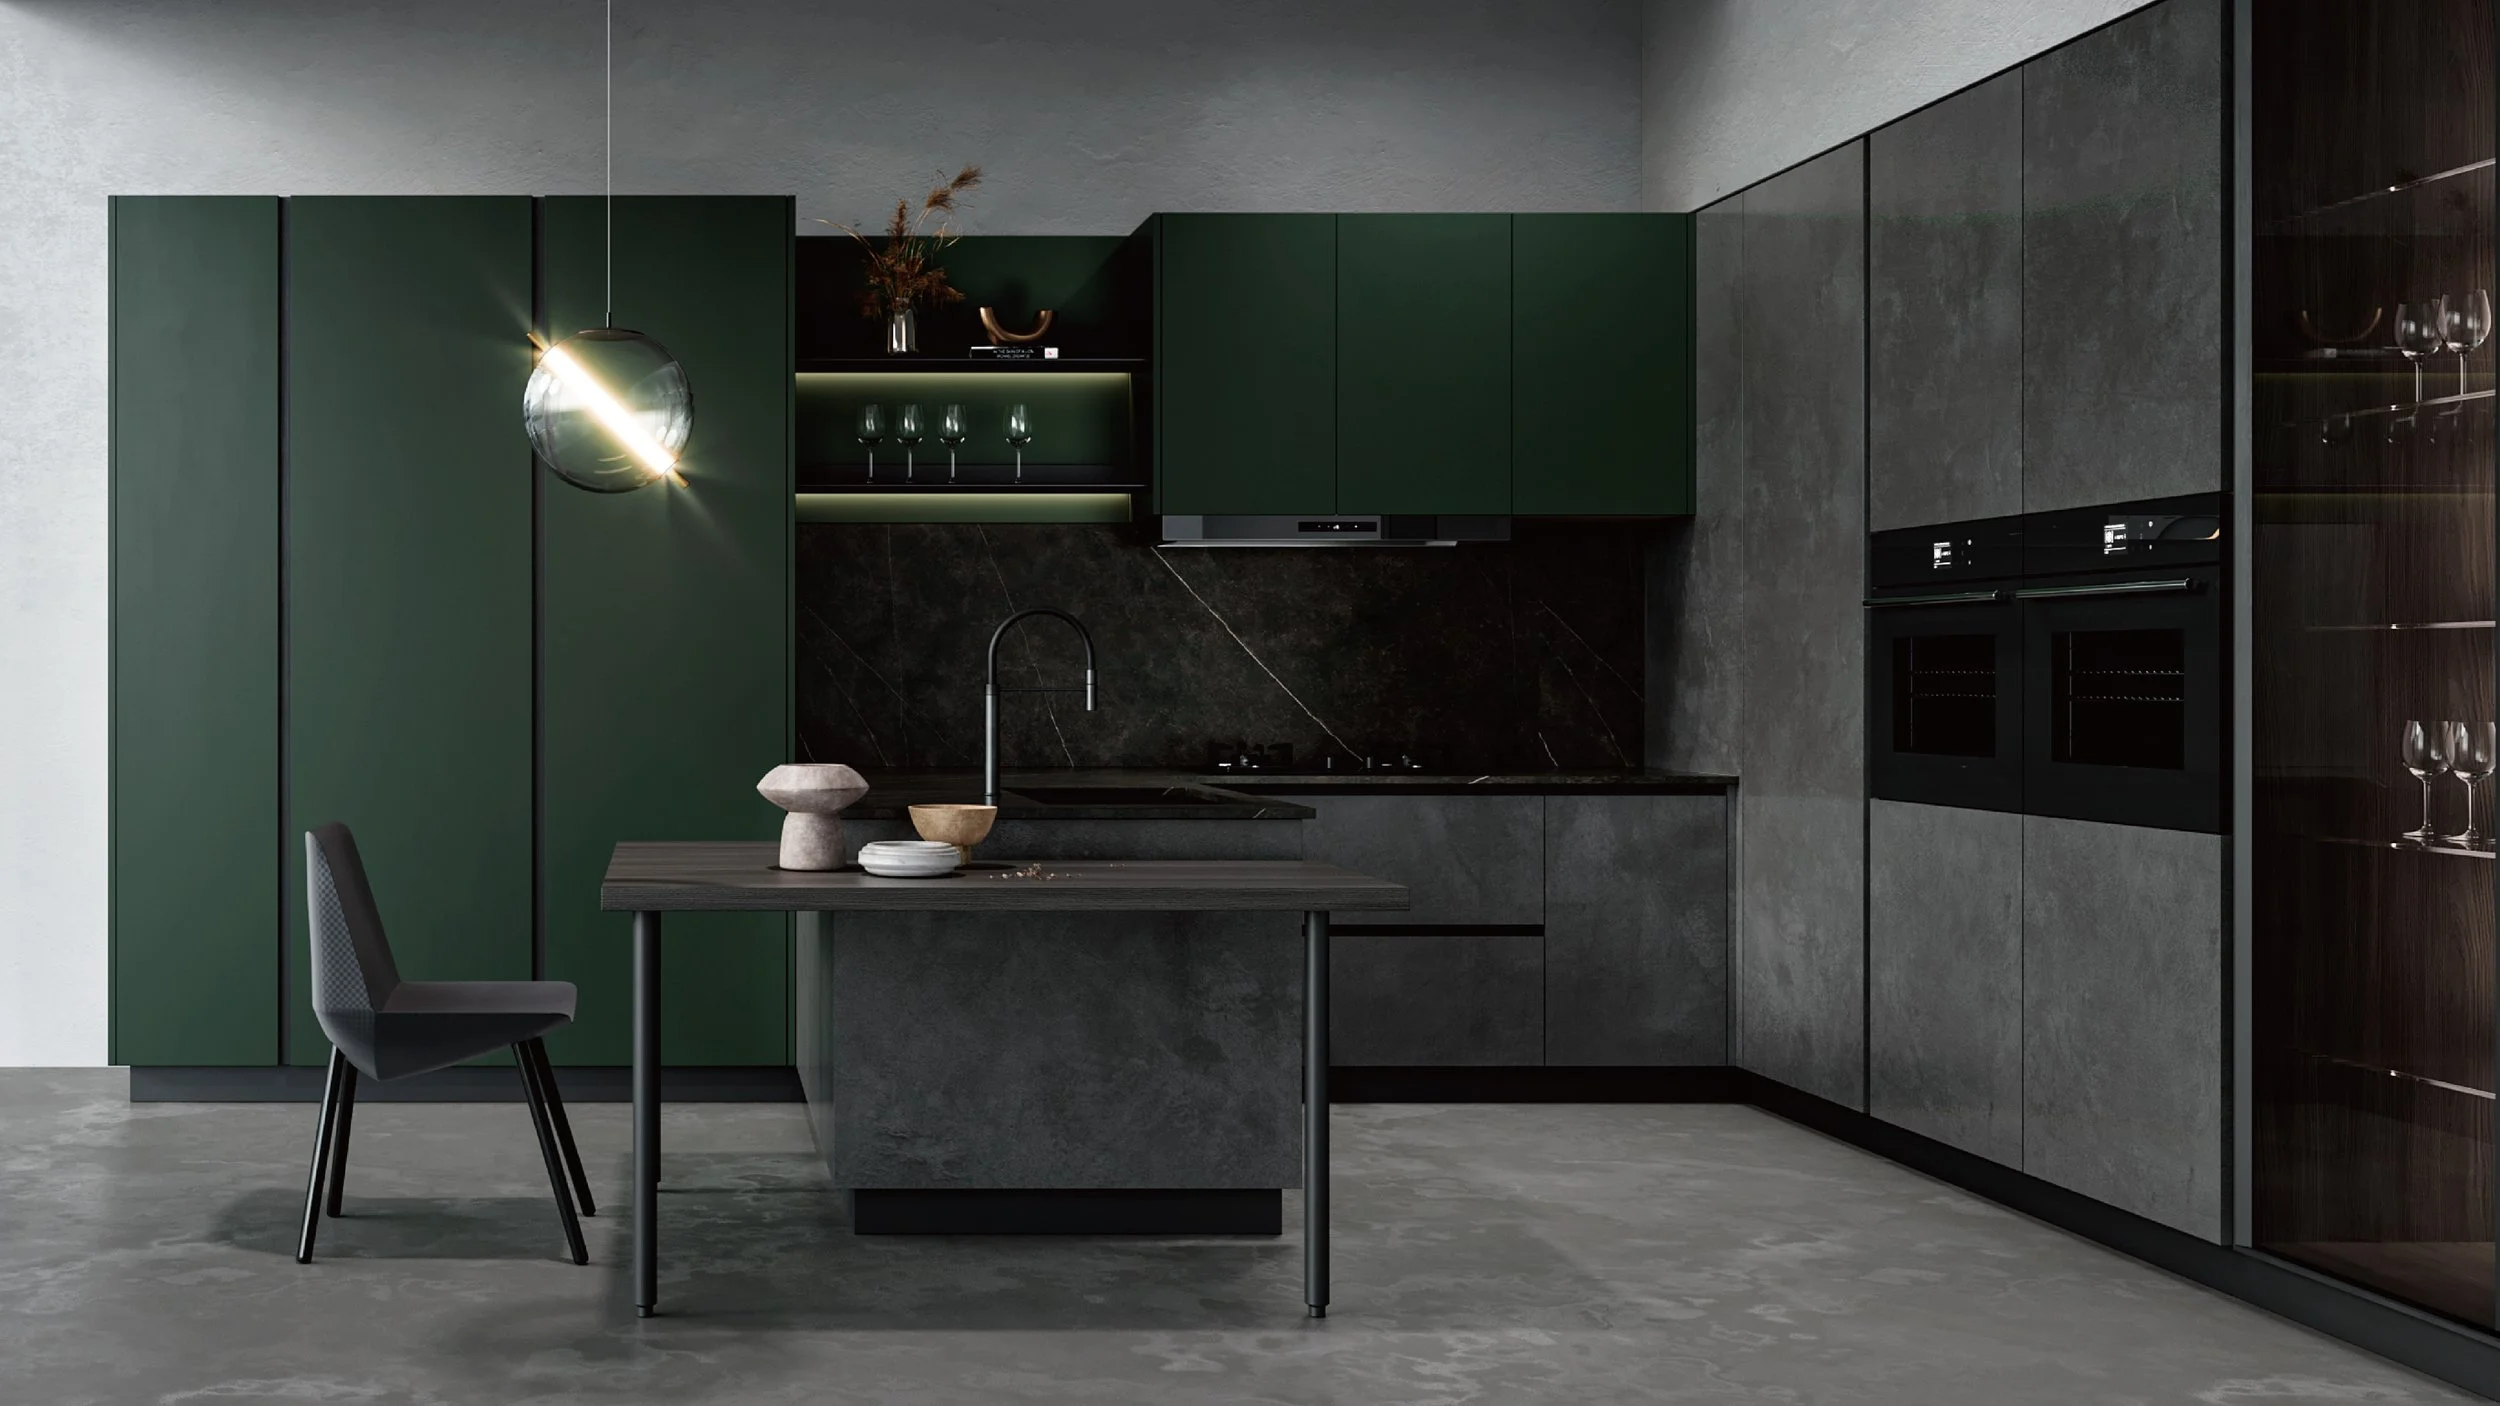
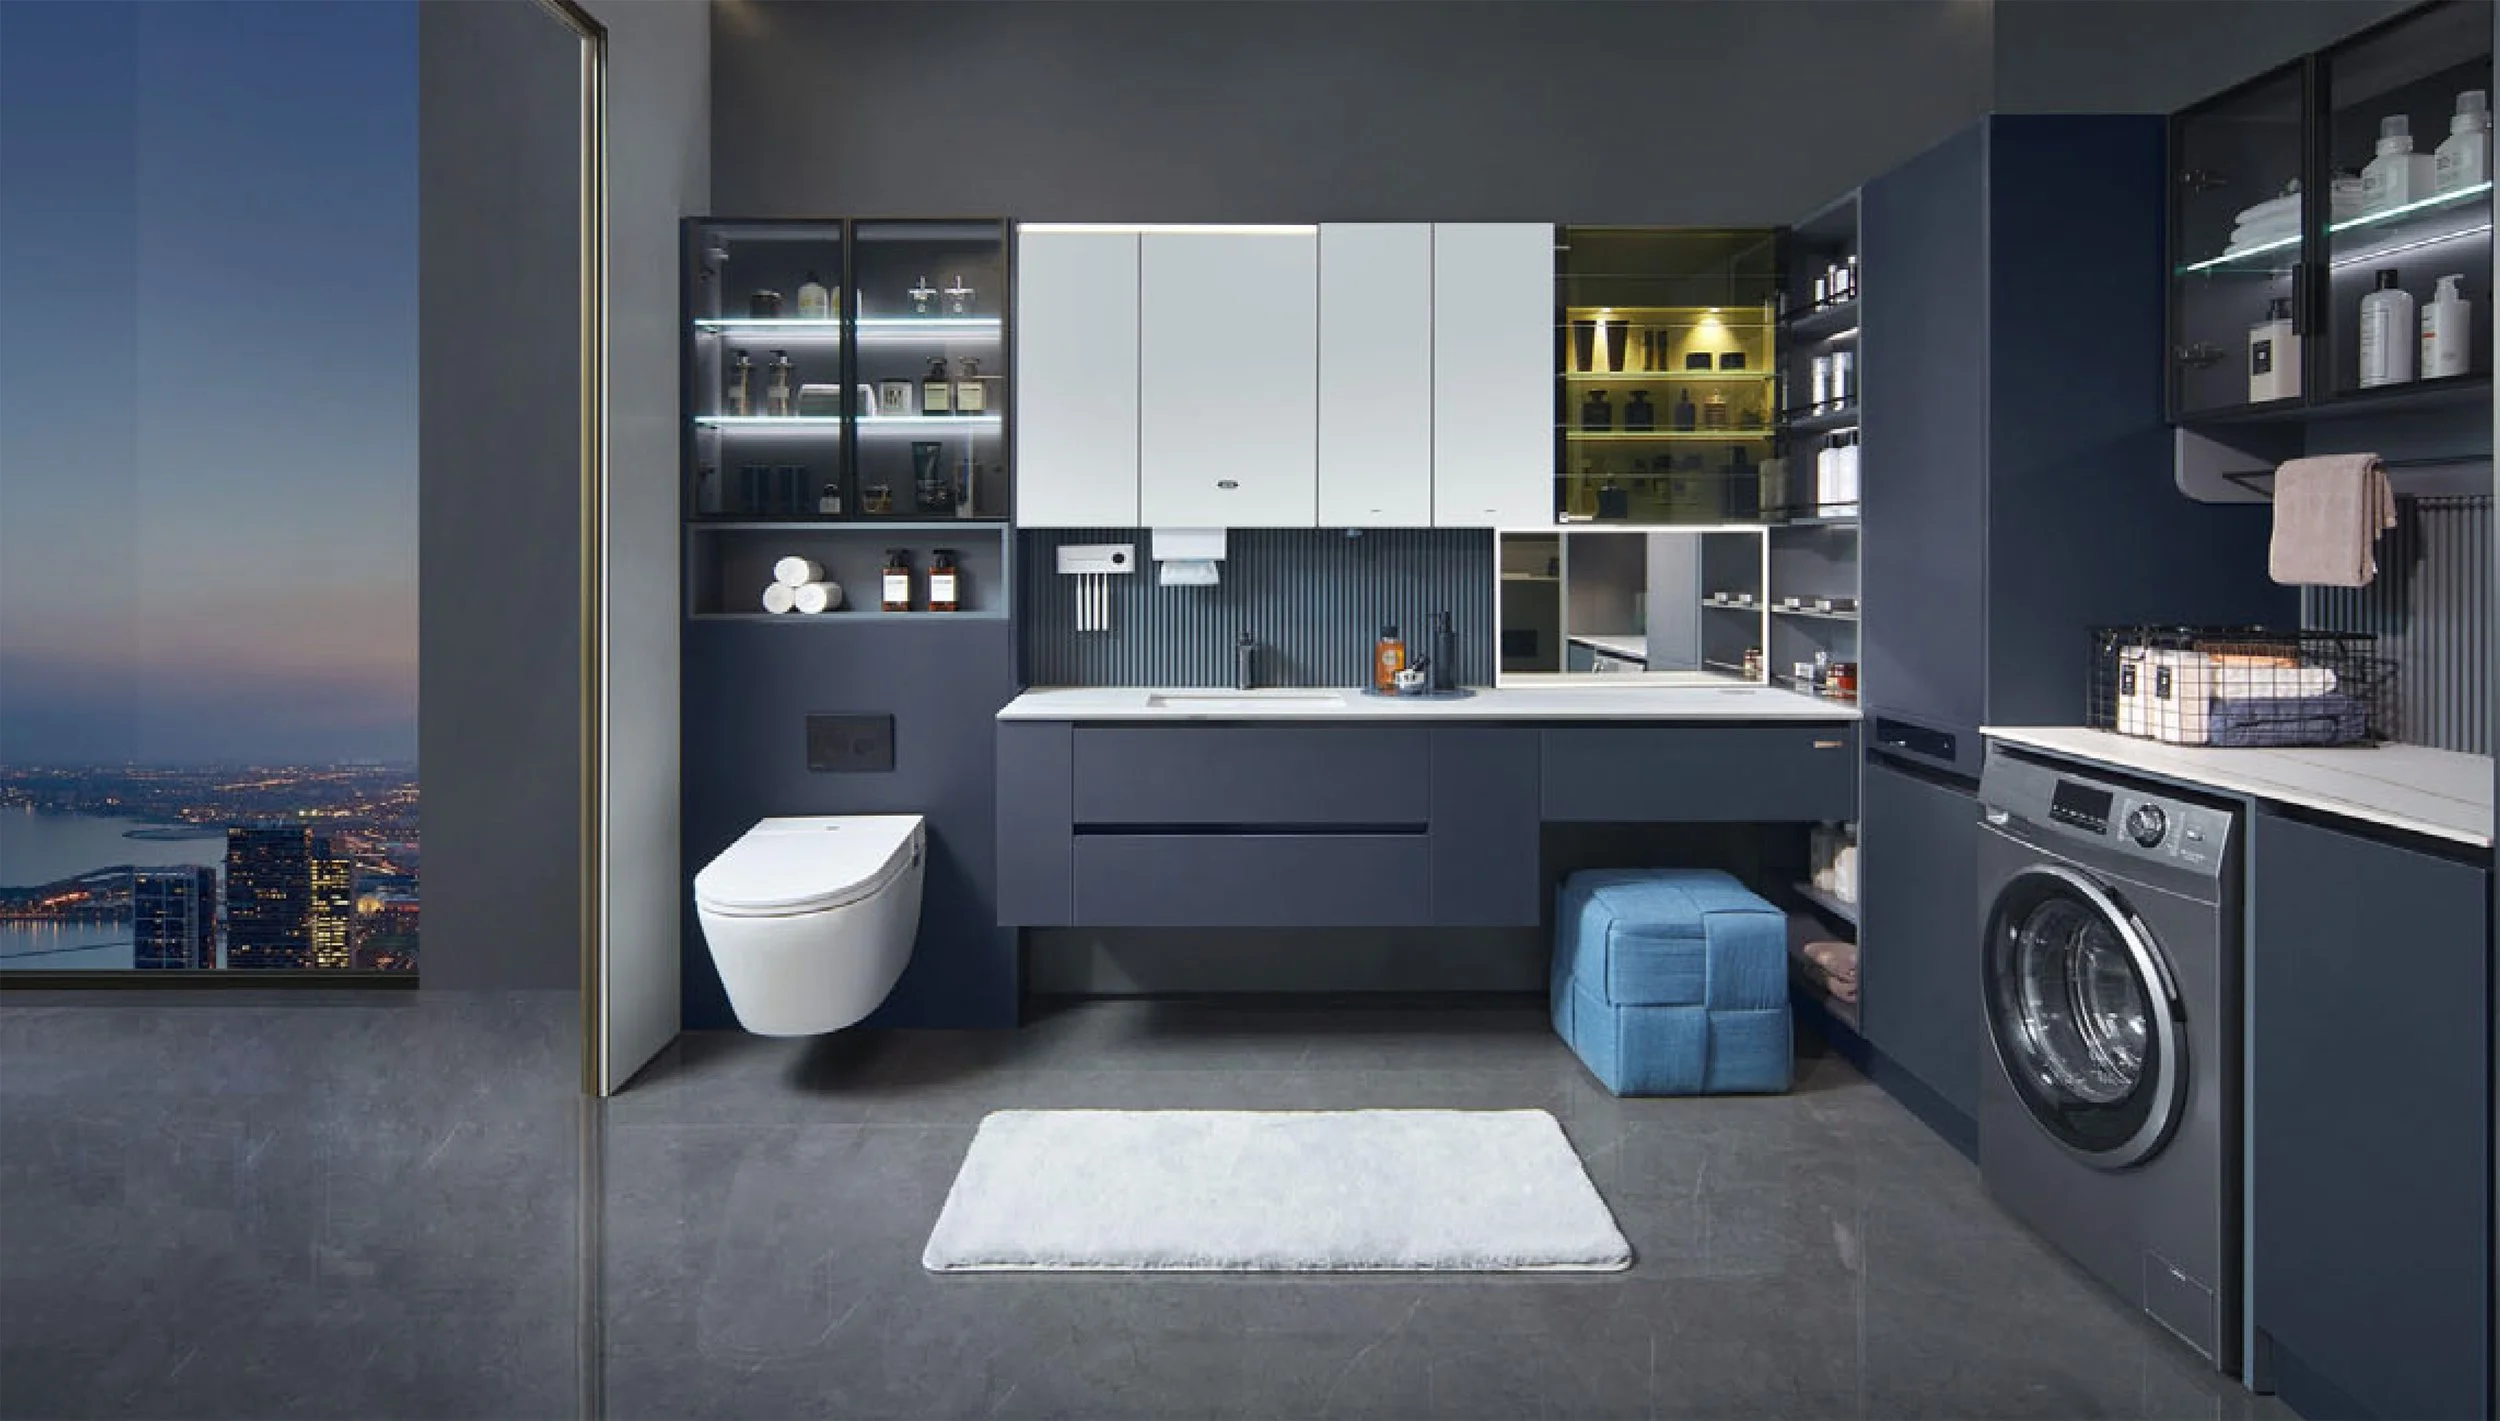
Accent lighting: the finishing touch that adds depth and drama.
LED strips in open shelves or glass cabinets
Toe-kick lighting to float base cabinetry
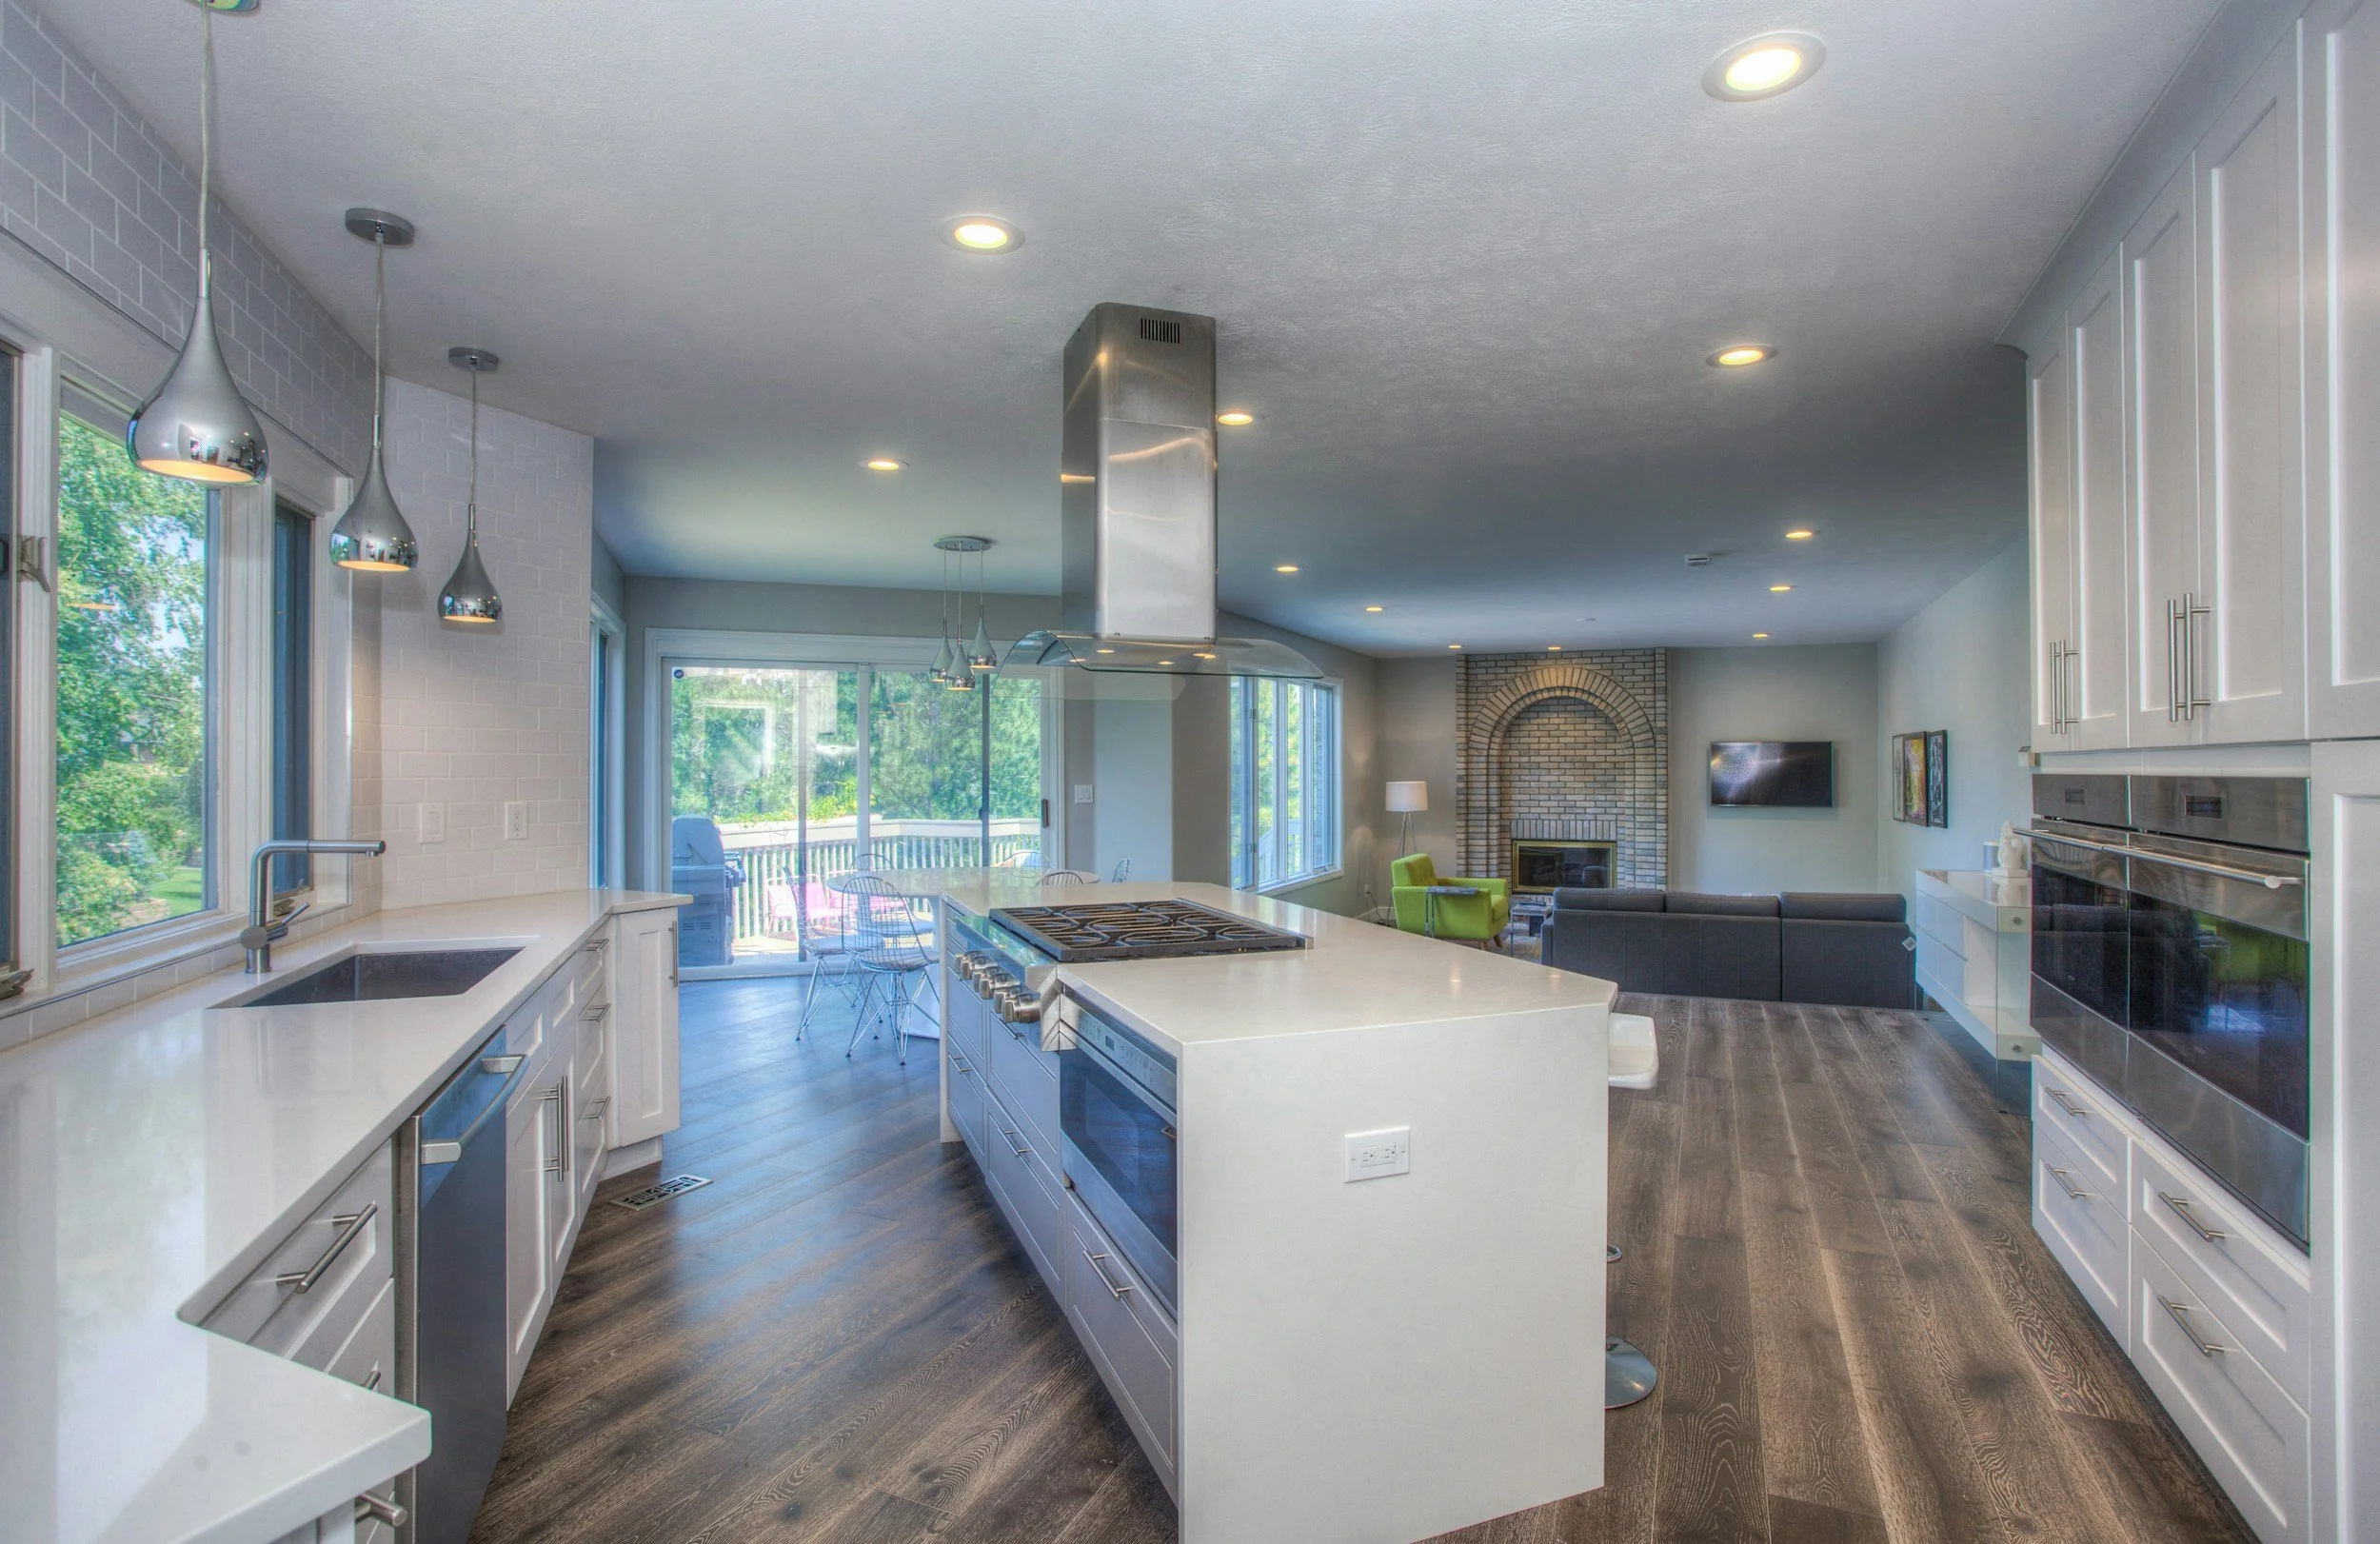
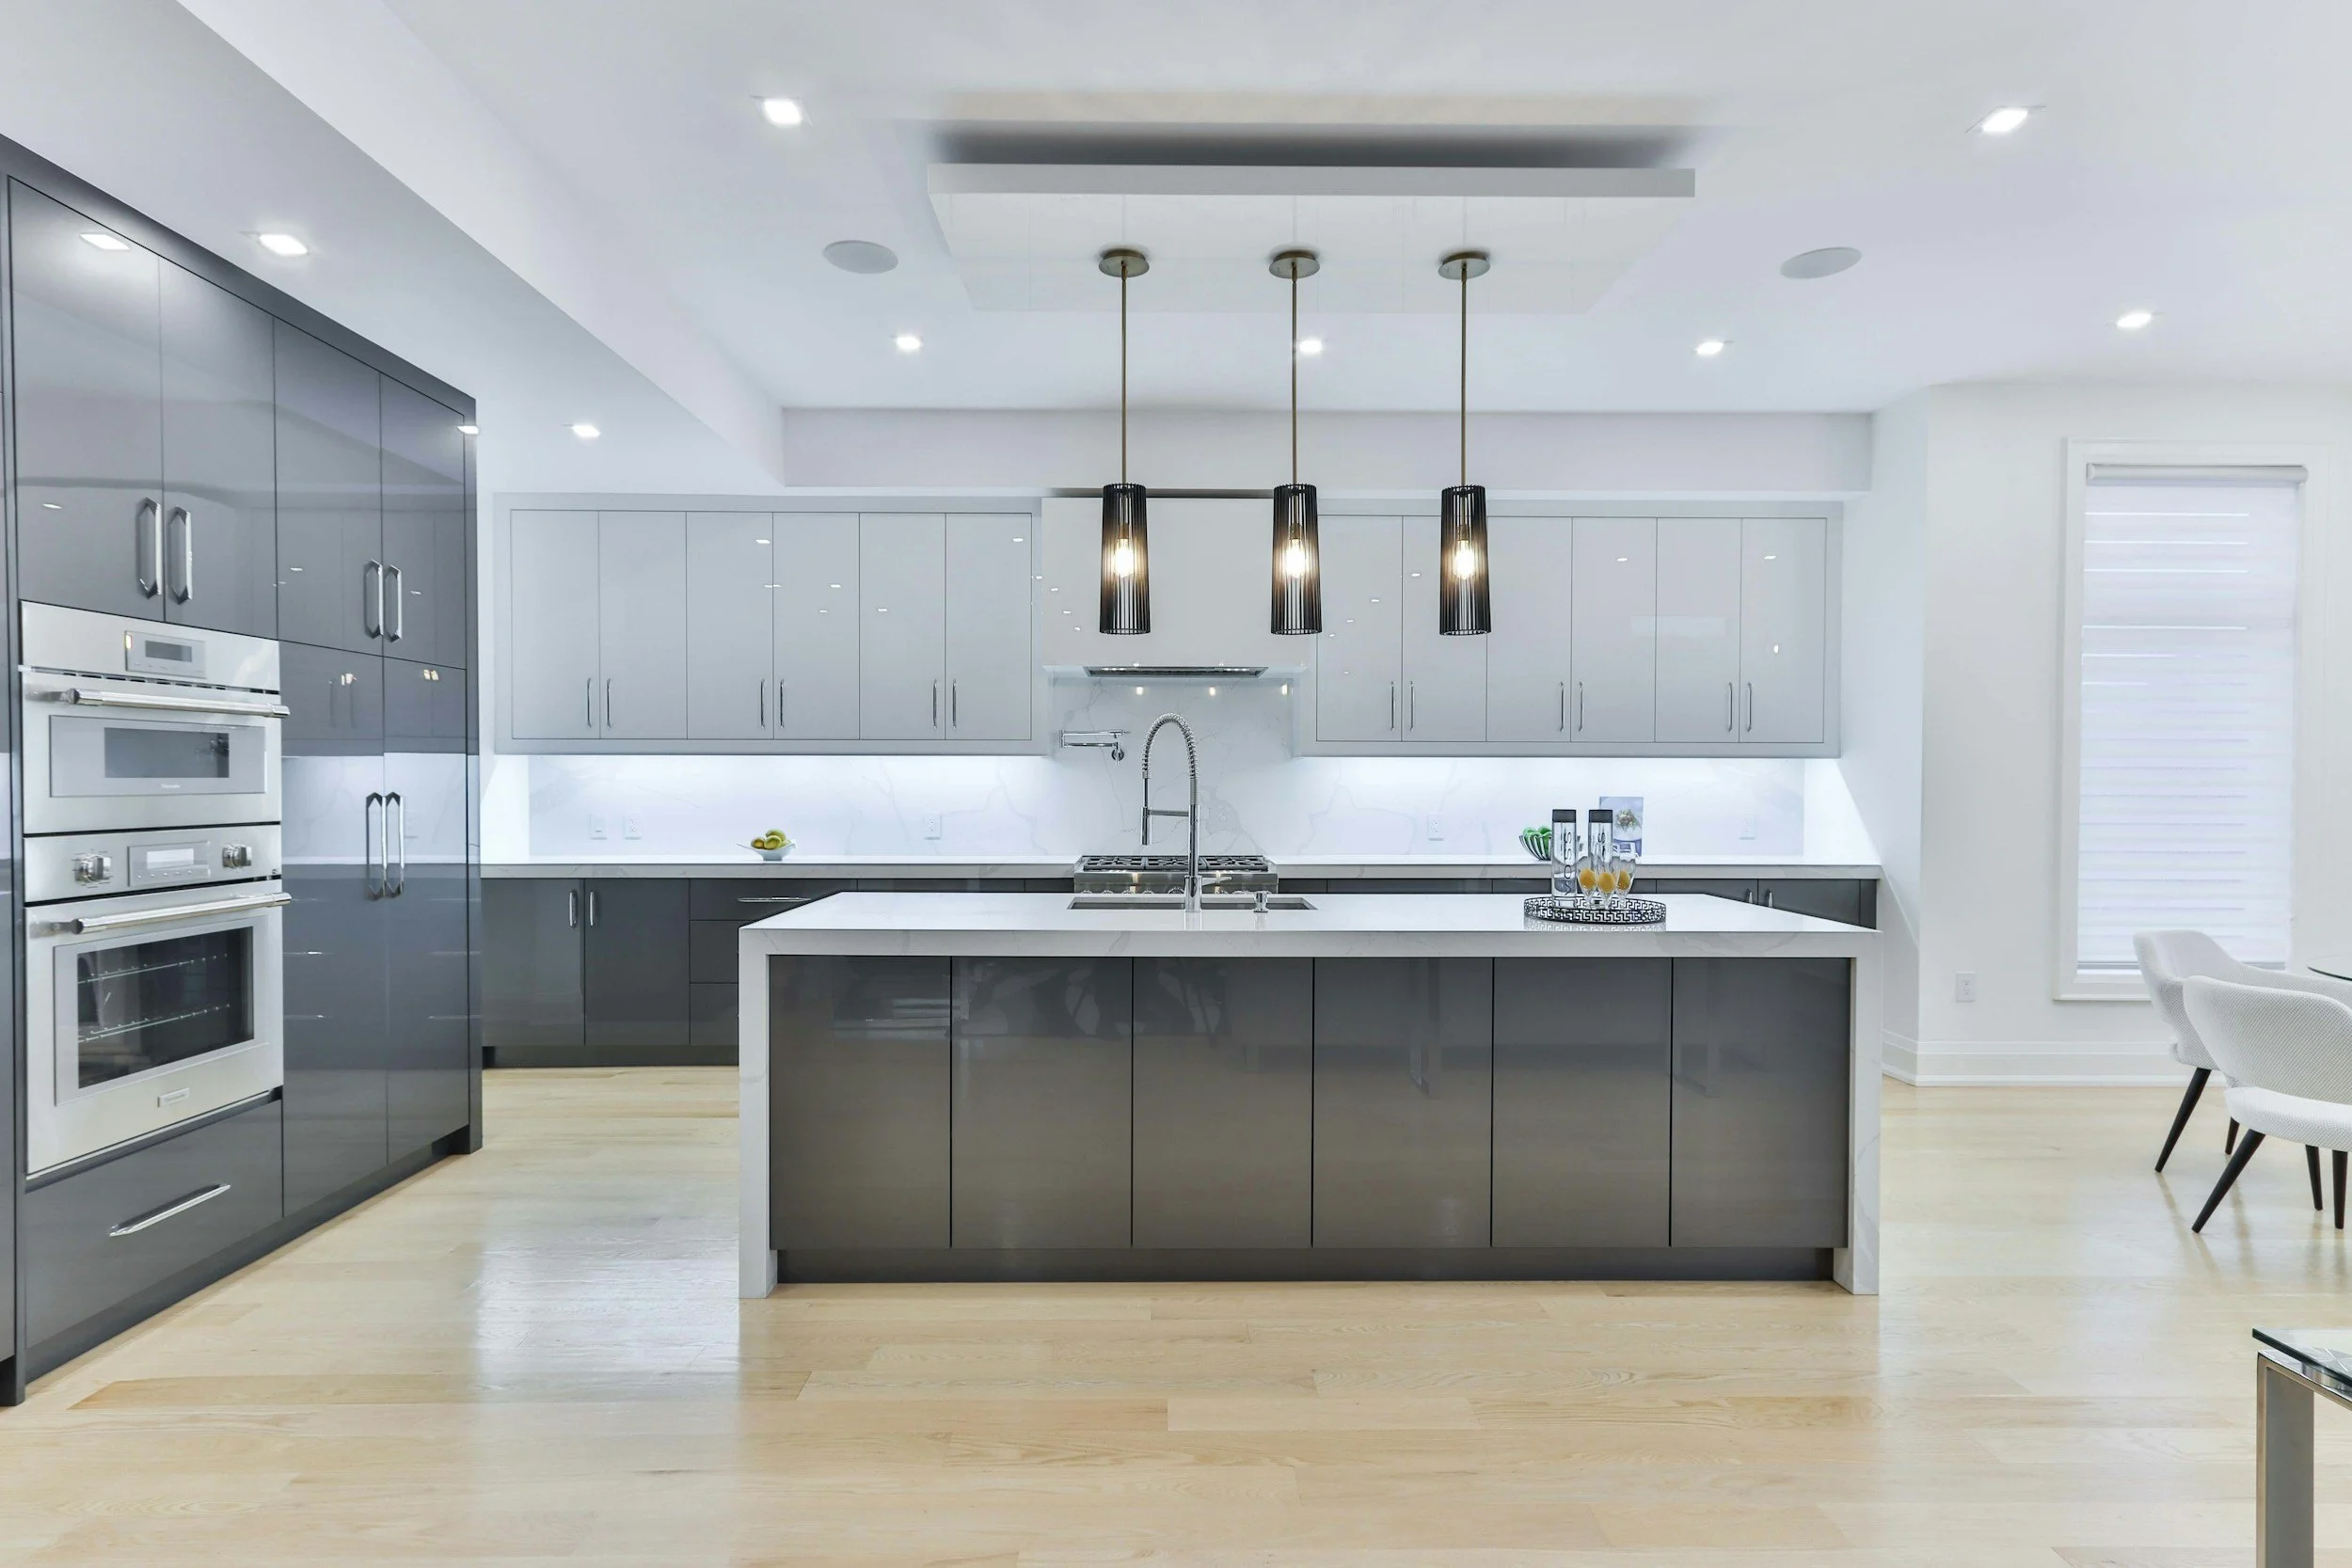
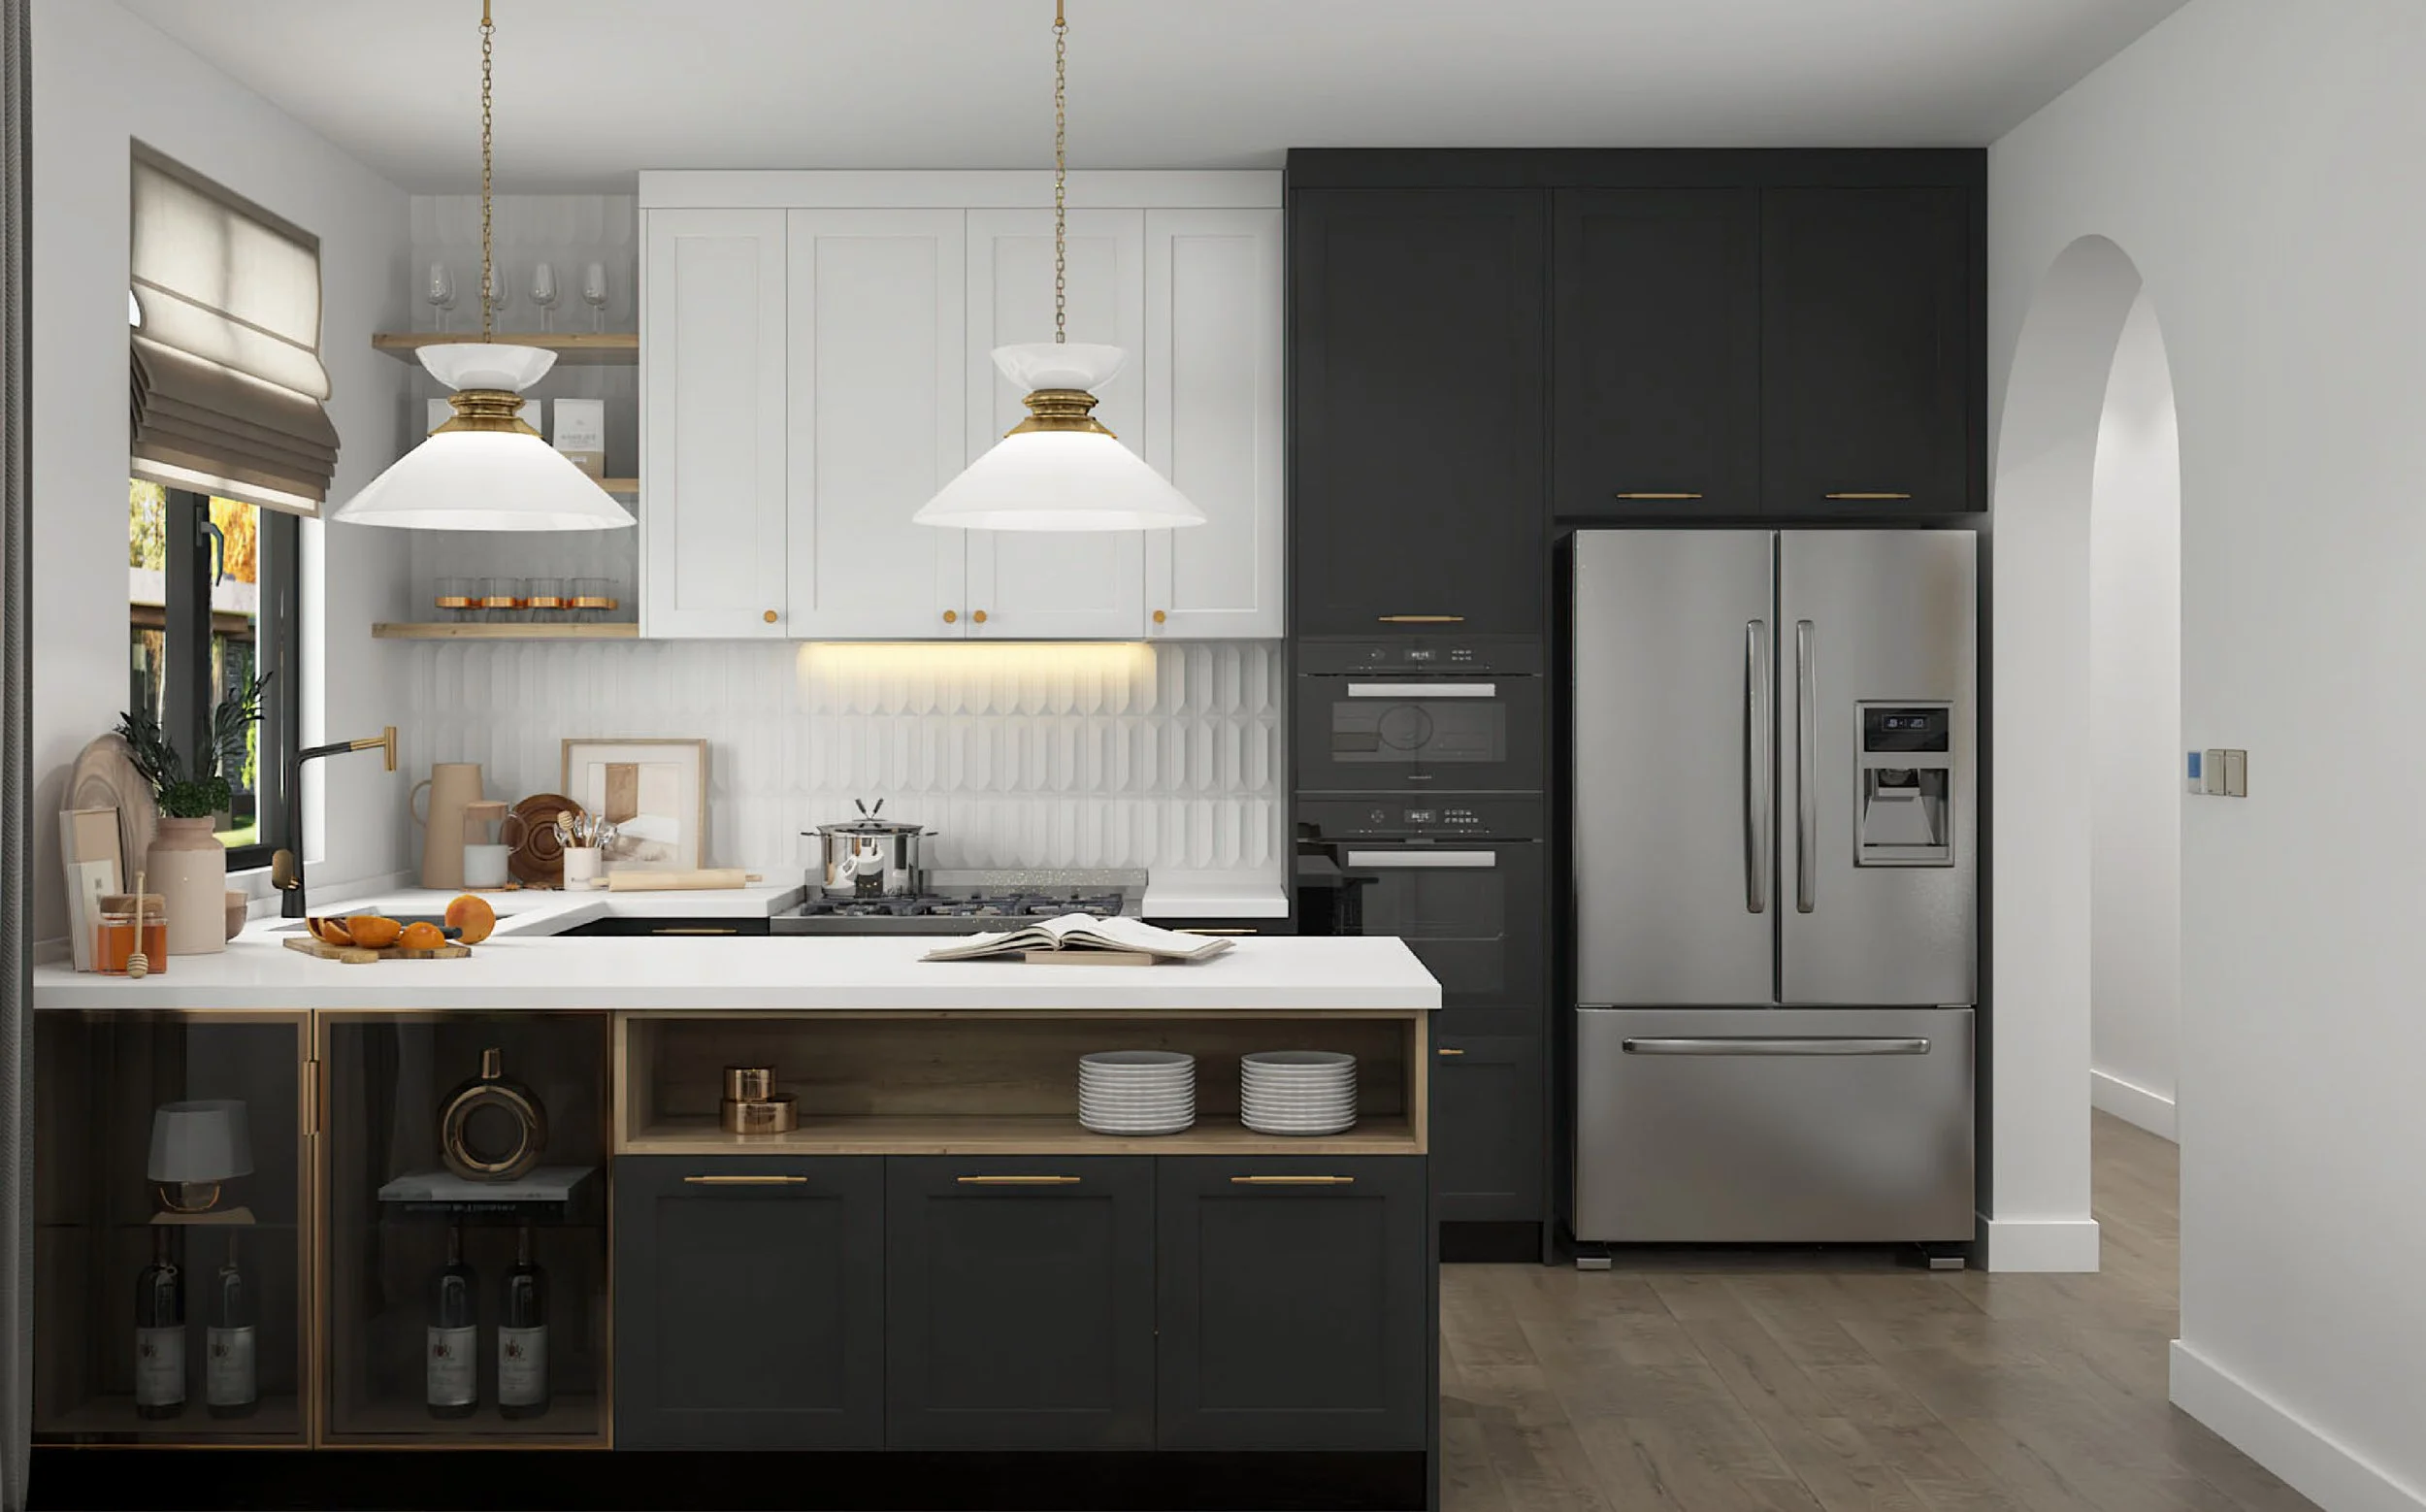
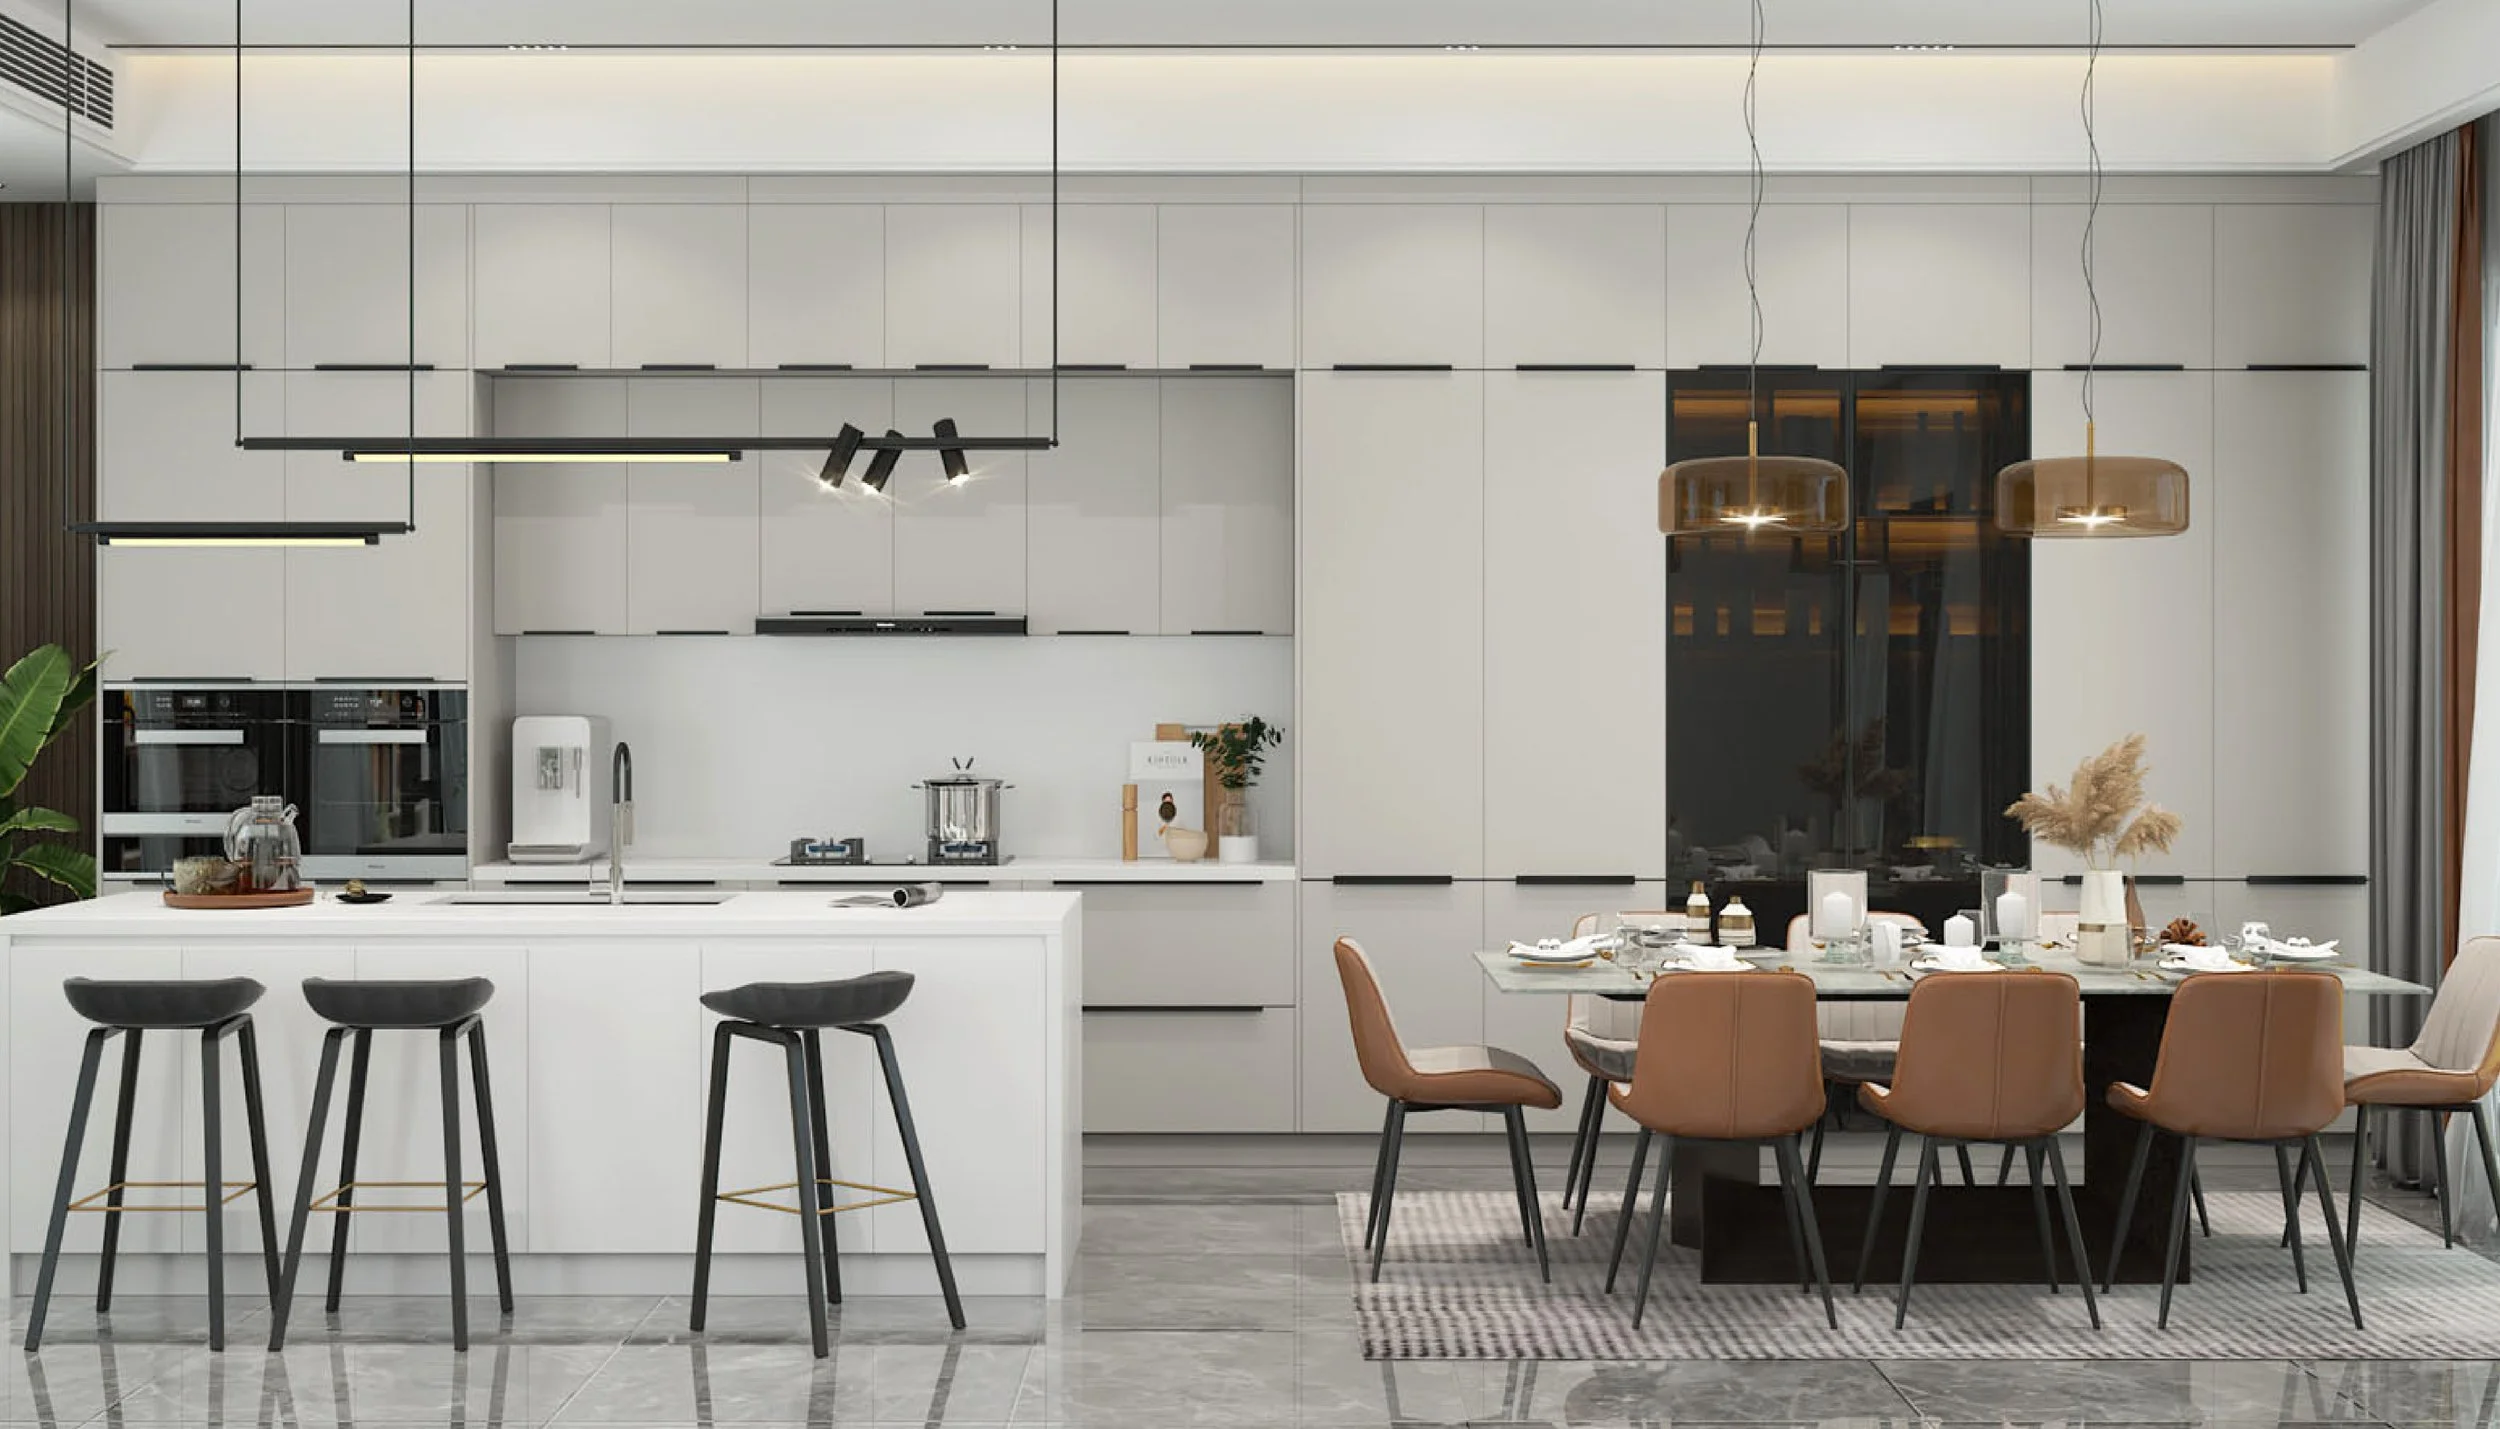
Pendant lights over islands/peninsulas for statement and glow
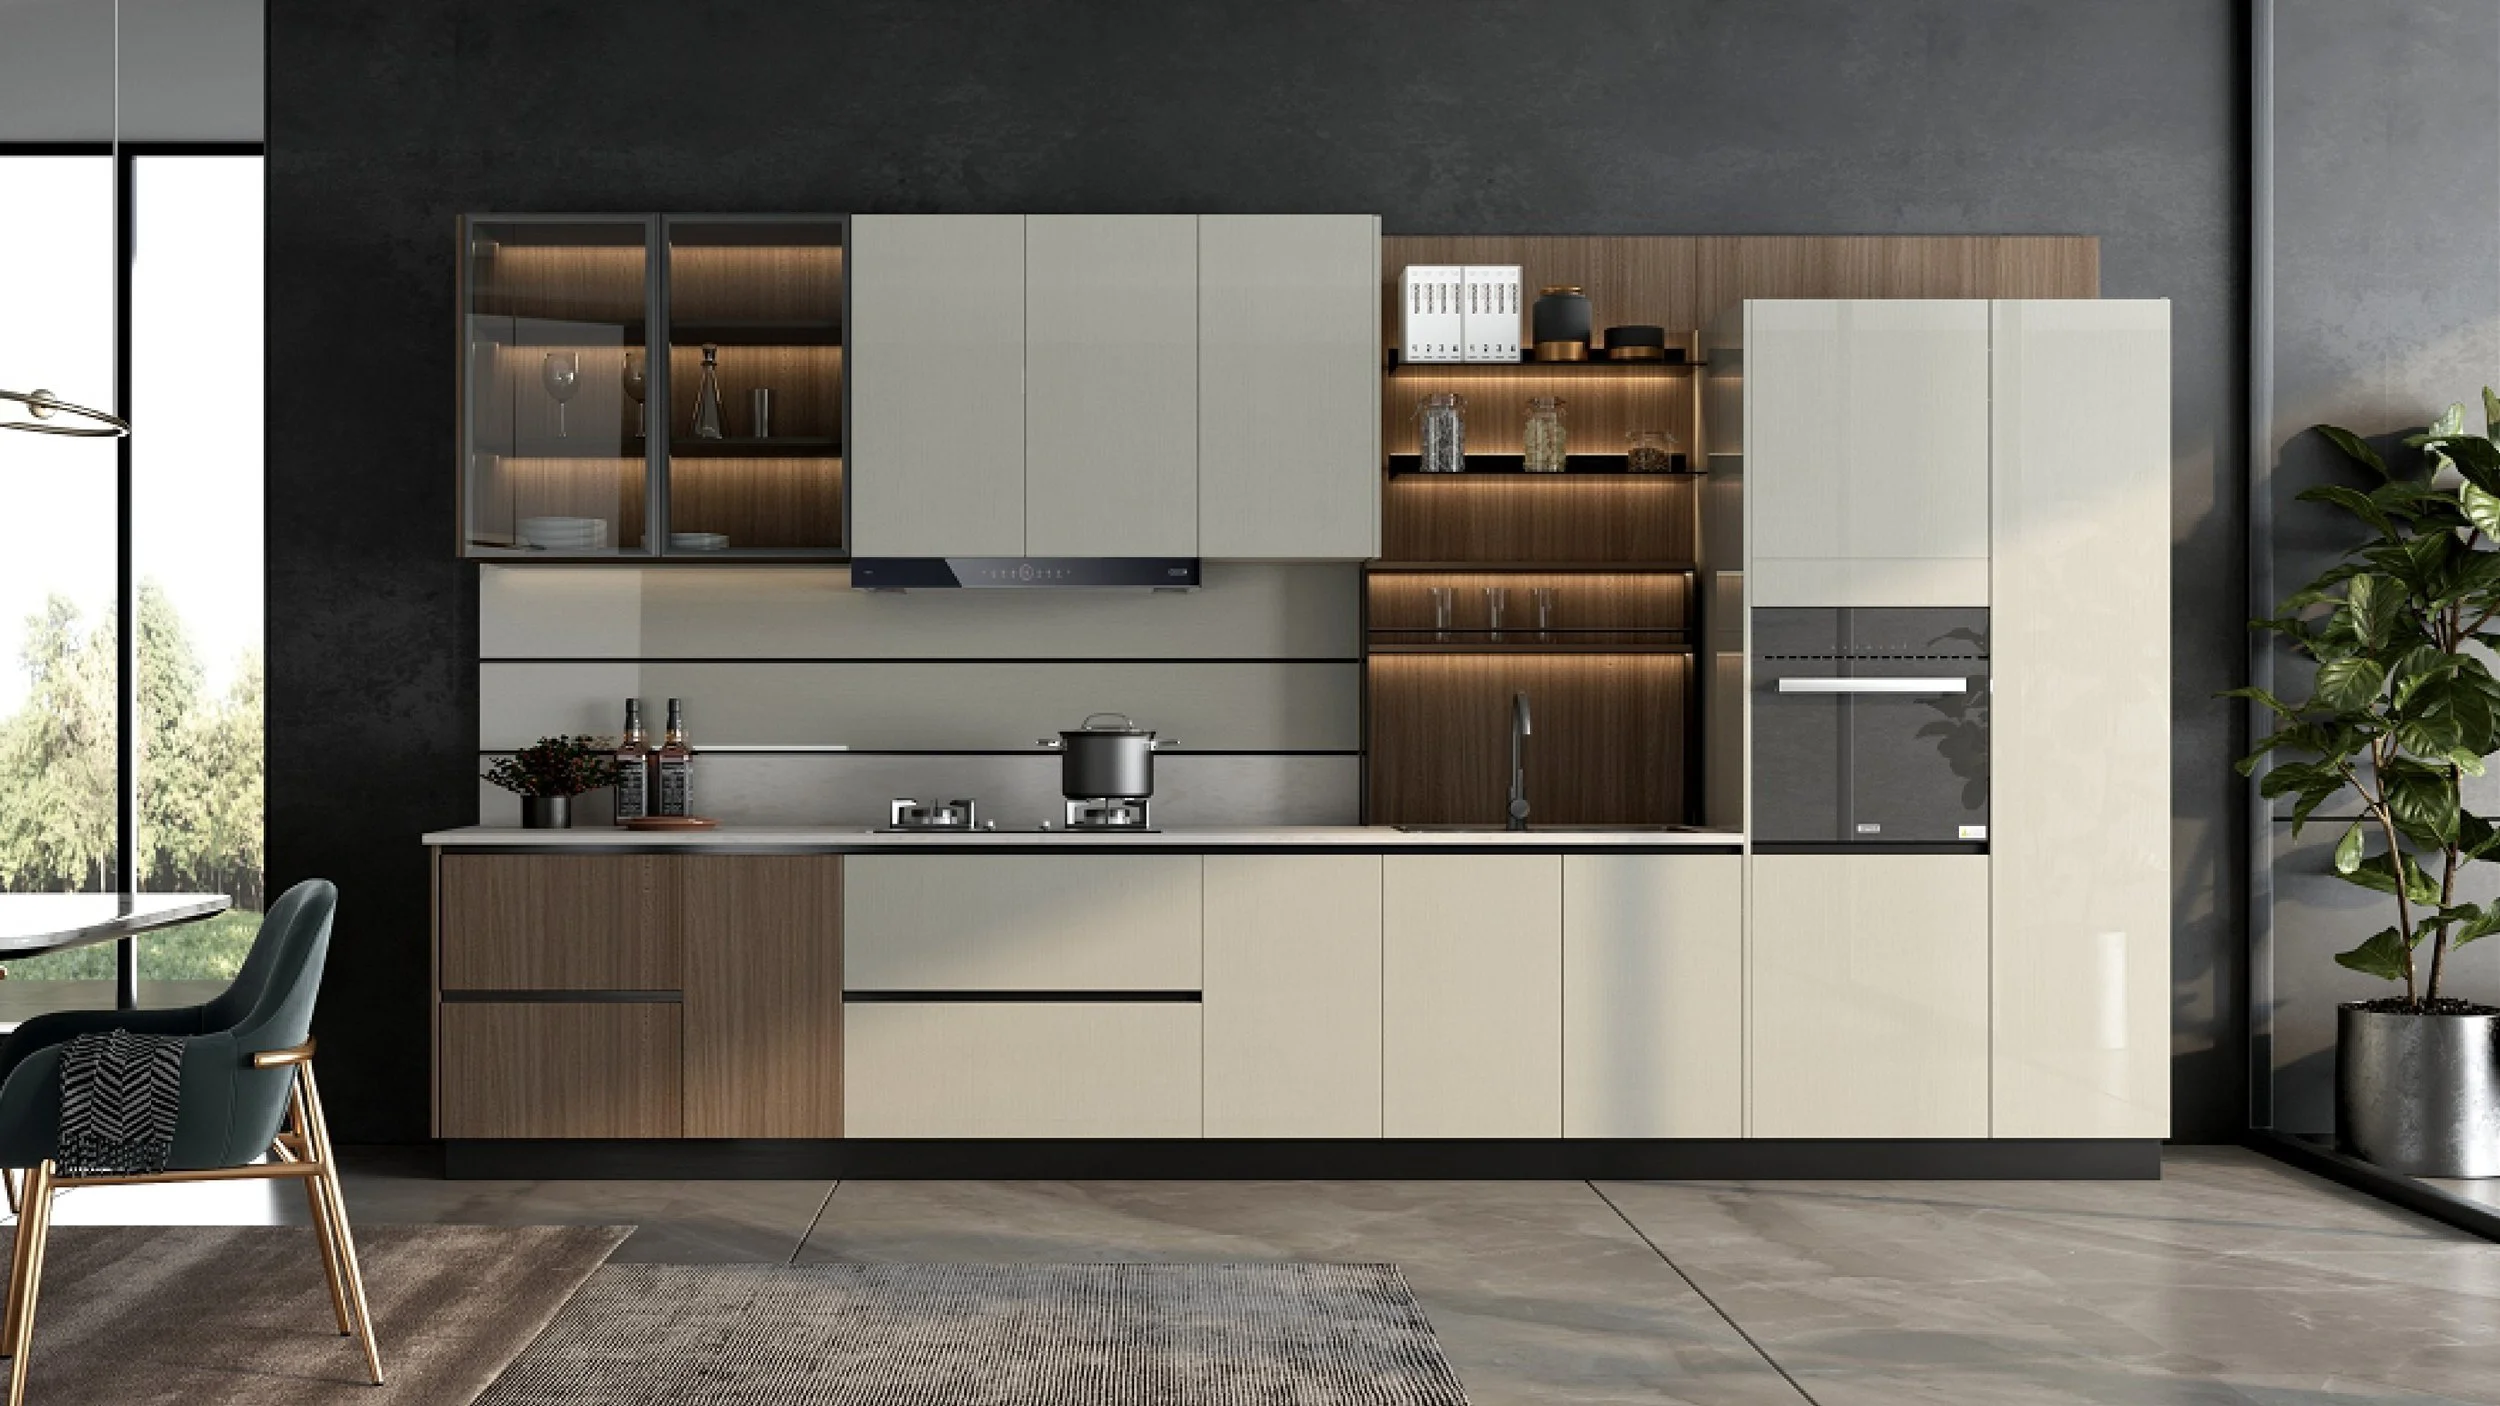
2) Under-cabinet lighting: the small upgrade with a huge payoff
Continuous LED strip under wall cabinets gives uniform light across the bench
Specify warm to neutral white (around 3000–3500K) for comfortable, natural colour rendering
Aluminium channels & diffusers prevent hotspots and protect the strip
Hard-wire with discrete switches or link to your main lighting scenes
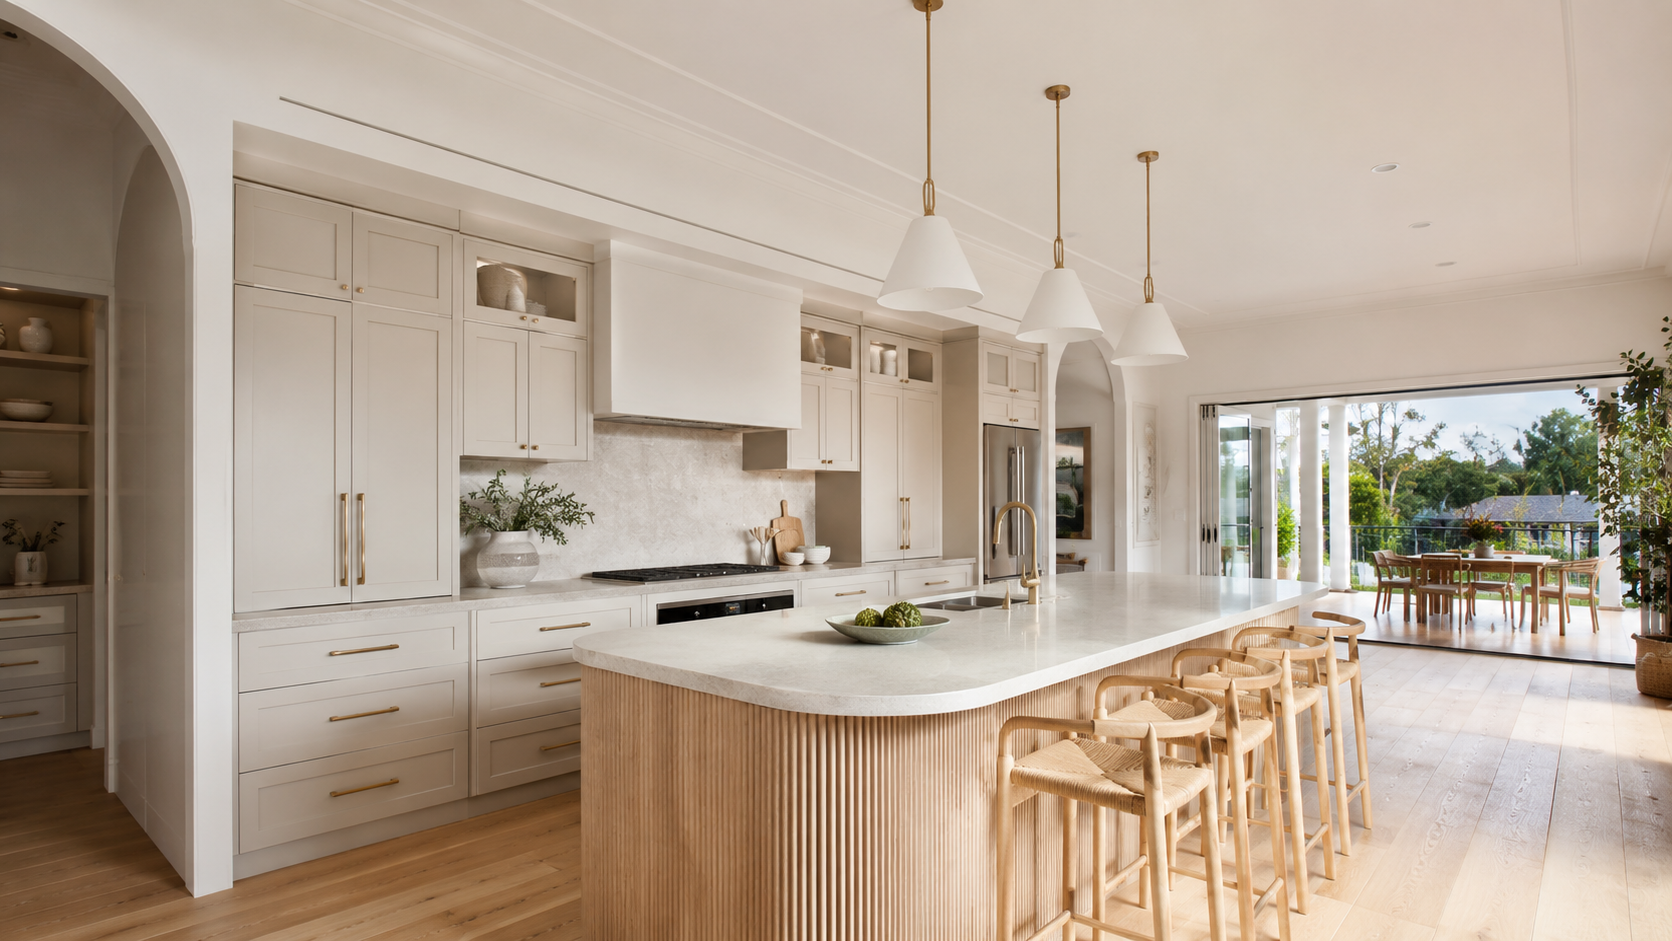
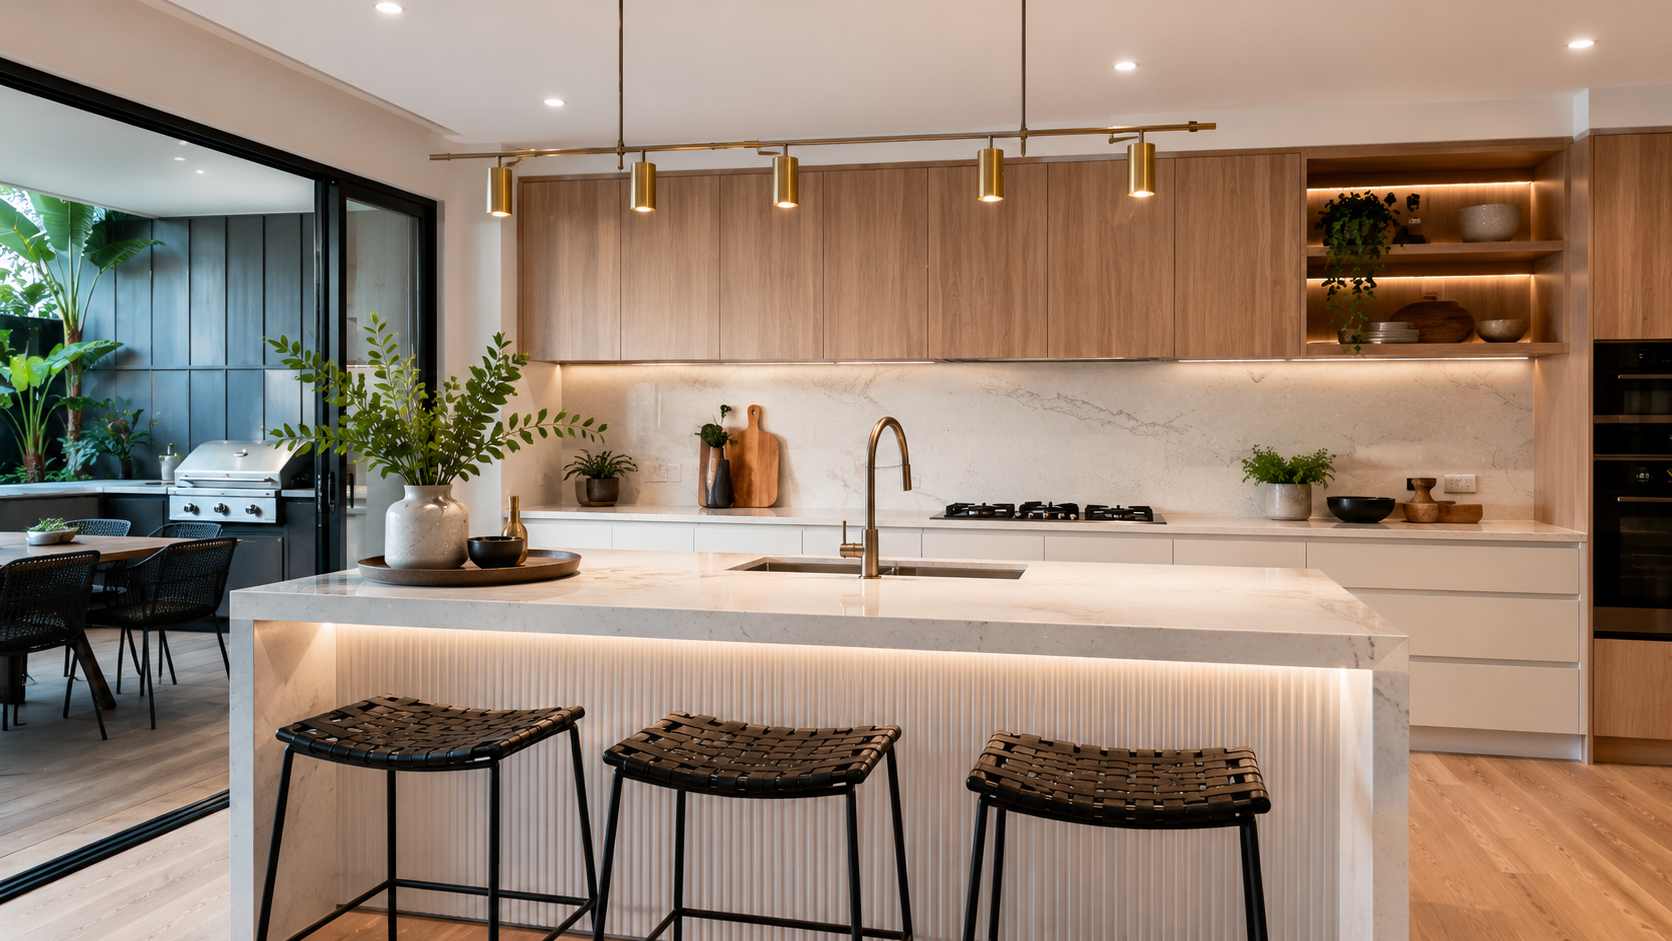
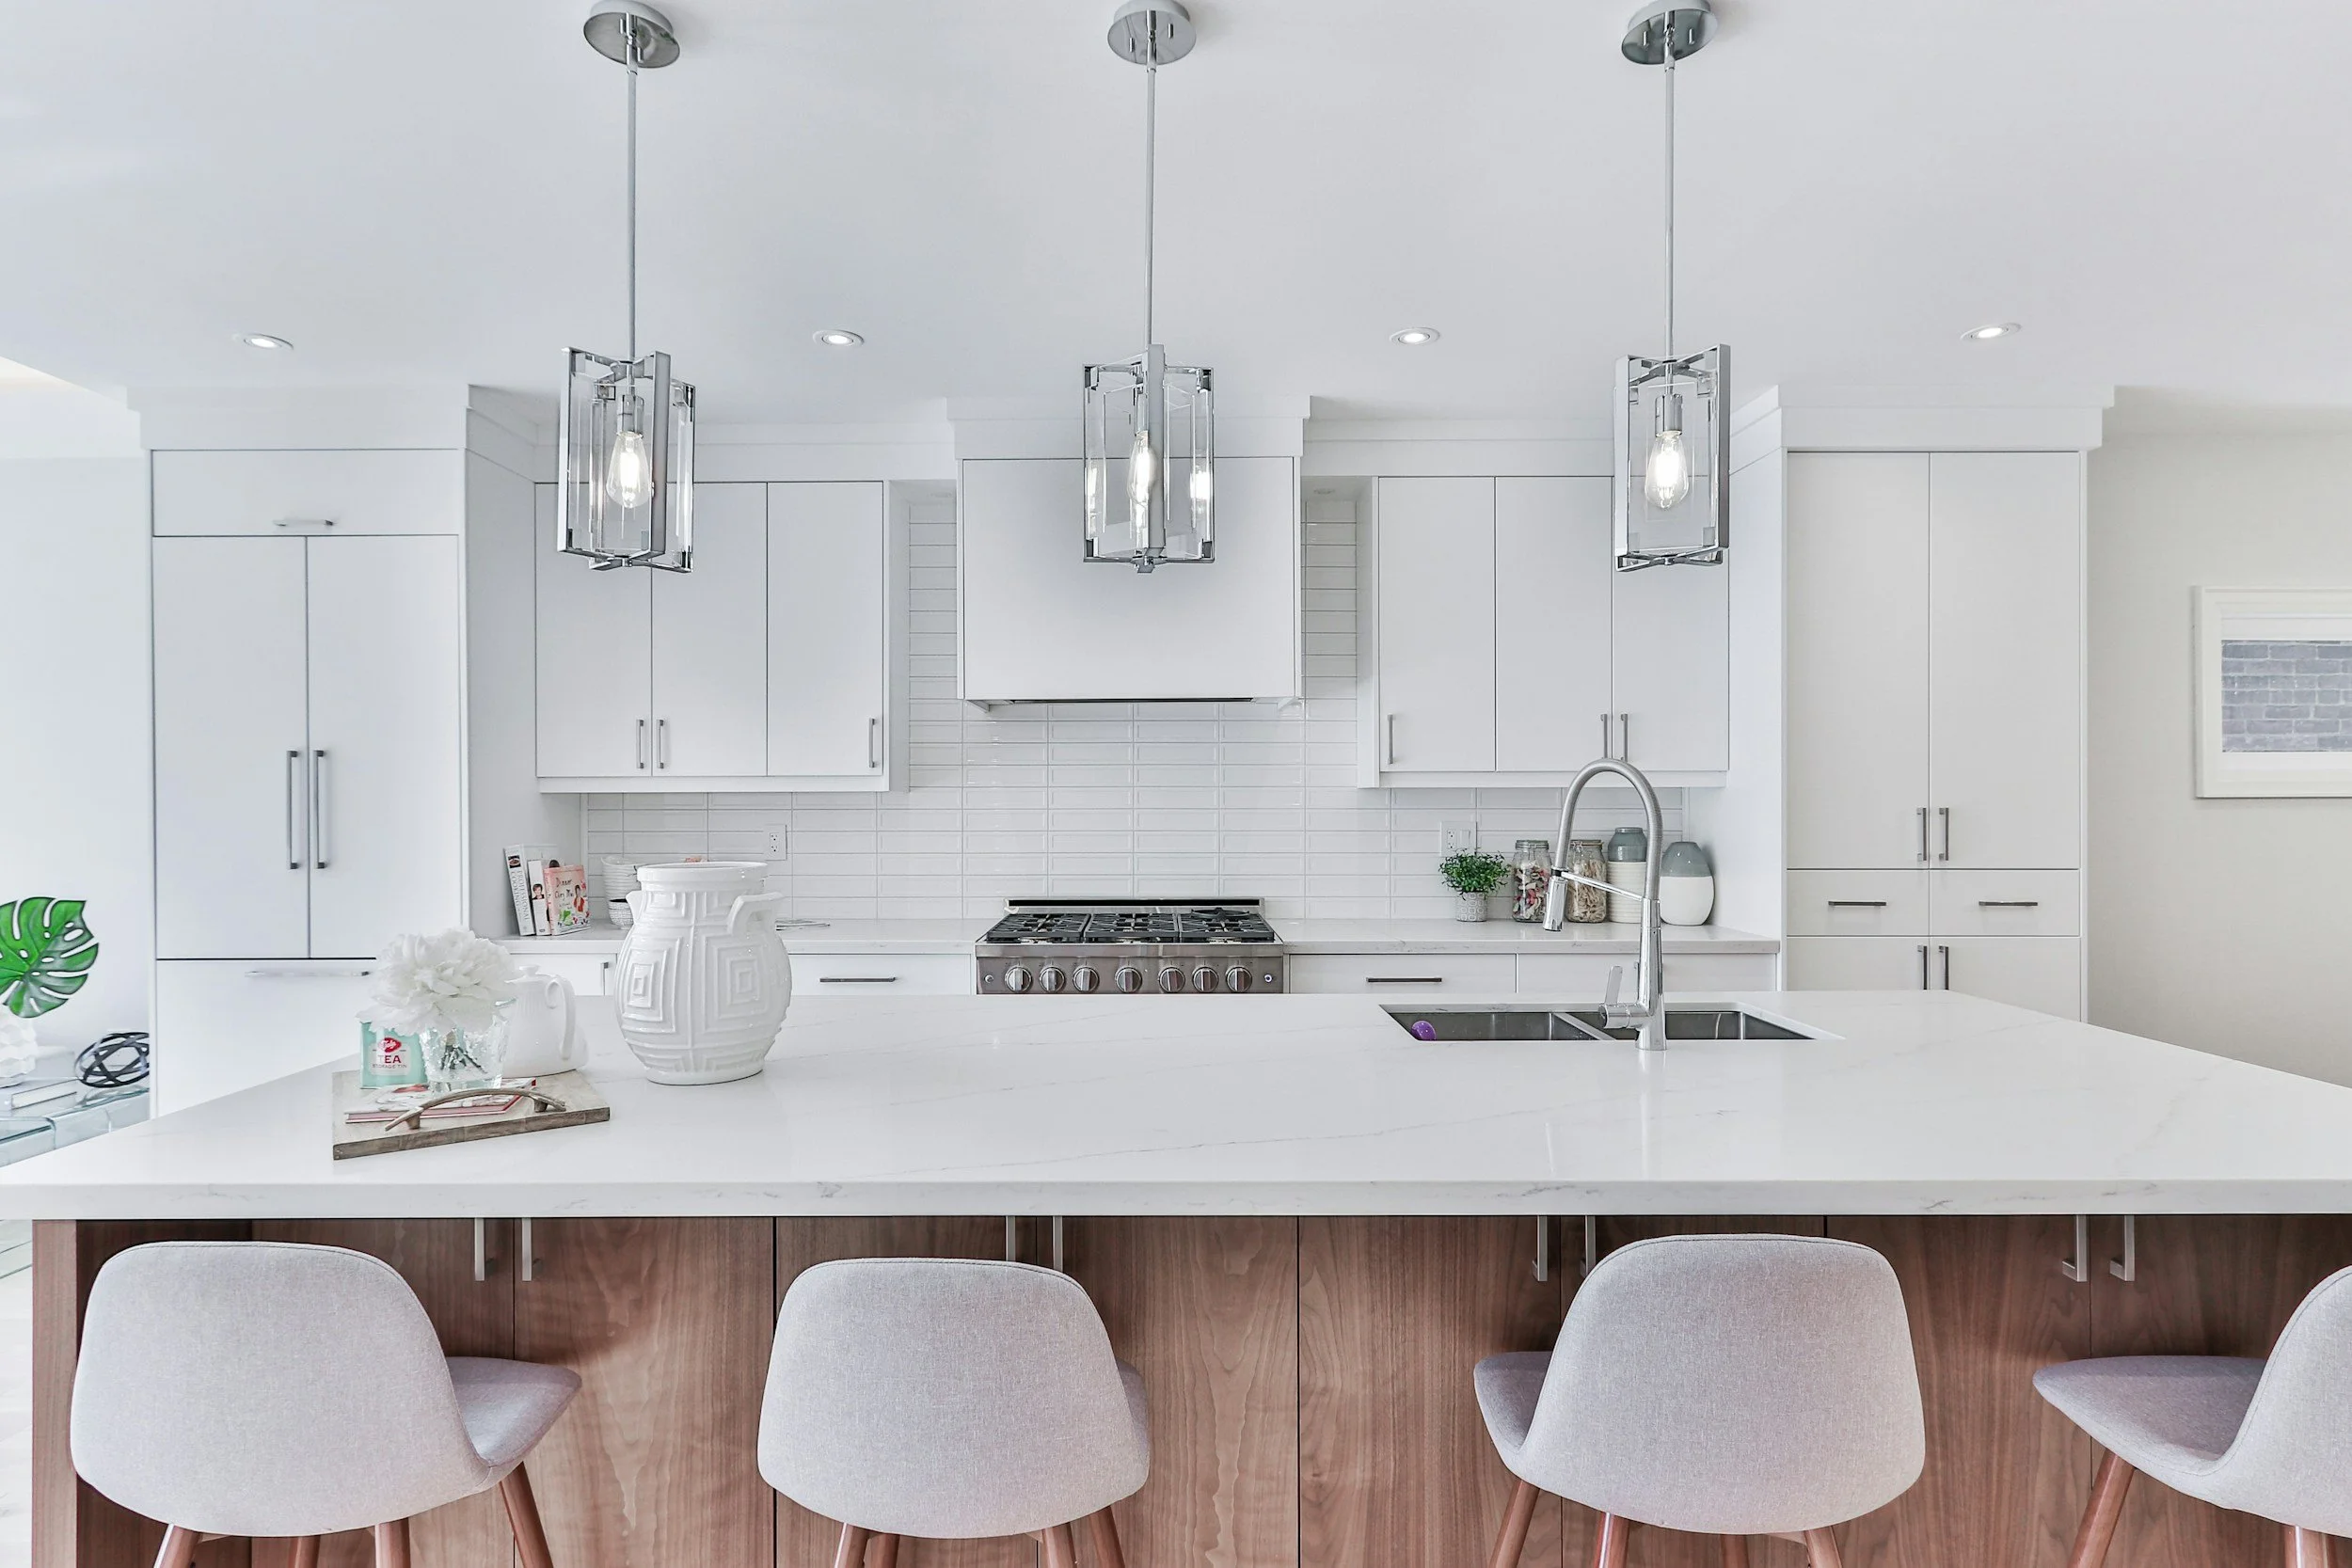
3) Island & peninsula lighting: task first, then style
Start with enough ambient light so pendants aren’t doing all the hard work
Use two or three pendants spaced evenly, or a single linear pendant for long benches
Hang pendants low enough to create intimacy but high enough to avoid sightline clutter (often 700–800 mm above benchtop, adjust to ceiling height)
4) Choosing colour temperature & CRI (so food looks like food)
Warm-neutral (≈3000–3500K) suits most kitchens - cosy without yellowing whites
CRI ≥90 helps colours (and your benchtop/food) appear accurate and appealing
Keep temperatures consistent across layers to avoid patchy colour
5) Lighting placement & spacing tips (avoid shadows and glare)
Position ceiling lights in front of benchtops (not behind you) to prevent body shadows
Space downlights/track heads to wash work zones, not just the floor
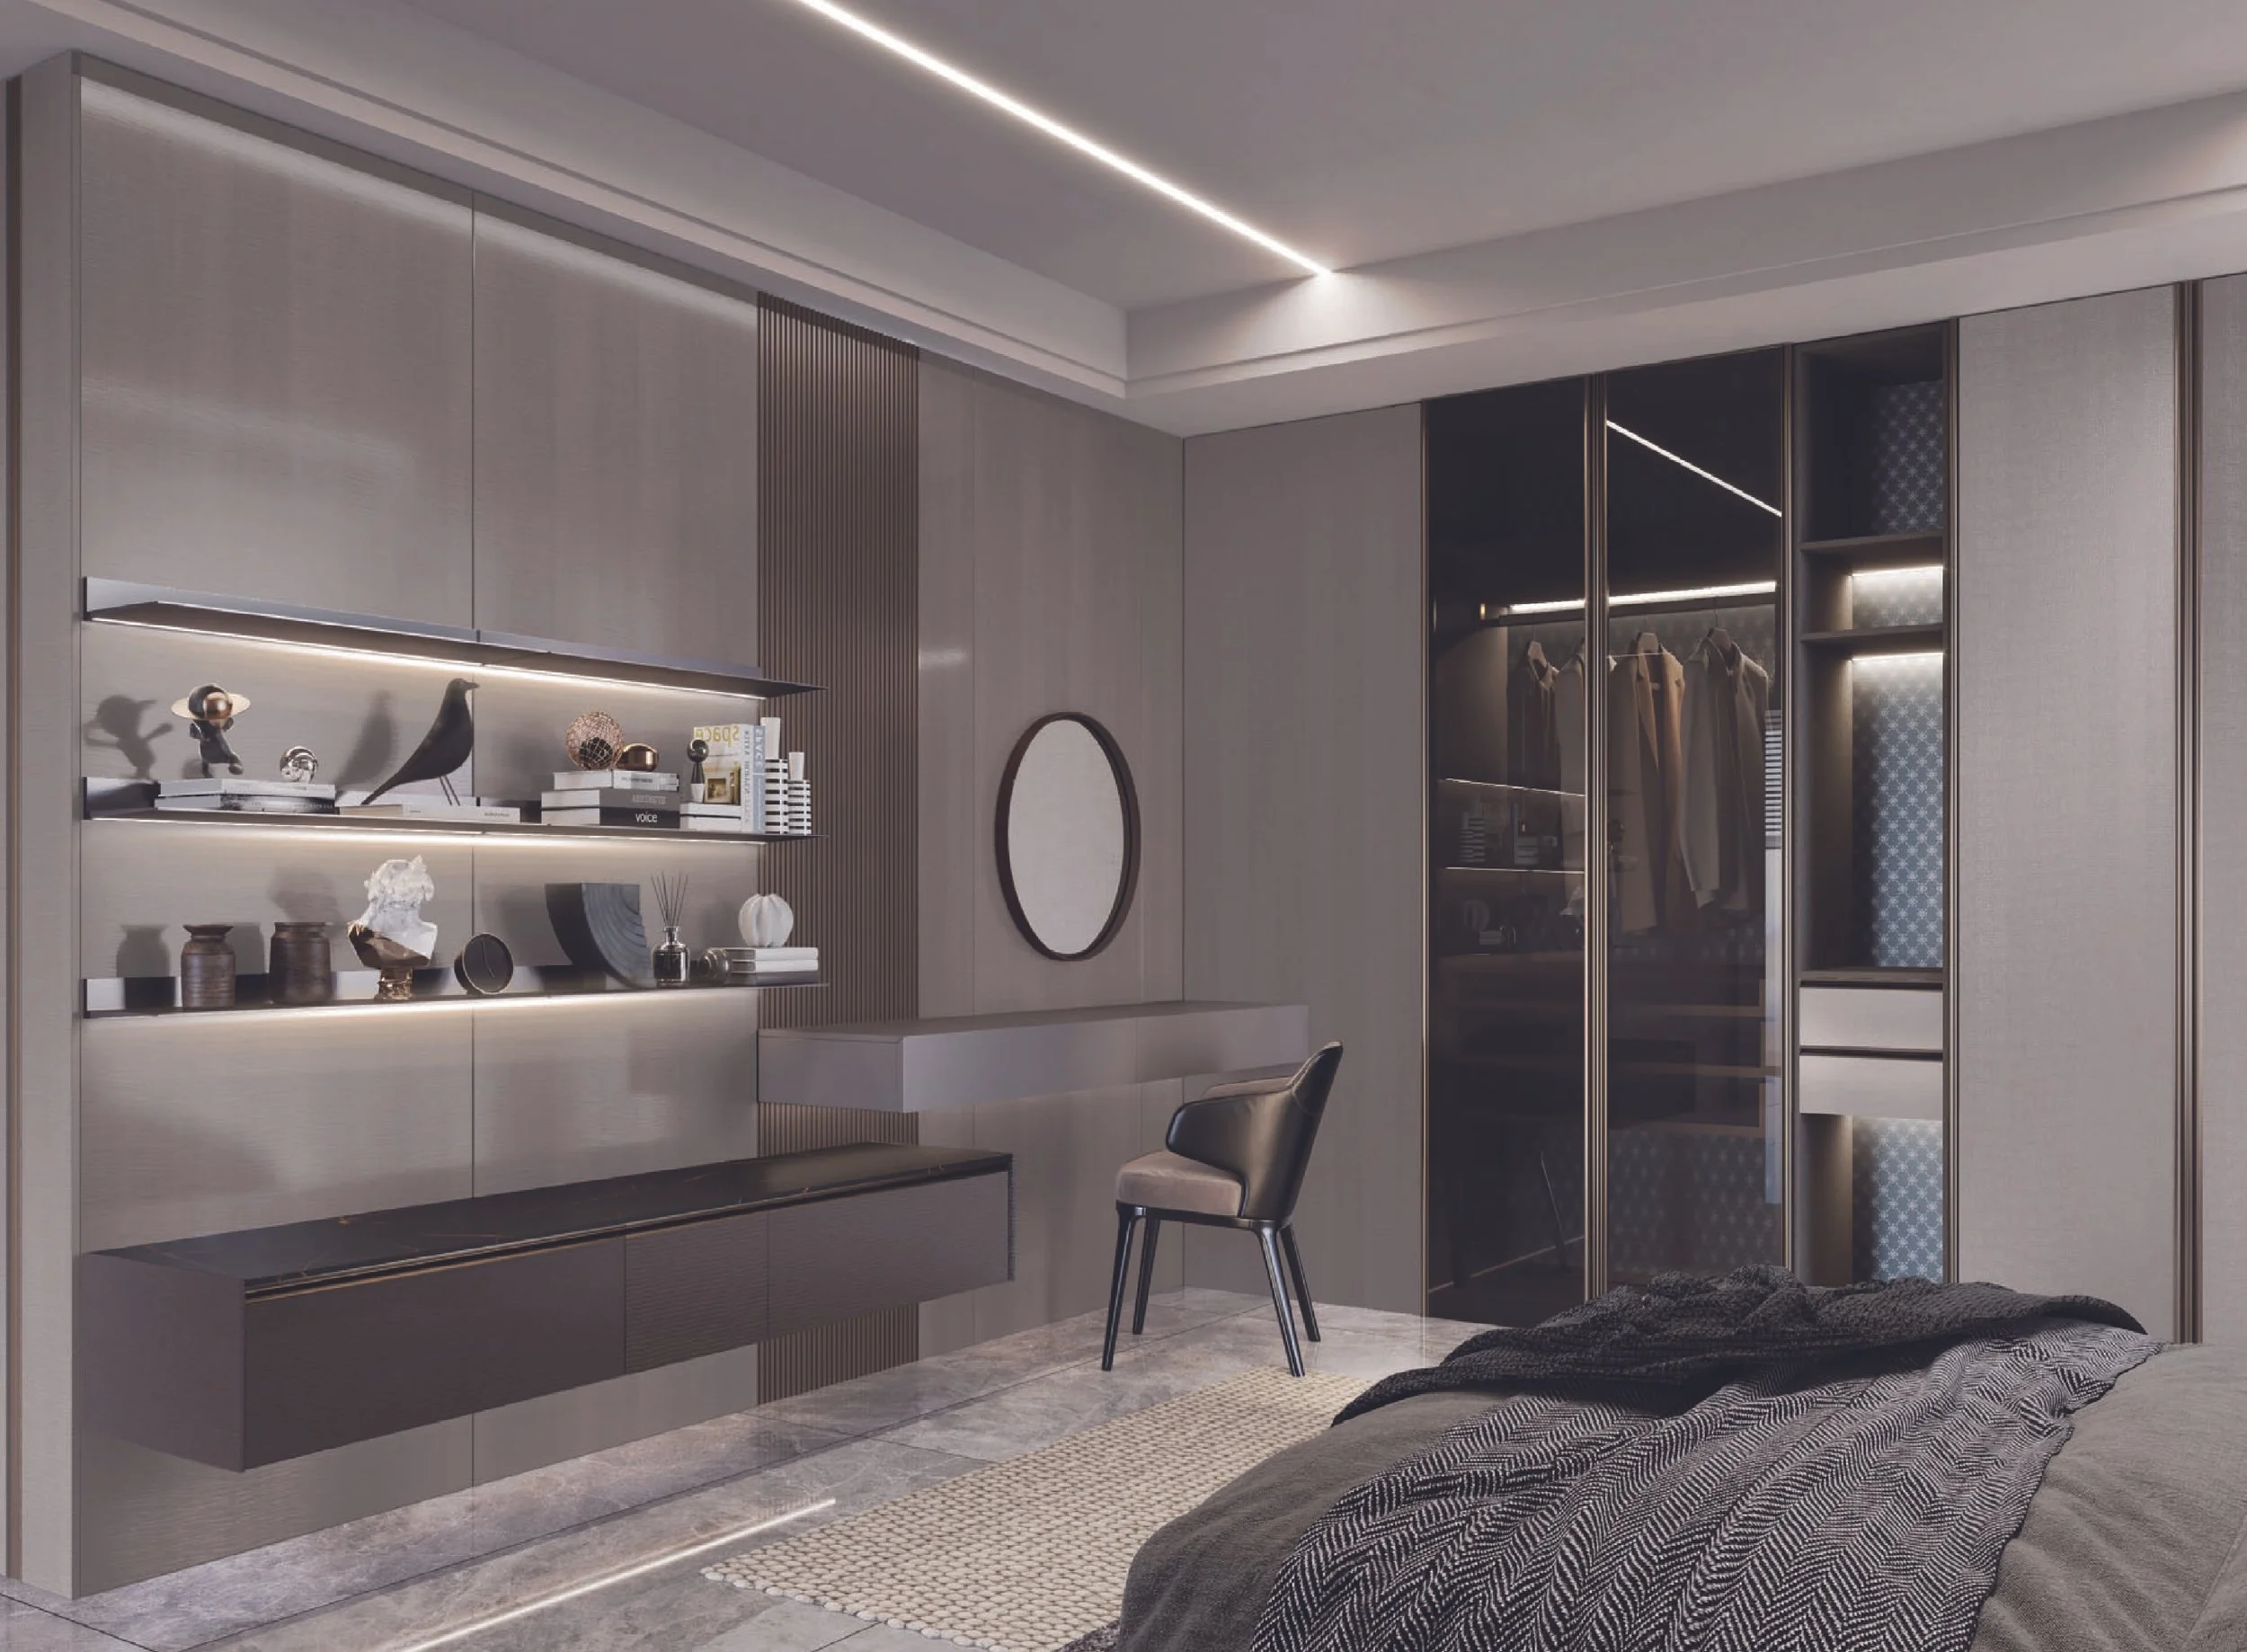
Use wall-wash or shelf lighting to add depth on feature walls or fluted panels
Consider asymmetric optics above tall splashbacks to reduce glare
6) Controls that make life easier
Dimmers on ambient and accent circuits to set the mood
Two- or three-scene control (Prep / Dine / Night) keeps operation simple
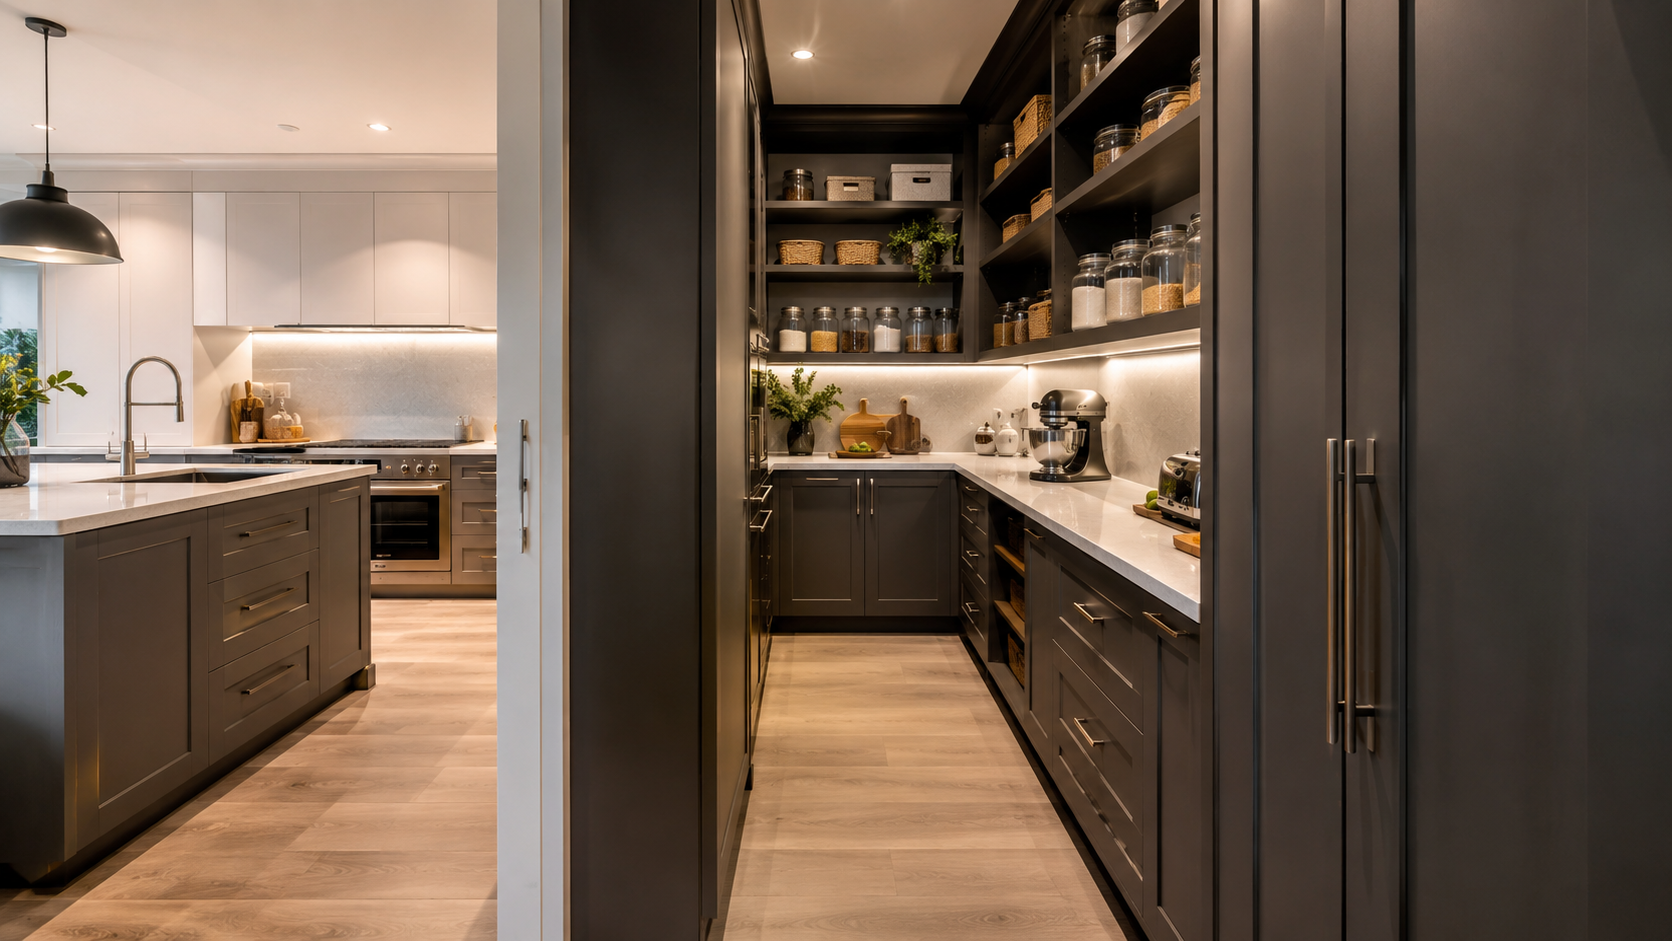
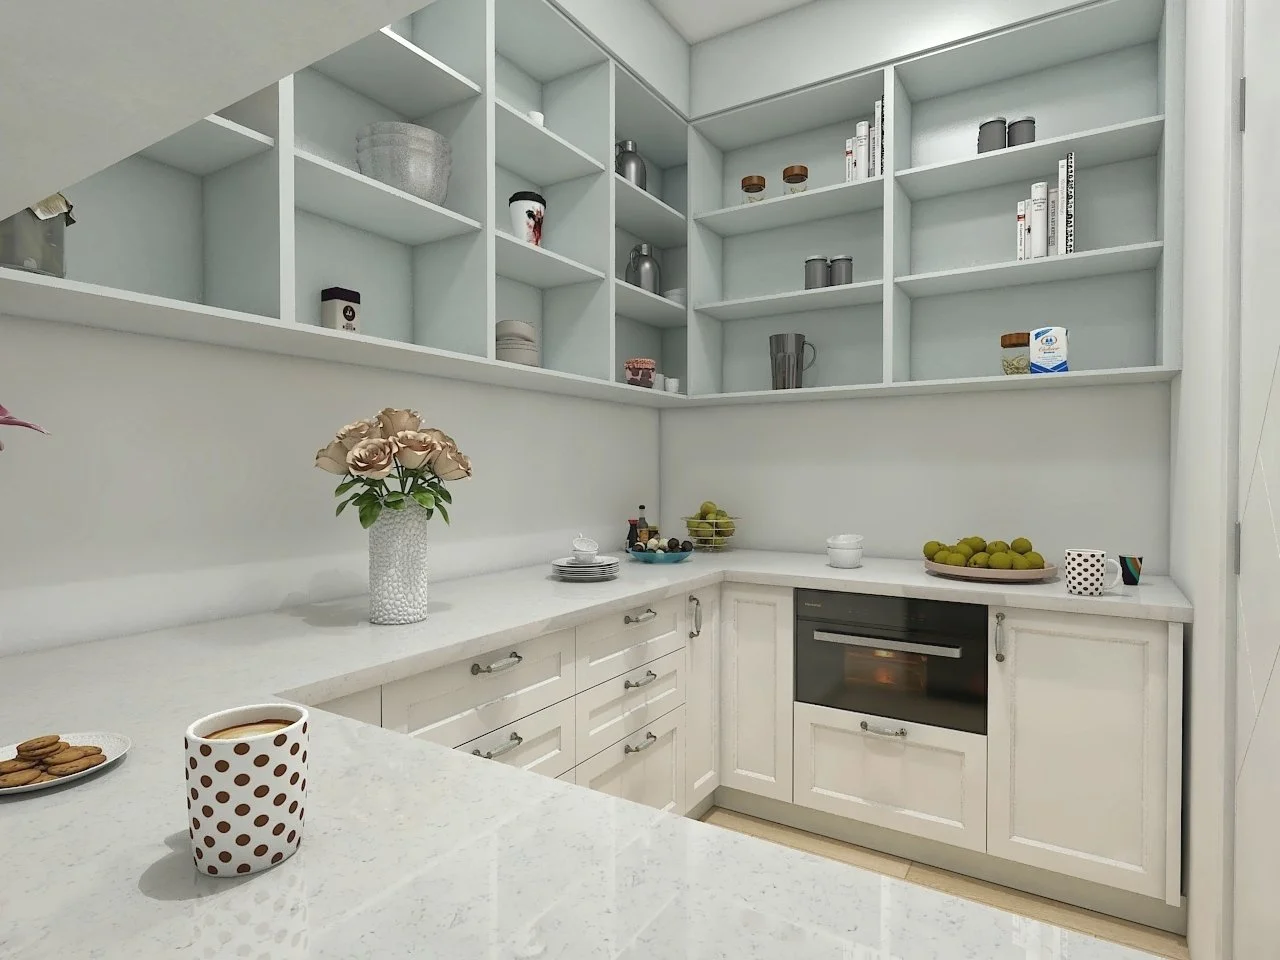
Motion sensors for pantry, butler’s pantry and toe-kicks (great at night)
Smart control optional - keep manual override for reliability
7) Light with your materials in mind
Matte and softly textured finishes minimise glare under strong task lighting
Gloss surfaces benefit from broader, diffused light to avoid harsh hotspots
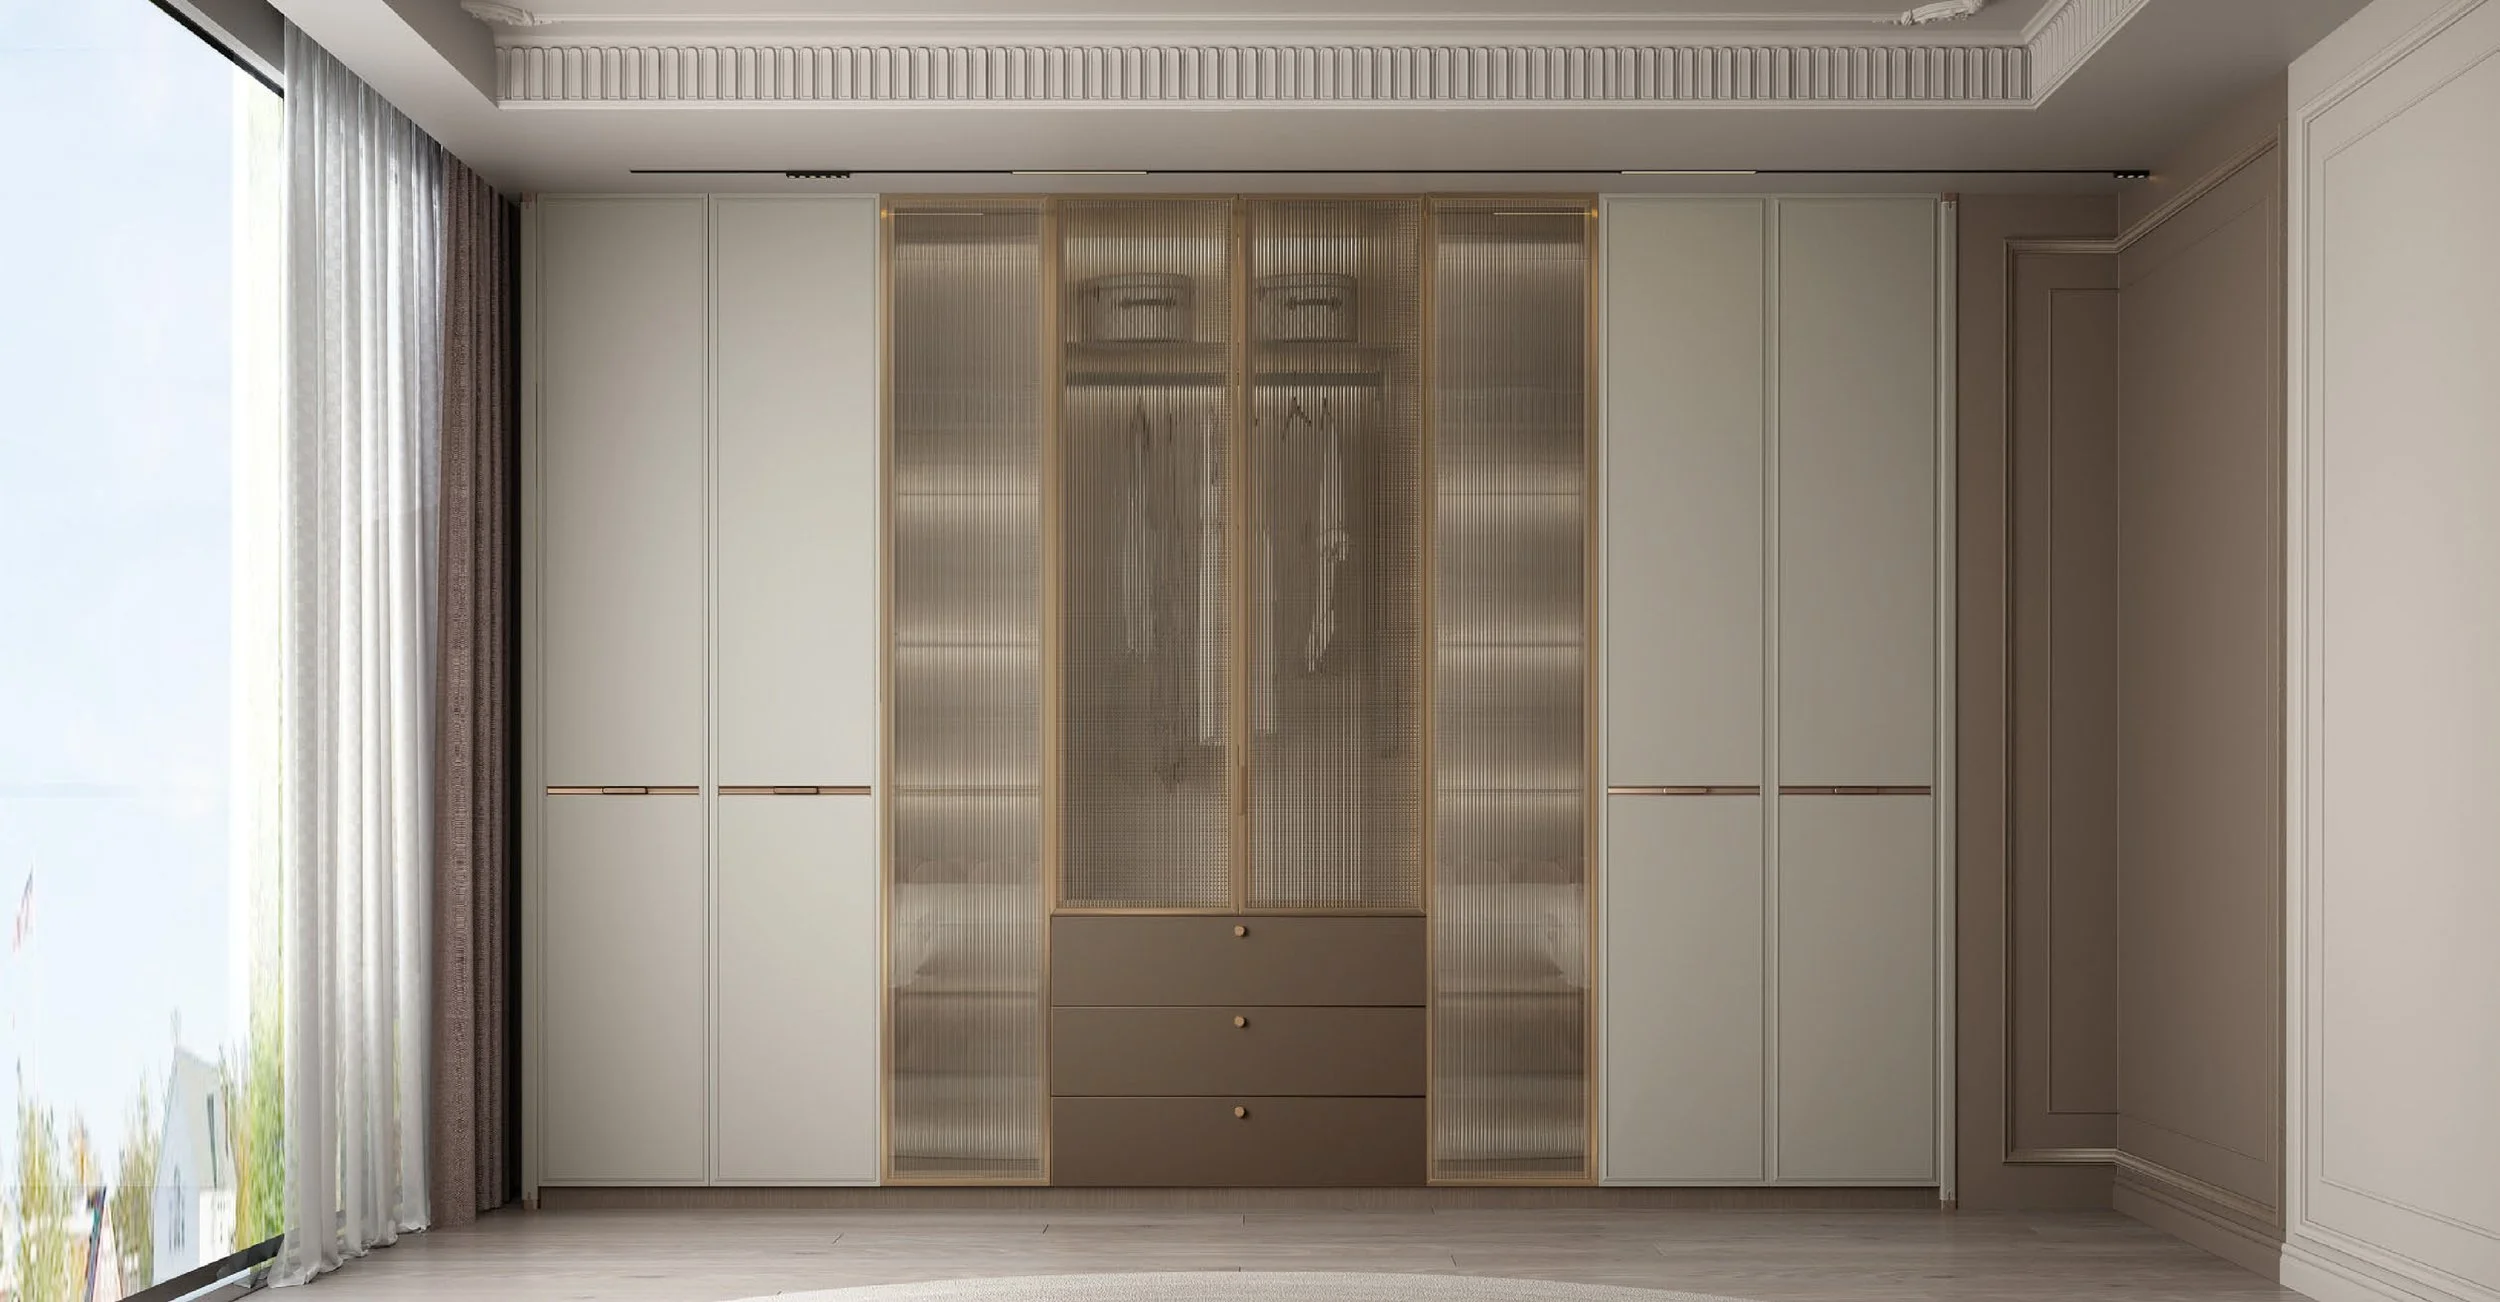
Glass fronts & mirrors amplify accent lighting - specify dimming to fine-tune sparkle
Choose warm metals (brass/bronze) or cooler tones (chrome/black) to complement your palette
8) Good / Better / Best lighting plans
Good: Ceiling ambient + under-cabinet strip along main prep; one pendant cluster over island.
Better: As above + shelf accent LEDs, dimmers on all circuits, sensor toe-kicks.
Best: Layered plan with ceiling grid/track, continuous under-cabinet strips, glass-cabinet LEDs, peninsula pendants, pantry sensors, scene control.
Local design, tidy install
Eco Squared plans lighting with your cabinetry, so switches, drivers and wiring are concealed, ventilation is respected and service access is maintained. We manage design, supply and installation across the Sutherland Shire (and ~20 km surrounds).
Transform Your Space with Eco Squared
Embrace the elegance and functionality of European design with Eco Squared. Our Oppolia partnership provides access to premium materials and cutting-edge manufacturing, tailored for the way Sydney lives.
Get a Free SMART QUOTE
Film a quick 360° video and Text/WhatsApp 0466 119 712 (no home visit required).
Prefer email? info@eco2.com.au
FAQs
What is the best lighting for a kitchen?
A layered scheme: bright task lighting on benchtops (under-cabinet LEDs), ambient lighting for overall fill (ceiling/track on dimmers) and accent lighting (shelves, toe-kicks, pendants) for depth and mood. Using all three creates a kitchen that’s practical and inviting.
What colour temperature is best for kitchen lighting?
For most homes, 3000–3500K (warm-neutral white) balances clarity and comfort. Keep the same colour temperature across your fittings so benches, splashbacks and walls look consistent, and choose CRI ≥90 for accurate colour rendering.
How many pendants should I put over a kitchen island?
Use two or three pendants spaced evenly for islands up to ~3 m, or choose one linear pendant for longer benches. Hang pendants about 700–800 mm above the benchtop (adjust to ceiling height and sightlines).
Where should I place downlights in a kitchen?
Position them in front of the benchtop edge so light falls onto the work surface, not behind you. Space fittings to wash work zones evenly and supplement with under-cabinet strips to eliminate shadows.
Do I need under-cabinet lighting?
Yes, it’s the most effective way to get shadow-free task light on benches. A continuous LED strip with diffuser gives even illumination and a clean look, especially when paired with dimmable ambient lighting.
Can kitchen lighting be energy-efficient?
Absolutely. LED fittings with dimmers and sensors reduce energy use without compromising quality. Planning circuits properly lets you set low-energy evening scenes while keeping task areas bright when needed.